You’ve probably had fresh, homemade pickles at some point in your life – maybe even homemade sauerkraut or kimchi. You may have even tried your hand at home pickling and fermenting. Whether you’re an expert, a novice or somewhere in-between I would bet that you have a question or two about pickling crocks.
Right here we answer some frequently asked questions about these fragile, ceramic creations with help from industry experts at Ohio Stoneware.
We’ve carried these Ohio made stoneware pickling crocks for several years (see them online here!) here at Smith & Edwards. Throughout that time we’ve gotten a lot of questions from our customers about pickling crocks. Here are some of the most questions we’ve received. Answers to these questions were provided to us from the experts at Ohio Stoneware and the Utah State University Extension Office.
Have a pickling crock question you don’t see answered here? Leave a comment below and we’ll track down an answer for you!
Pickling Crock Questions about Getting Started
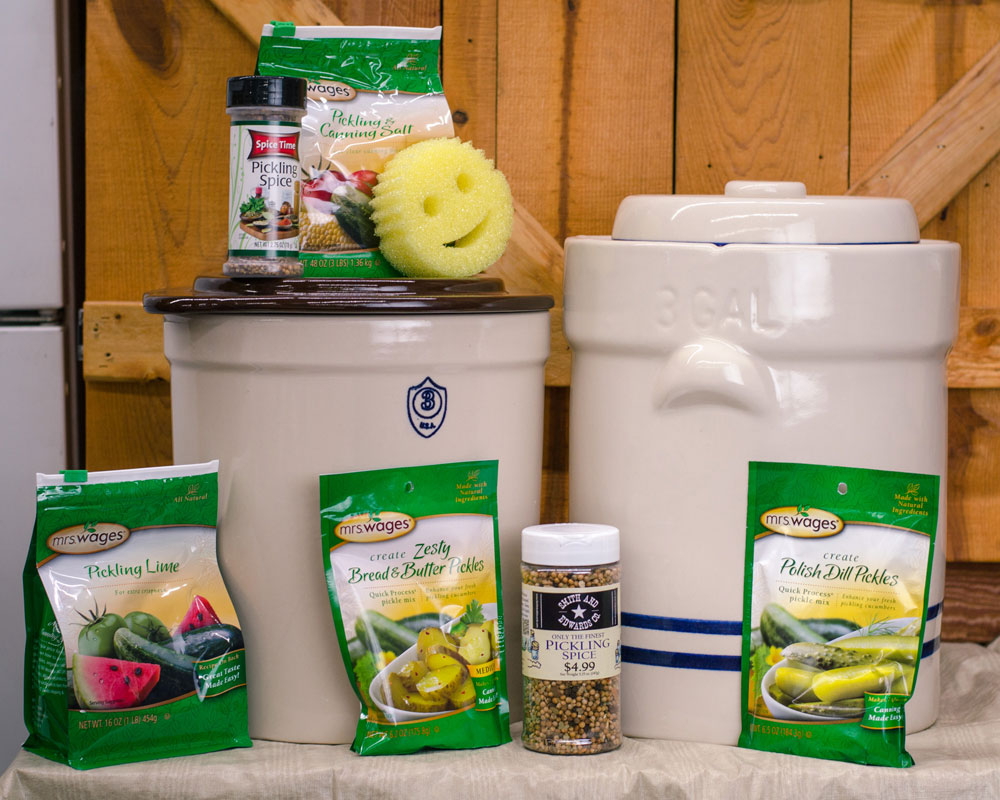
Q: What do I need to get started?
A: You need a pickling crock with a set of weights and a lid. Whether you buy a pickling or fermentation crock is up to you. There are many brands to choose from, but our favorite here at Smith and Edwards is the Ohio Stoneware crocks.
Once you have your basic kit assembled, all you need is a few of your favorite recipes. Then you’re ready to start making delicious, fresh pickles.
You can also try pickling other vegetables, or even try your hand at fermenting!
Find out more tips about getting started with pickling crocks, and a FREE recipe, here.
Q: Are crock lids and weights necessary, or are there “pickling hacks”?
A: These items are necessary. Pickling weights hold your produce under the brine. Pickling crock lids keep excess air & contaminants from reaching your pickles.
However, you can use some shortcuts. Instead of weights, you could use a plate weighted down with bricks. Also, if you have a plate large enough, you could use that as a lid.
Crock weights are designed & sized specifically for your individual crock, so I recommend them – but you can get by without them.
How do I care for my pickling crock?
It’s quite simple, really. Your crock needs only to be washed with soap and water. The goal is to get rid of anything that would cause bacteria to form in your crock. So a little bit of hot water and soap will do just the trick. Here are some more questions we get about cleaning pickling crocks.
Q: Should I wash my crock by hand, or in the dishwasher?
A: Most pickling crocks, like the Ohio Stoneware crocks, have been treated with a special glaze that has been specially formulated to withstand the power of your dishwasher. But – due to their sheer size and majesty, your pickling crocks might not fit in your dishwasher!
If your 1-gallon or 2-gallon pickling crock fits, you can rest easy knowing that you won’t hurt your crock by putting it in the dishwasher. But handwashing is a good bet.
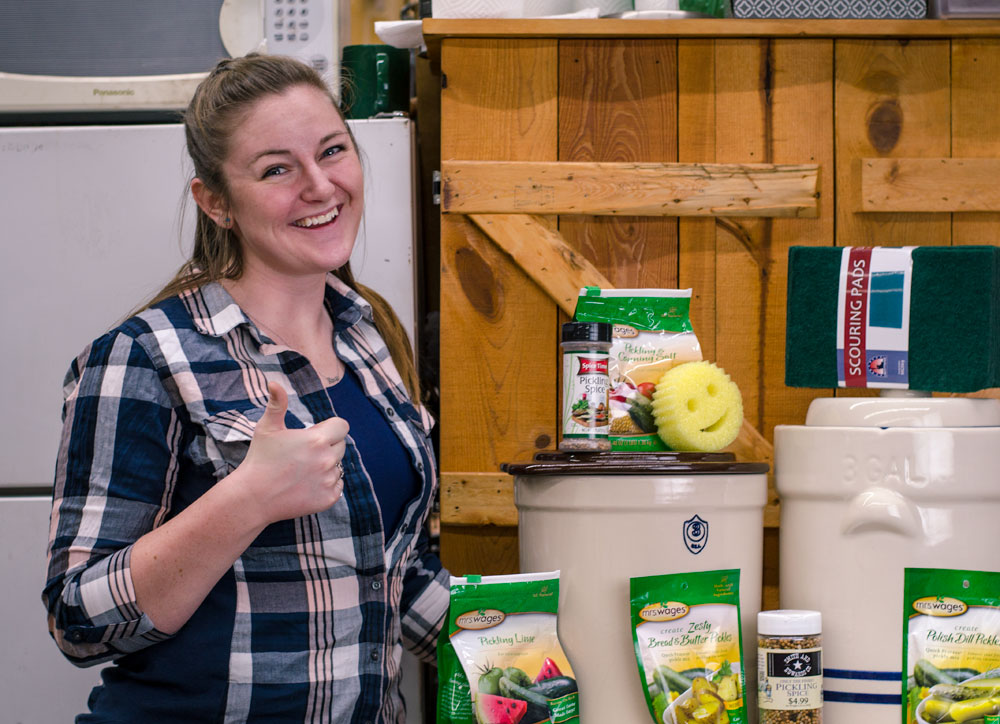
Q: What type of scrubber is best?
A: Most scrubbers will work great with your crock. You’re not likely to ruin the glaze. Still, Ohio Stoneware recommends that you don’t use anything too abrasive. Steer clear of metal scrubbing tools.
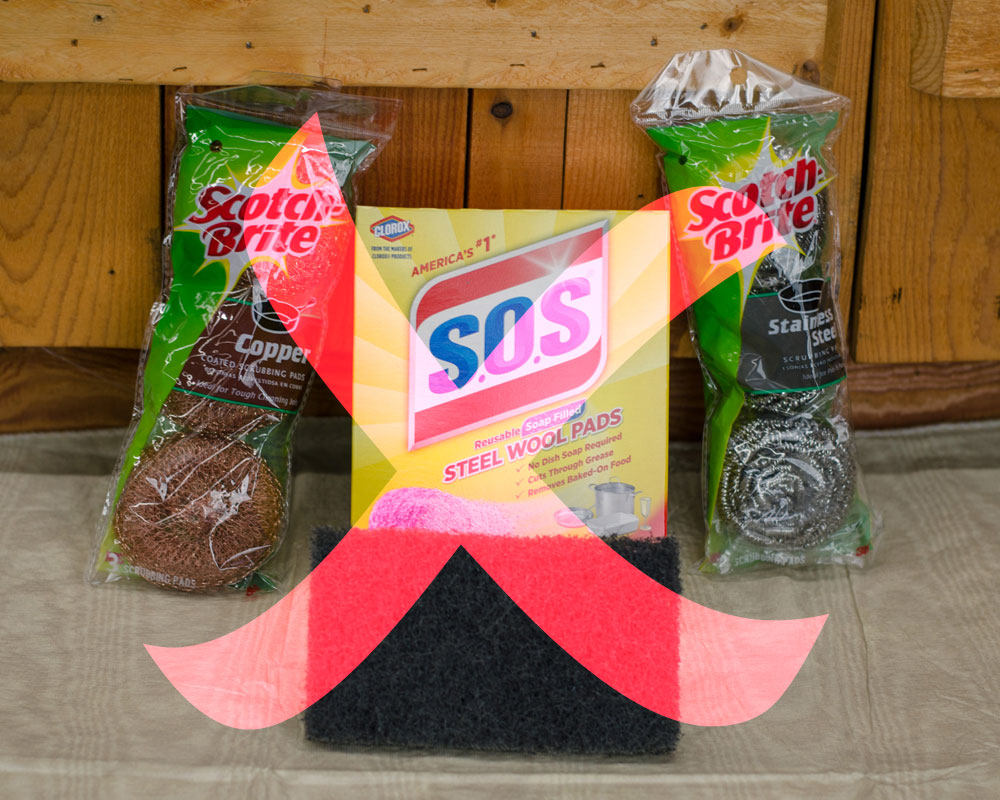
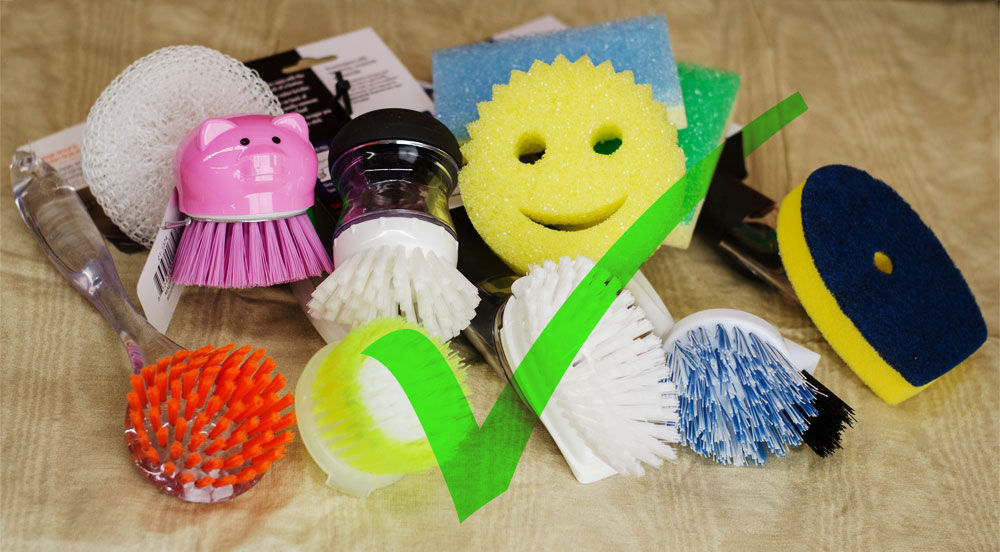
The traditional, little green scrubbing pads that you can find in most cleaning aisles (or on our center bargain tables here at Smith and Edwards) are the perfect tool for doing the job. Any other plastic-bristled scrubbers or foam sponges, even our favorite Scrub Daddy scrubbers, will work great on your pickling crocks!
Q: Is it safe to pour scalding-hot water in my crock?
A: Your pickling crock has been coated with some kind of glaze and was heated, or fired, in a kiln. Temperatures inside of an industrial kiln, which is like a giant oven, can reach up to 2500°F. So, a little bit of scalding hot water isn’t going to hurt your crock.
Something I would suggest would be to avoid pouring boiling hot water into your crock when the crock is extremely cold.
Have you ever seen what happens to glass when it is super-heated and then cooled too quickly? You get really cool cracks in the glass making it look like crystal! That’s not something that you want to have happen to your pickling crock.
Q: Can I still use a cracked crock? How about if the glaze is cracked?
A: If the crack is deep enough that the clay of the crock is exposed, it is recommended that you invest in a new crock. It would be impossible to guarantee that an older crock was made with lead-free clay and health and safety should be your number one concern when pickling and fermenting.
However, if you notice that your glaze is cracked but the clay is not exposed, you should be okay to continue using your crock. Be sure and check with the manufacturer if you have questions about the composition of your crock.
Chips in the rim aren’t an issue at all.
More Pickling Crock Questions
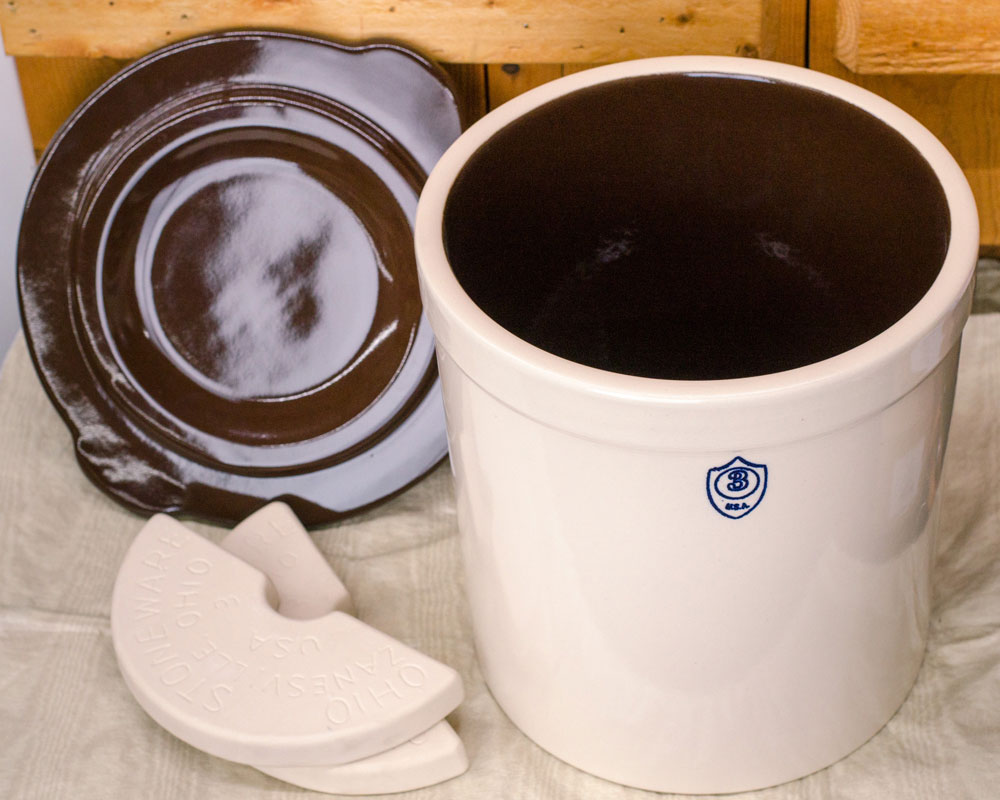
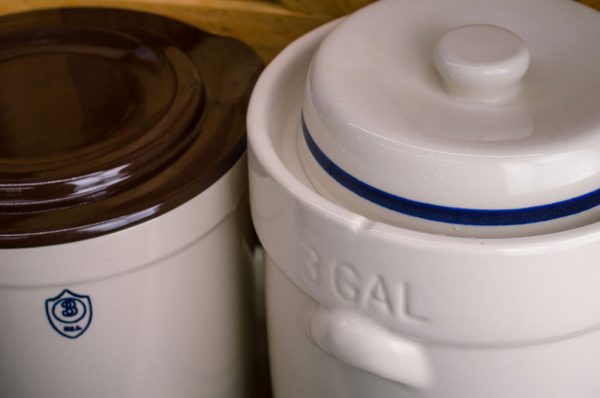
Q: Does the color of the interior of my crock have any special meaning?
A: Pickling crocks have been manufactured in this fashion for many years now. That’s just the way it is! Your crock’s color won’t affect your produce in any way.
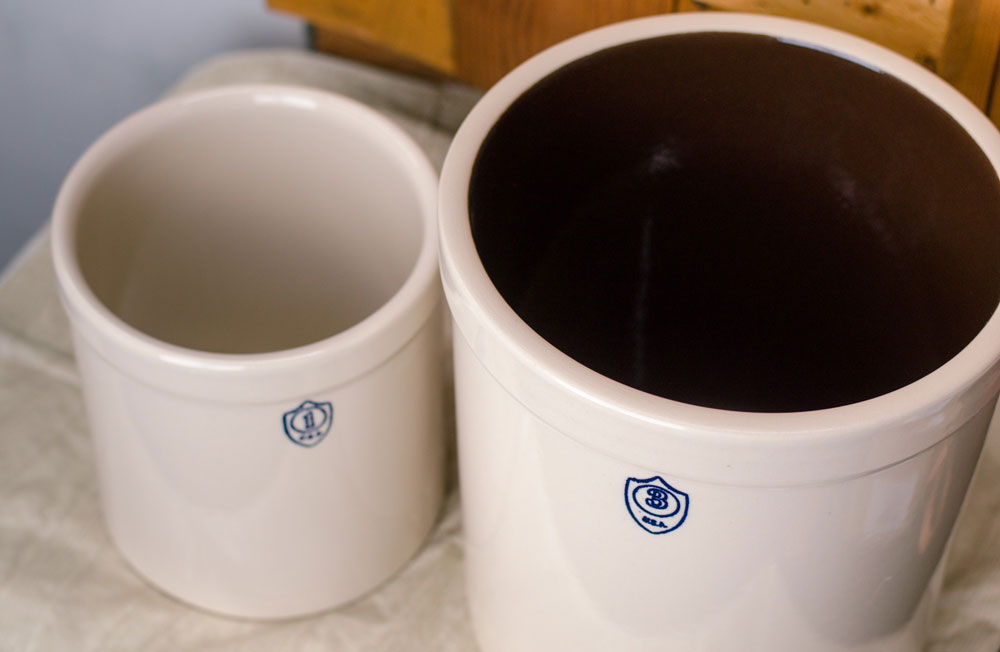
This one gallon pickling crock has a natural interior, while the three gallon crock has a chocolate-brown interior
Q: Will salt seep through the sides of my crock?
A: Salt should not seep through your crock. If this is happening, the crock’s glaze or walls have been damaged in some way, and it is now time to invest in a new crock.
Also, the denser the clay and more vitrified a crock is, will affect this undesirable occurrence.
Q: Why is the rim of my crock unglazed?
A: There needs to be a seam between two different colors. This is known as a parting seam. The manufacturer removes the glaze from the rim, because it would just look unattractive. That is, again, how crocks are traditionally made.
Q: What is the difference between pickling crocks and fermentation crocks?
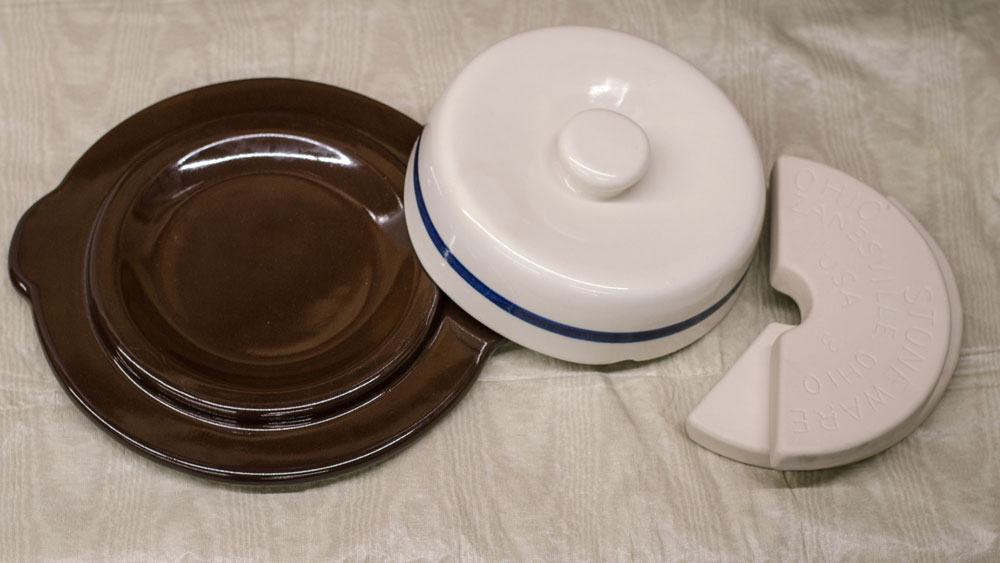
A: Trick question! These crocks are used for the same things, and really shouldn’t be named differently. You can pickle and ferment in either an open-top (pickling) crock or a water-seal (fermentation) crock. Let’s take a quick look at the Ohio Stoneware crocks.
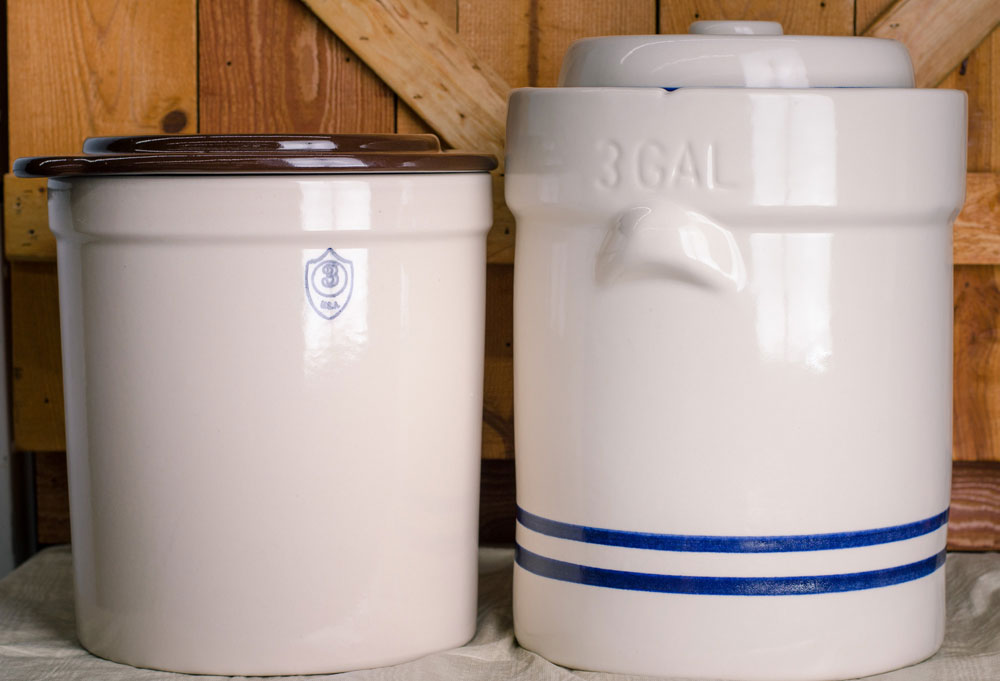
Here’s a side-by-side comparison: on the left is an open-top crock, and on the right, a water-seal crock. They’re commonly called a pickling crock (L) and a fermentation crock (R).
Open-top crocks made by Ohio Stoneware are sturdier and denser. This is because of the form that the crocks are made from. Ohio Stoneware presses these crocks in a metal mold with a hydraulic press.
The water-seal crock is a poured form, so it isn’t as dense. Also, the handles aren’t a functional difference – they are just decorative.
Whether you buy an open-top crock or a water-seal fermentation crock is really just dependent on your personal preferences.
 Q: Why does this crock have a “moat” around the opening?

A: Europeans have traditionally used water-seal crocks in fermenting. Americans typically ferment in open-top crocks. There is generally more attention needed for the water-seal crocks, because you have to make sure that the moat stays full of water.
If the water in the moat evaporates, oxygen and other particles will be able to get into your brine solution. This can cause problems, including slimy and soft pickles, cloudy brine, bloom, or other bacteria growth.
You must also continuously check for bloom, which is the bubbles on top of the weights. You must skim the bloom off the brine every 2-3 days to ensure that your pickles turn out perfectly.
Questions about the Fermentation Process
Q: How do I know when my pickles & fermented foods are ready?
A: Follow your recipe, or even do some taste-testing. Really, that’s OK! Taste-testing helps you know how much longer to ferment or pickle.
Generally, the longer you pickle something, the stronger the taste. Just keep an eye on things.
Q: Can I ever re-use my brine? What about with pickled eggs?
A: No, you cannot. Even with pickled eggs! It is always best to start at the beginning for the best-tasting and safest pickles.
Q: What types of salt should I use? Are there different salts for different applications?
A: Use a pickling or canning salt. These salts are cleaner and have no additives, which can affect the quality of your brine and produce. In all of your pickling and canning, use a salt made specifically for these purposes.
Q: Do I have to be exact on the amount of salt and produce?
A: Yes. You need to go-to a good source for the ratio. Follow your recipe.
Q: What temperature do I need to keep my brine?
A: The ideal temperature range for pickling is between 68° F and 74° F. If you are not in that range, you can run into lots of problems:
If your solution is too hot, this can cause soft and slimy pickles. If your climate is fairly warm, then you need to pay more attention to your pickles. You may need to change out the brine more frequently and there is more “pickle-sitting” involved.
If your solution is too cold, it takes a longer time for the fermentation process to take place. This can mean cloudiness in your brine and a poorer-quality pickle.

What’s next?
The best step is to either start or continue pickling!
Whether you’re a seasoned pickling veteran, or just starting out, we are sure you’ll have more questions. Just remember the best resources you have in your pickling adventures.
You can contact your manufacturer for any questions that you have regarding workmanship, materials, and care. Any additional questions you have about pickling and fermenting can be answered by contacting your local Extension office. The Utah State University Extension office is always happy to answer any questions you have about pickling and fermenting and many other types of food preservation and safety as well.
Call the local expert on all things canning and fermenting, Teresa Hunsaker with the USU Extension Service, at 801-399-8200. Or email her at teresa.hunsaker (at) usu.edu.
Remember to stay safe and informed for the best pickles and cleanest crocks in town. Happy pickling!


 e calls for.