Beets are a yummy vegetable packed with nutrients like manganese, potassium, copper, magnesium, vitamin C, iron, and vitamin B6. They’re a delicious Utah summer crop, and you can freeze beets to enjoy them year-round.
Our produce experts Vickie Maughan, our Housewares manager, and Jean from Pettingill’s Fruit Farm, teamed up to freeze beets last week and here’s how they did it.
You’ll need:
- Disposable gloves
- Kitchen knife
- Pot of water
- Ziploc® freezer bags
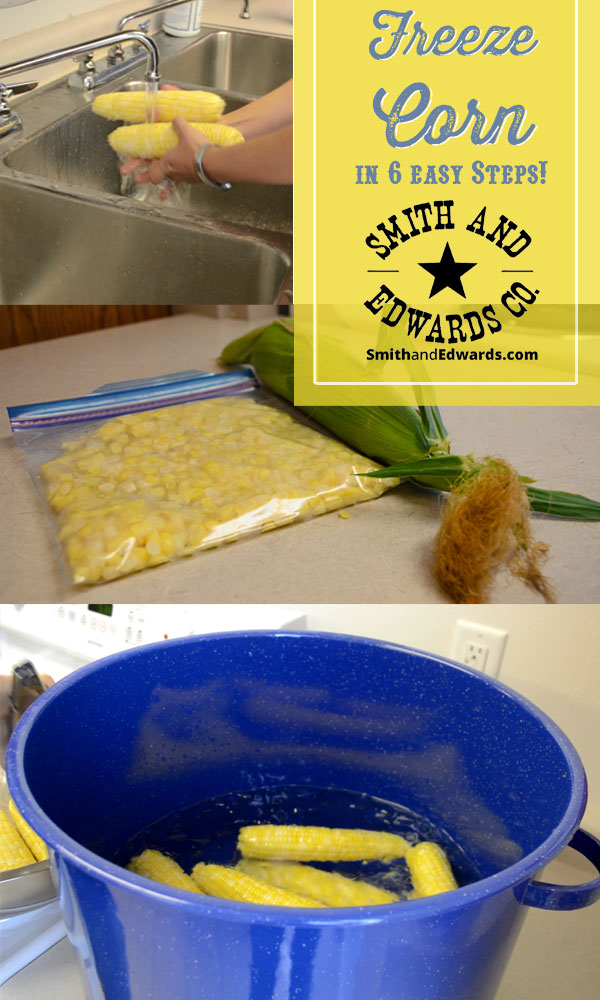
Directions: How to Freeze Beets
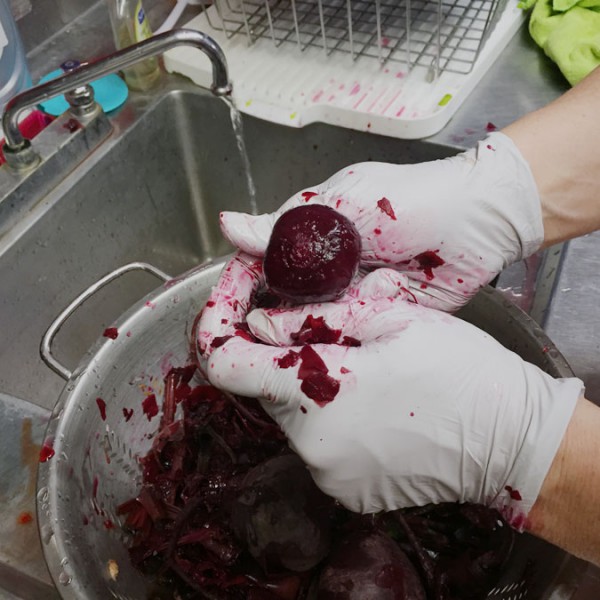
- Put on your gloves!
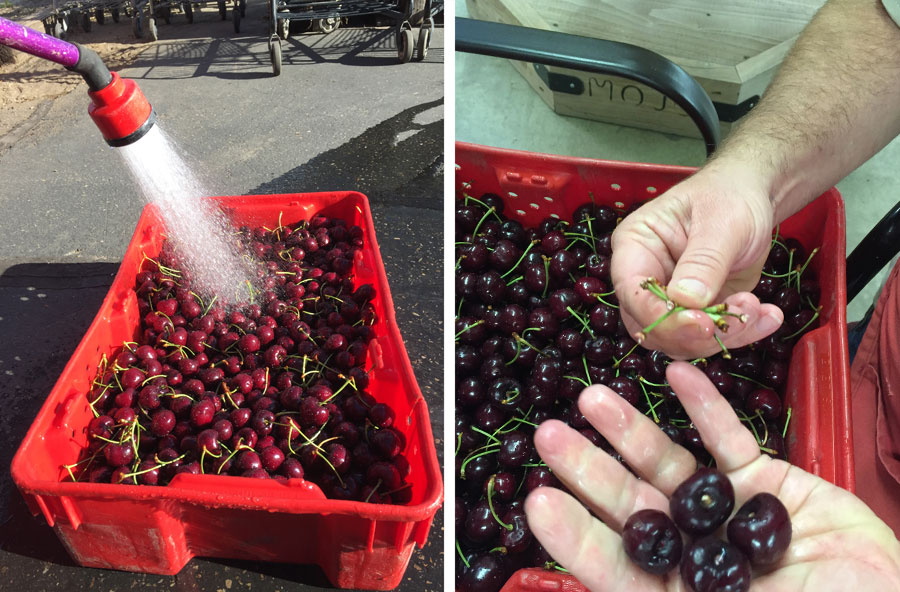
- Wash the fresh beets and cut of the beet greens, leaving 1″ of beet green stems. Don’t remove the tails or beet green stems, because if you cut them off, the beets will bleed out and lose their color.
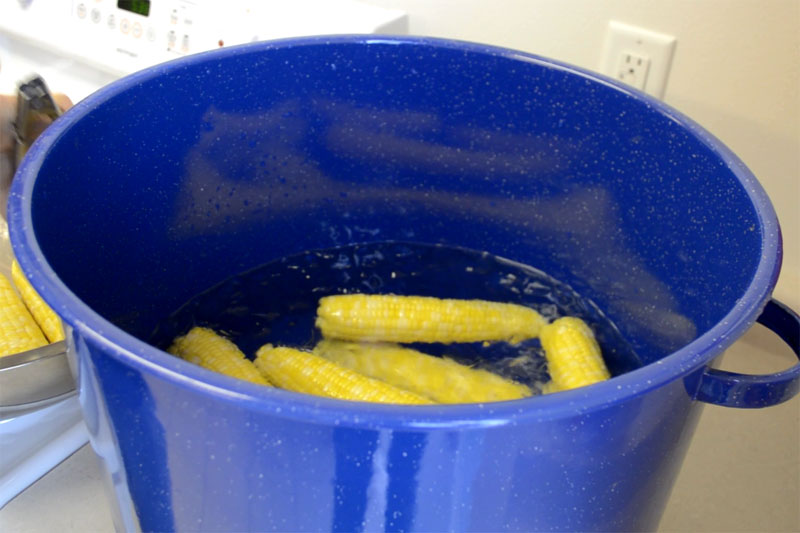
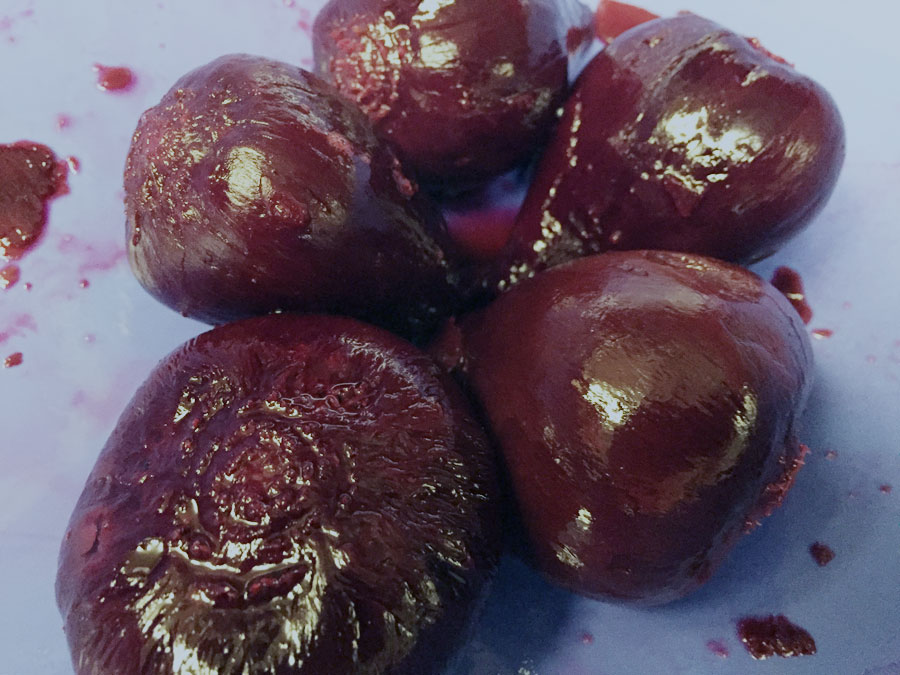
- Boil the beets in a pot of water until tender. Then, set aside and let them cool off.

Boiling the beets with their stems & tails on will keep the rich purple-red color from bleeding out!
- Peel the beets. You don’t need a tool: you can massage the beet skin, tail, & beet green stems and they’ll fall off the beet in your fingers.

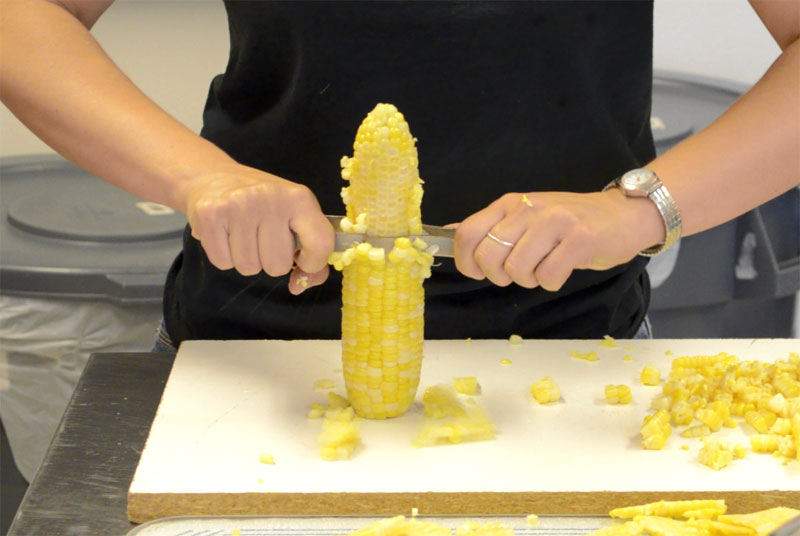
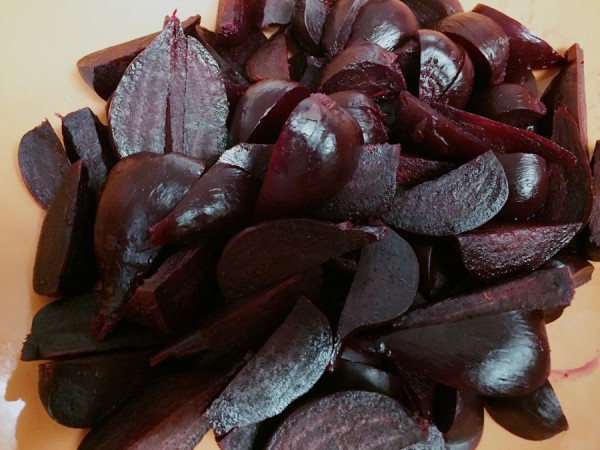
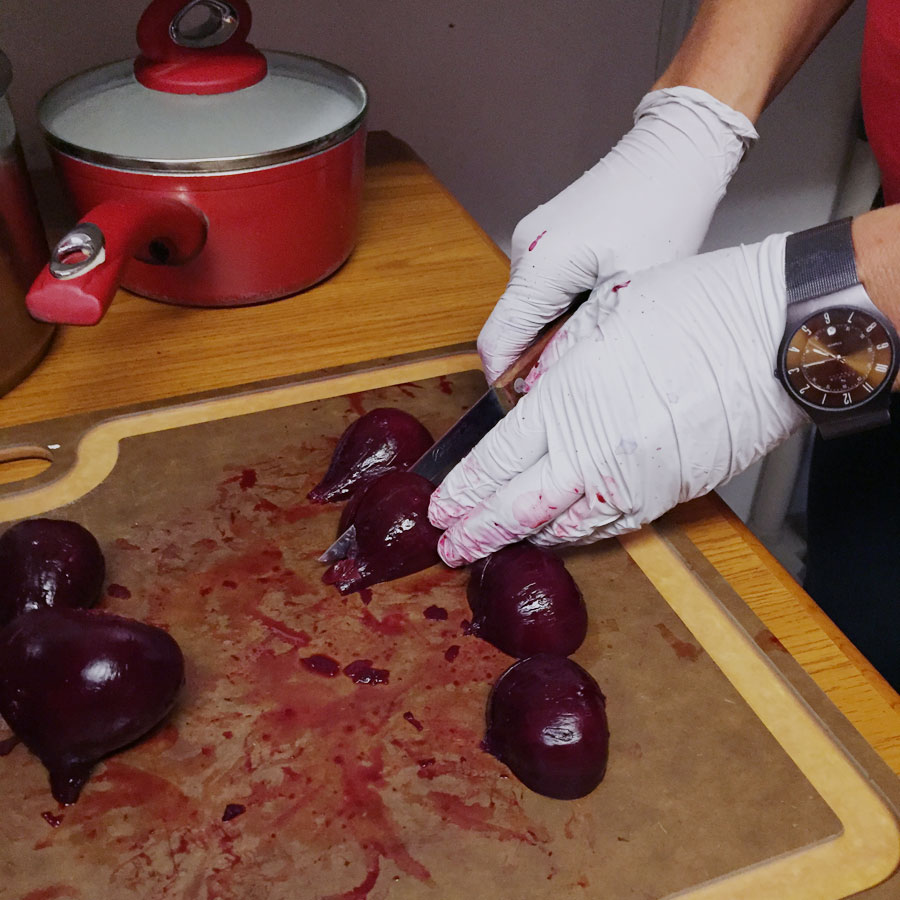
- Slice, dice, cube, quarter, or halve the beets any way you’d like. We love mandolins for slicing vegetables!

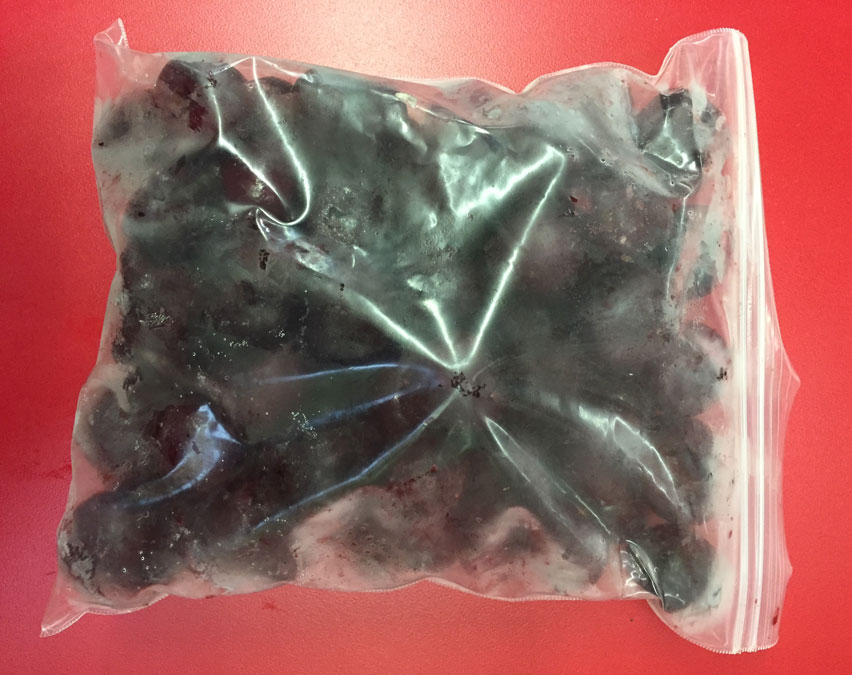
- Put in a freezer Ziploc baggie with as many servings as you’ll want.
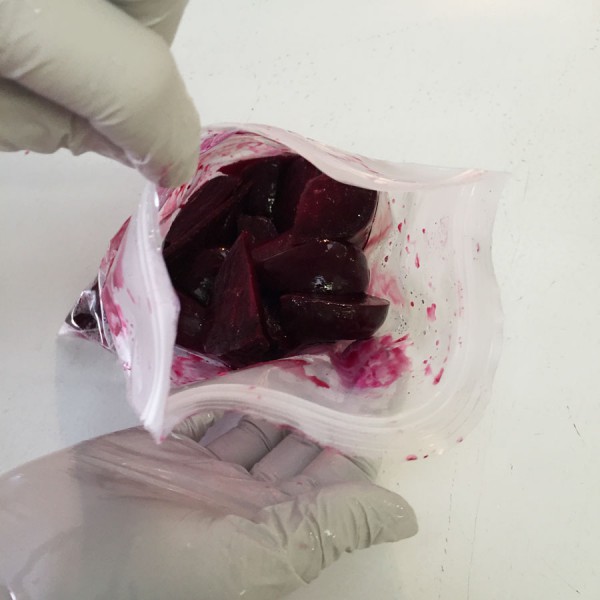
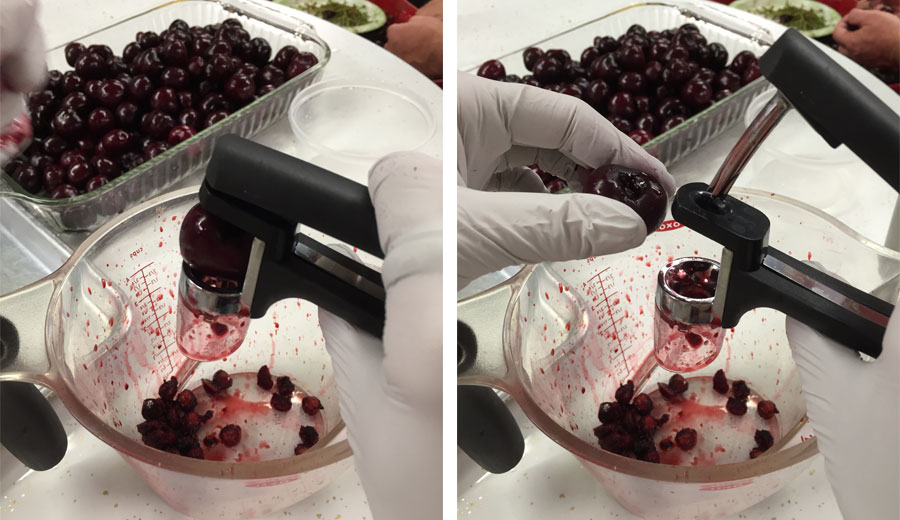
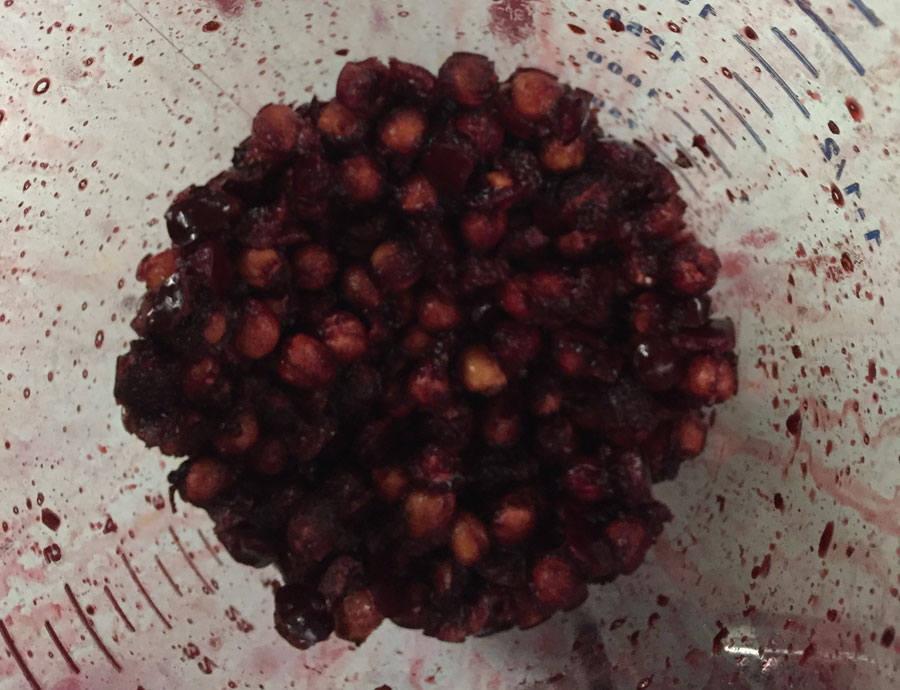
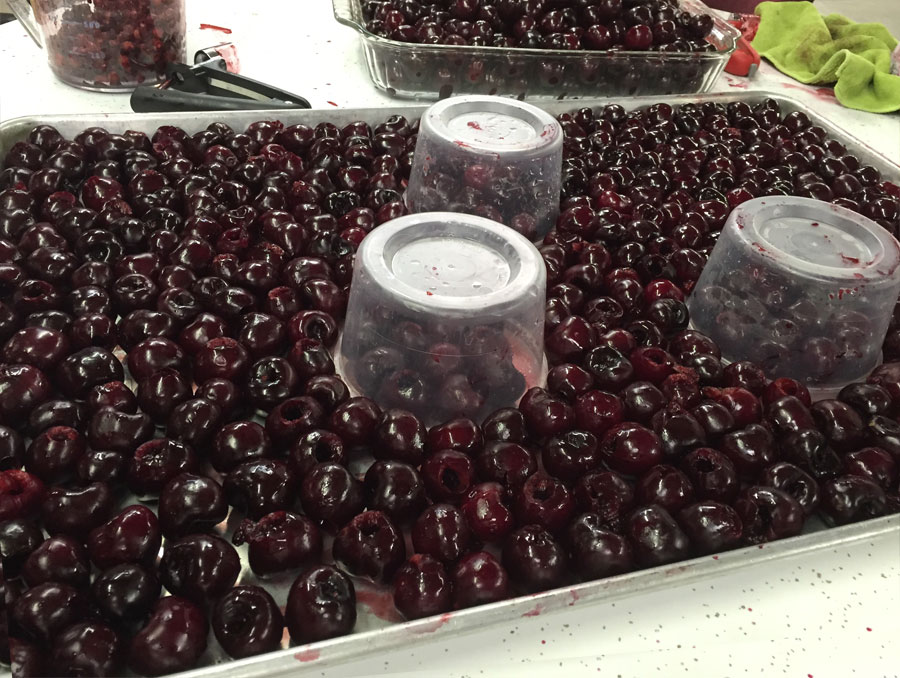
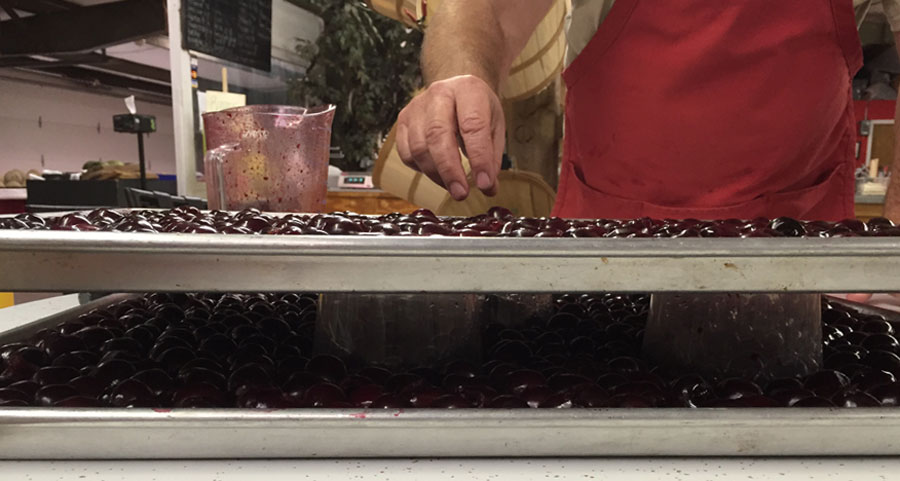
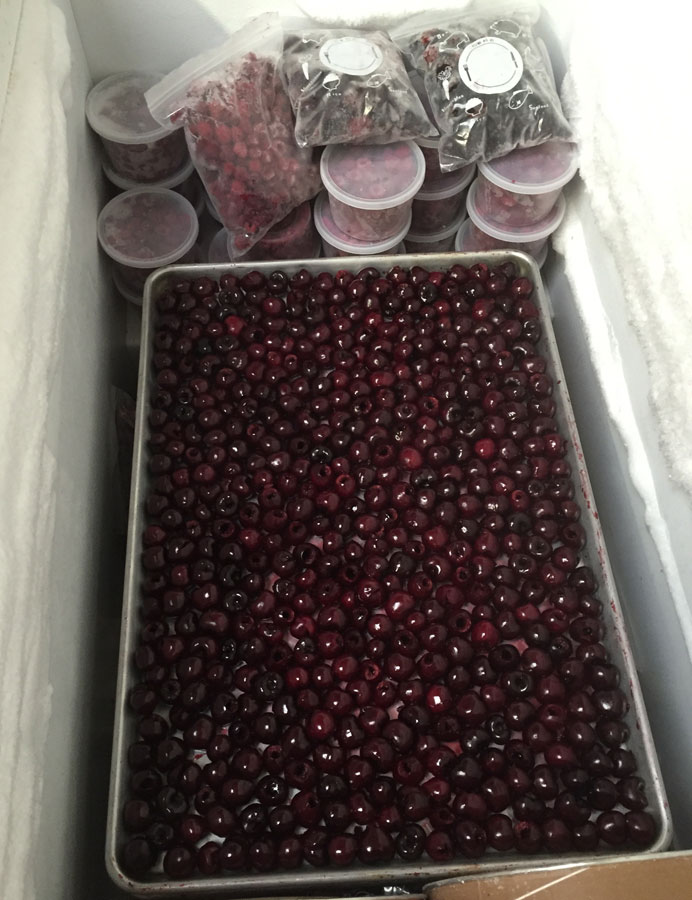
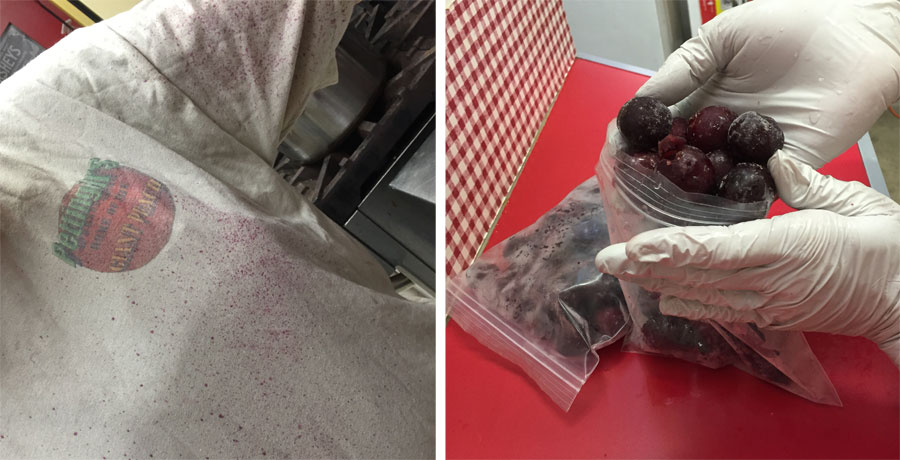
You can freeze them individually like cherries (view our How to Freeze Cherries guide), or if your family loves beets, you can freeze them all together.
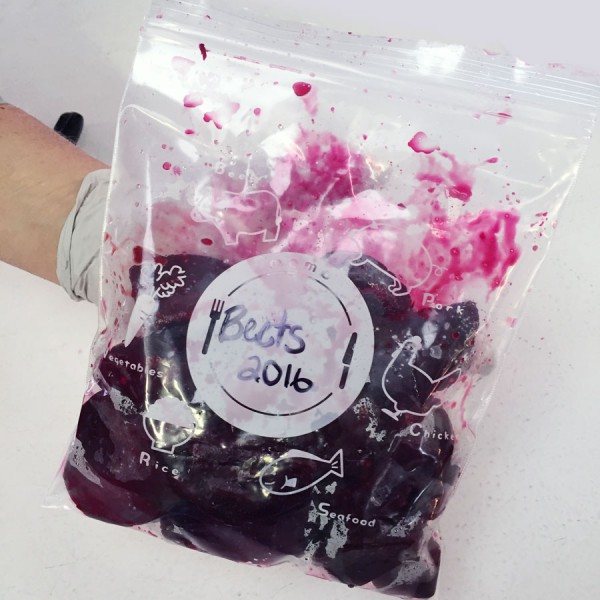
Tip: Flatten the bag when you put it in the freezer so they stack nicely and will thaw evenly.


This winter, you can take the bag out to enjoy garden-fresh beets at the peak of their flavor. Microwave or lightly simmer them in a covered pan with butter, when your family’s ready to eat!
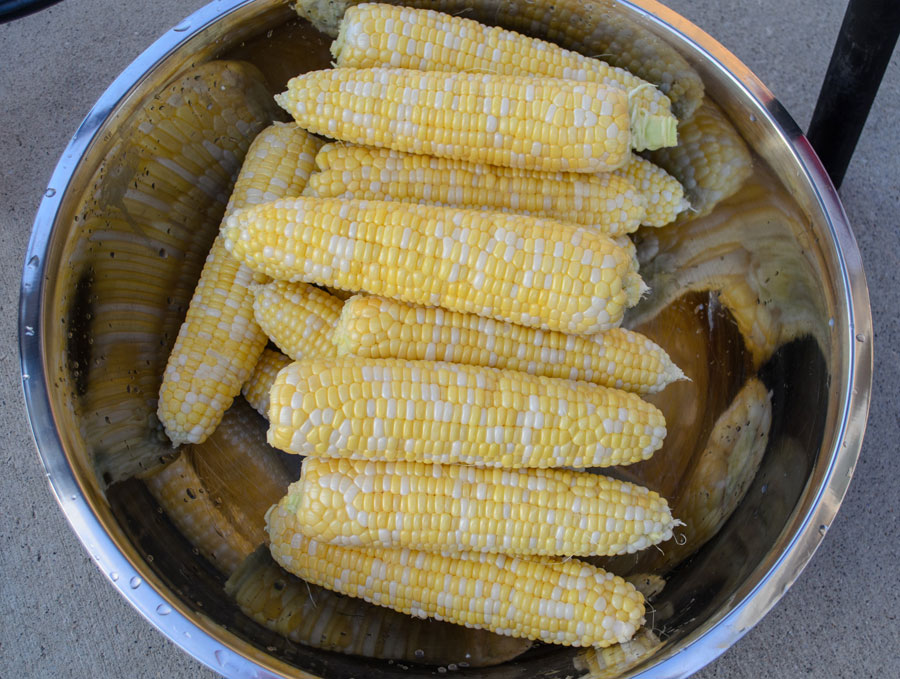
If you liked this, you will LOVE our other frozen food storage tips! Make sure you check out How to Freeze Cherries and How to Freeze Corn.