We were so lucky to have Colleen Sloan, the first lady of Dutch oven cooking, give us some excellent tips on Dutch oven (D.O.) cooking. And you’re lucky, too – keep scrolling to see her creations & get 2 complete Dutch oven recipes!
I got to catch up with Colleen as she was cooking up samples outside Smith & Edwards. You wouldn’t believe the number of ovens she had going with all different meals and treats inside.
Colleen had a pie going, pizzas, orange rolls, chicken noodle soup, taco bread, chili, garlic cheese rolls, apple crumble, and even more meals – there were Dutch ovens everywhere.
See Colleen Cook!
If there was a way to capture the heavenly smell of Colleen’s Dutch oven cooking, you wouldn’t need to see what she was doing. But these pictures tell the story of some of her dishes, and just think, every dish smelled – and tasted – just as scrumptious as you’d imagine looking at them.
Remember, Collen prewarms her D.O.s and sprays the inside with a coat of vegetable oil before each dish.
Chili
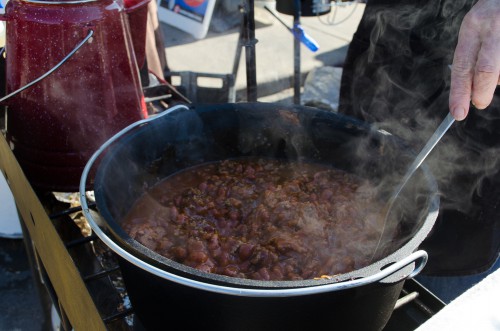
- Nothing better on a campfire than some chili steaming away. For this pot, we just opened some canned chili and added cheese (lots!) – but a Dutch oven will give your from-scratch chili an amazing flavor, too!
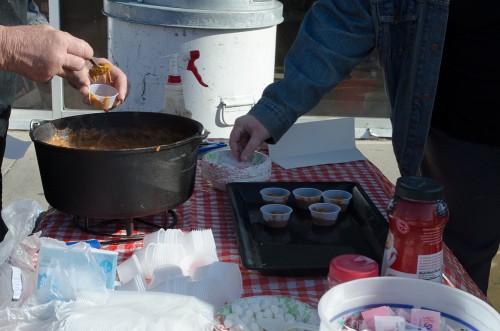
- Serving up the cheesey chili – mm mm mmmm!
Taco Bread
This is a happy recipe Colleen discovered – Taco cheese biscuits, or taco bread! In a warm D.O., the dough rose and baked for about 35 minutes, then it was ready. You can make this same meal with your own favorite spices – and lots of cheese :)
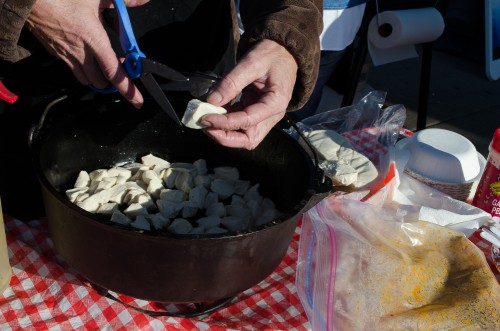
- Audrey’s cutting up some frozen bread dough into morsels. You can keep your dough whole, or in medium chunks for rolls: cutting it this small made it easier to break into samples when it’s done, and also faster to cook.
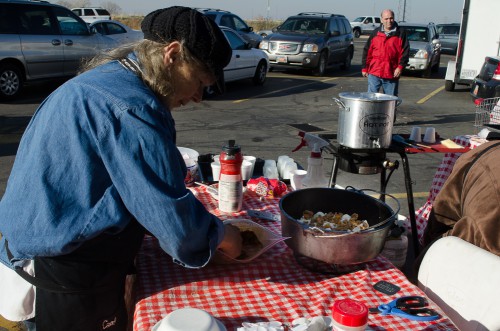
- Where’s the beef? Colleen’s adding some precooked ground beef cooked in taco seasonings.
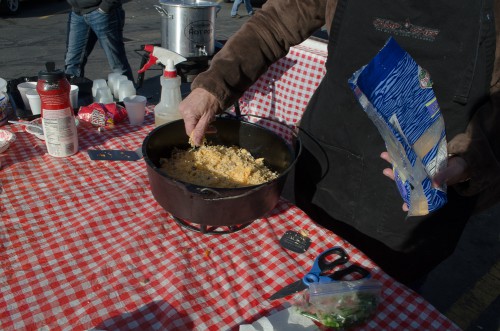
- Audrey: How much cheese do I put in?
Colleen: Just put in the whole bag!
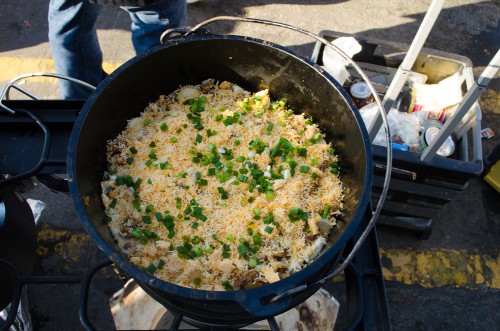
- Last peek before the lid goes on: some green onions on top. Yum!
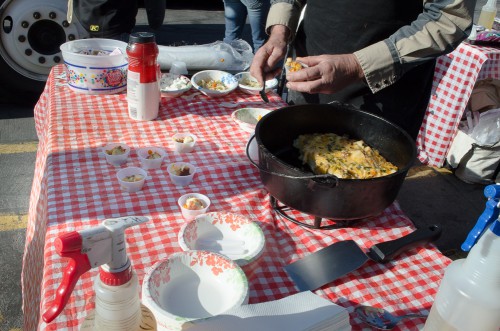
- It’s half gone already! Look at that… and it breaks apart into perfect morsels because the bread was cut in pieces. Yumm!
Candied Yams
You’ll have to imagine how these turned out – I could have watched Colleen cook all day, but I had to go back inside before I saw how these candied yams turned out. I’m sure they were delicious… and so easy to make!
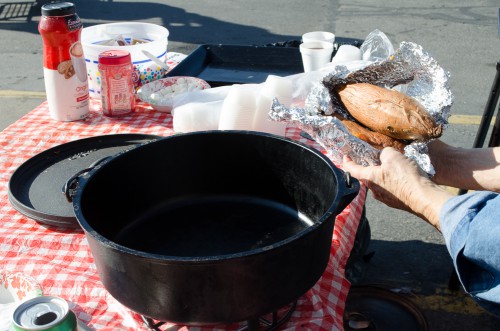
- To start, Colleen sprayed vegetable oil in the Dutch oven. Then she’s got some prebaked yams wrapped in foil, just like you can bring on your camping trip, and Skip’s going to peel and slice them.
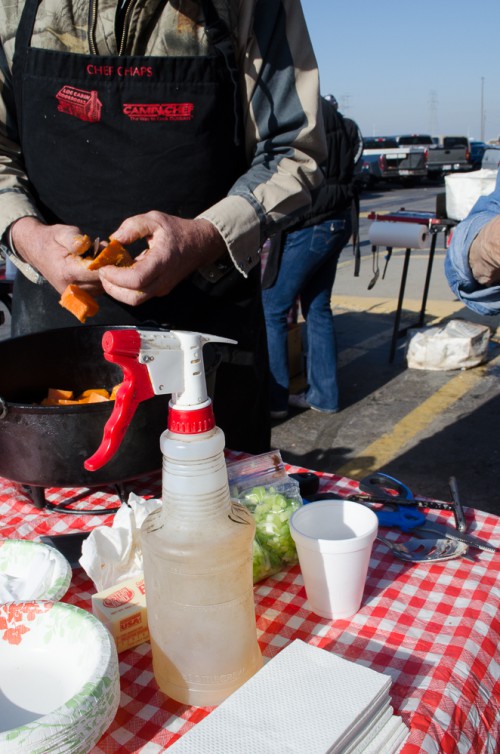
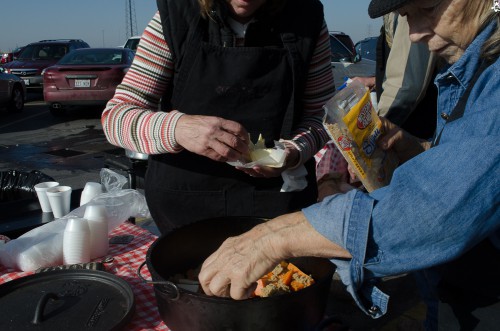
- Yams are very good for you! So go ahead and add in a couple handfuls of brown sugar…
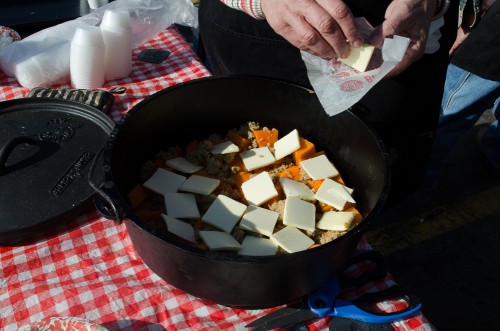
- …plus a sliced stick of butter for a delicious pot of vegetables!
Then pop the lid on, and let it go til you smell that delicious candied yam smell. Mm mm mmmm!
Pizza
This was another one I couldn’t snap the final product – it was out of the Dutch oven and scarfed down before I could take the picture! But here’s how Skip made his Dutch oven pizzas:
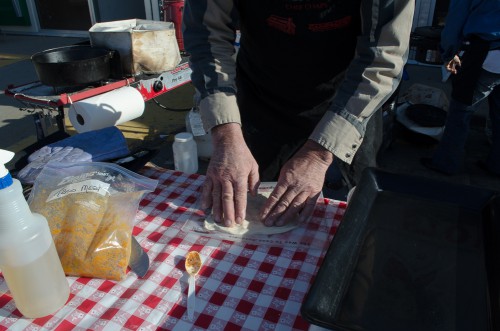
- Skip’s kneading some Rhodes dough into pizza shapes
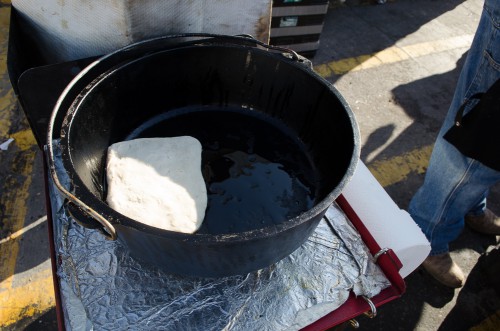
- Skip can fit 2 pizzas in this 10″ Dutch oven – he could also cook them on a flat lid
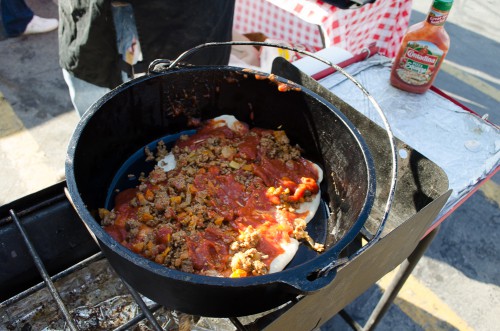
- Let’s see… Skip’s got pizza sauce, ground meat, pineapple (yum!) going… good so far, but we’re missing something…
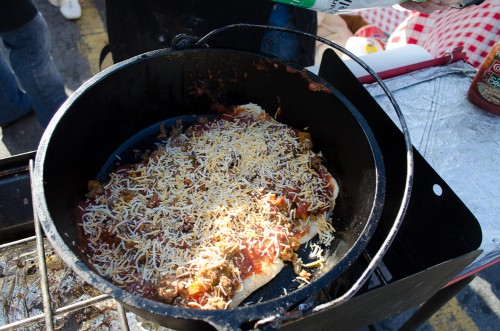
- That’s better! Can’t forget the cheese. Lid on, cook away, and devour!
Apple Crumble
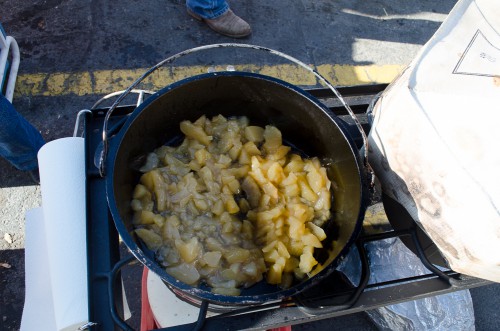
- First thing you need for a Dutch oven apple crumble is some apple pie filling
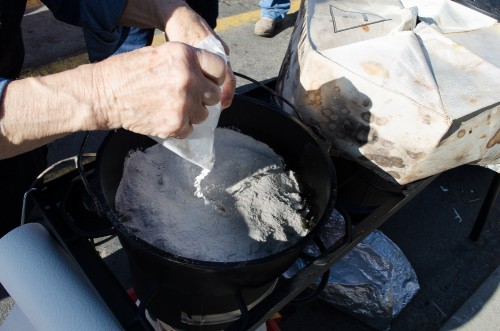
- Add a bag of cake mix over the filling
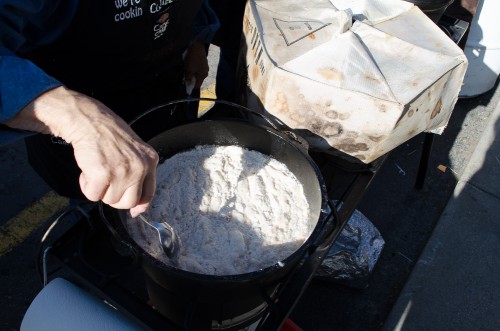
- Give it a nice stir – keep the cake mix on top
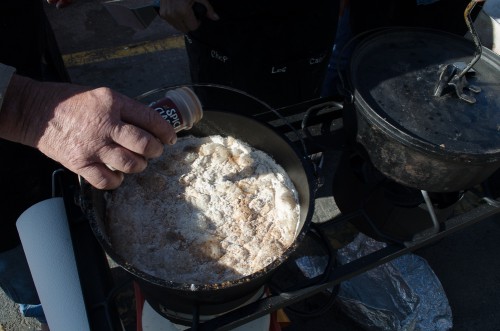
- Think it needs some cinnamon! It smells so good already (remember, the D.O. is prewarmed)
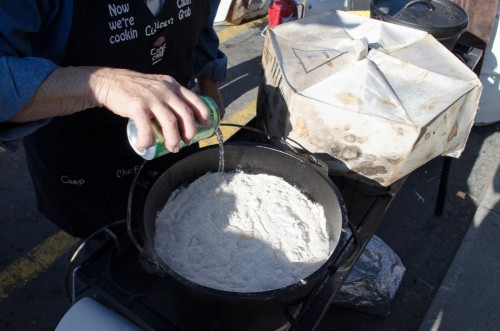
- Add a can of pop – you can use any you like, Colleen went with Sierra Mist
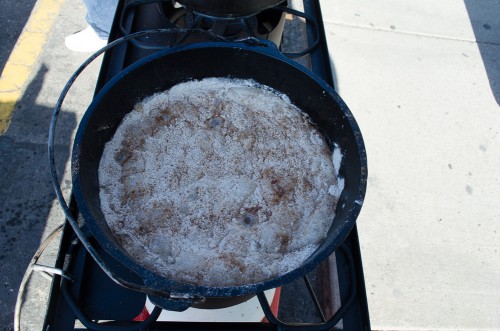
- It’s bubbling now with the pop in there! Time to put the lid on and let it go.
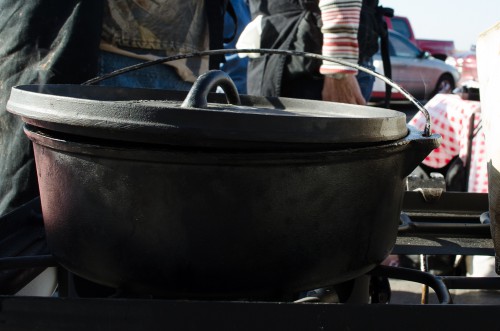
- Smells ready! We peeked, and it’s done. So we’ve tilted the lid to help it cool down.
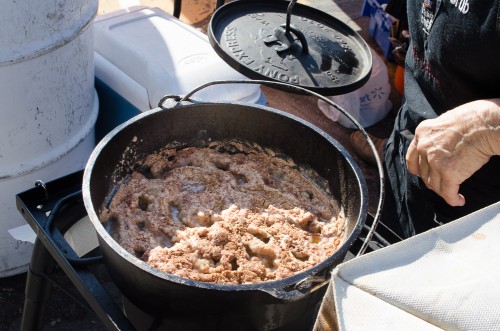
- Mmm! It’s ready – smells like cinnamon, rich apples, and good cooking.
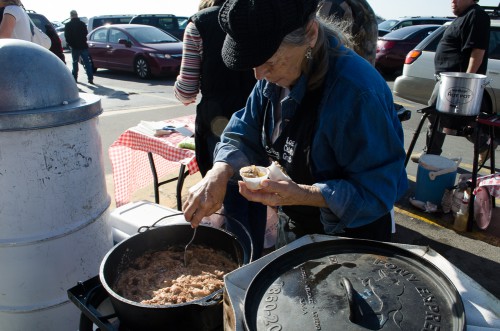
- It’s time to serve up! Colleen does the honors

- Kelly gives this apple cobbler her seal of approval! Yum!
Beginning Dutch Oven Cooking Tips
The Dutch Oven Cooking Basics
If you’re cooking for just you or 1-2 more people, a 10-inch Dutch oven is a great size to start with. Get yourself a Dutch oven, a hot mitt and a lid lifter if you like, and a cookbook – Colleen’s Log Cabin Dutch Oven cookbook is a great place for beginners to start! Just start trying it out – you’ll get the hang of it in no time.
Where do you Start?
Do you have a recipe you use at home? Just put it in a Dutch oven, put your Dutch oven in your electric oven set to 300°, and let it go.
You don’t need to go hotter than that, because the cast iron gathers and retains heat, so it’ll get even hotter than 300.
If your Dutch oven is a camp oven – that is, if it has legs – simply set your Dutch oven on a cookie sheet to avoid hassling with the racks. A cookie sheet makes it easier to slide the Dutch oven out, too.
Keep the Lid on It
Try not to peek, so all the flavors and nutrients stay inside the Dutch oven. Instead, when it smells like what it tastes like, your nose will let you know when it’s done!
The Dutch oven is the original slow cooker and pressure cooker – in fact, with the lid on, you can get between 1-3 pounds of pressure inside, which helps your food cook thoroughly for a rich flavor, without a long time waiting. So remember, don’t lift the lid because it’ll release all that pressure.
The best way to get started Dutch oven cooking is to try out your own recipes you already know. Then once you’ve got a feel for it, give one of Colleen’s great recipes a try!
Dutch Oven Recipes
I asked Colleen if I could share some recipes from her wonderful Log Cabin Dutch Oven Cookbook, and… she said YES!
So here are 2 very simple recipes that you can try tonight with just a Dutch oven in your oven at home. And as I learned today, you can add your own spices, sauces, and especially cheese to just about any Dutch oven recipe to make it even tastier! (We debated the finer points of cheese on apple pie – a cheese-stuffed crust was the way to go, we decided)!
Dutch Oven Bread
You’ll need:
- 3 cups flour
- 1 Tbsp. Baking Powder
- 1 tsp. Salt
- Water (enough to make a dough)
Mix dry ingredients with 3 Tbsp water to start. Add more if necessary. Work as little as possible and bake in a greased Dutch Oven for 20 to 25 min. It can be baked as one large loaf, or several small loaves.
You’ll find dozens of hand-written notes in the Log Cabin Dutch Oven Cookbook from Colleen. She’s written “Um-Um-Good” next to this one! This is such a simple recipe, I can’t wait to try it. And here are some variations she recommends to mix it up:
- Use milk instead of water
- 1 Tbsp. Sugar
- 1 Egg
- 1 Tbsp. Oil
- 1 tsp. Cinnamon or Nutmeg
- Raisins, currants, drained blueberries, cheeses, garlic, onions, and more. All to make your bread taste swell.
Dutch Oven Pot Roast
You’ll need:
- 1 large Pot Roast
- 1 tsp. Salt
- 1 medium Onion (sliced)
- 1/2 tsp. Pepper
- 8 to 10 Potatoes (peeled)
- 1 cup Water
- 10 to 12 Carrots (peeled & cut in half)
- 1 can Cream of Mushroom Soup
- 2 Tbsp. Cooking Oil (or bacon grease)
Put cooking oil in bottom of Dutch Oven and place the roast inside. Place onions on top. Add remaining ingredients and cover. Cook for about 90 minutes. Be sure to maintain the temperature. This one-dish meal is excellent for outdoors. Briquettes can be added 15 minutes before serving.
Recipes reprinted from Log Cabin Dutch Oven Cookbook by Colleen Sloan, with permission – thanks, Colleen!
More Dutch Oven Cooking Tips from Colleen
Colleen uses vegetable oil – Dutch ovens love it, and it’s easy to spray through a spray bottle. Just fill a spray bottle and pack it with your Dutch ovens for easy.
The other spray bottle Colleen keeps with her when cooking is a 4:1 mixture of 4 parts water, 1 part apple cider vinegar. She uses this to disinfect pots, Dutch ovens, and her hands while cooking. That’s a tip you can use camping, too!
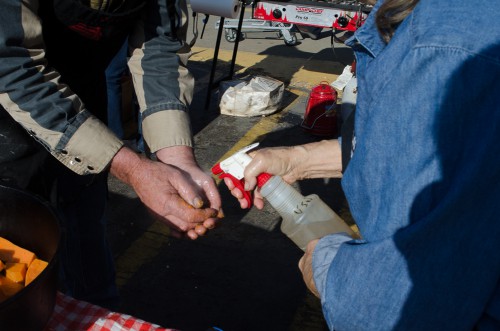
Spraying Skip’s hands with vinegar to clean them after peeling yams
Preheat your Dutch oven, so it’s got a head start and can cook your food faster. Especially if you’re out in cold weather! Don’t get it piping hot, just warm, and then oil it up and cook away.
Don’t forget you can cook on a lid! Pizza and fillets are great to cook on a lid, not to mention eggs and toast.
You have some choice in the shape of lids: some lids are fairly flat, and others are quite rounded, giving you better control of liquids and eggs.
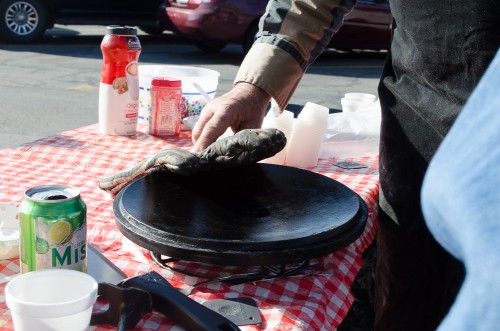
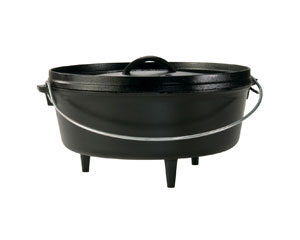
Here’s an example of a rounded Dutch oven lid – this one is by Camp Chef.
Speaking of lids… while you’re preheating your Dutch oven, or D.O., make sure your lid’s preheating, too. And when you take the lid off, put it on a burner to help it stay warm!
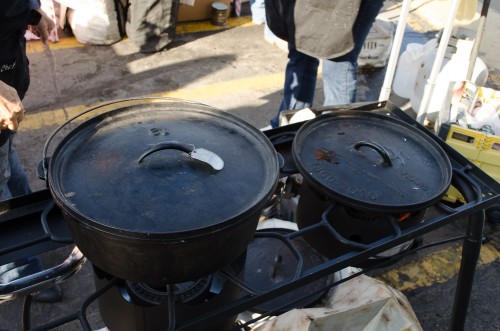
Keeping a Dutch oven lid warm on the Camp Chef stove (right burner)
Cleaning Dutch Ovens
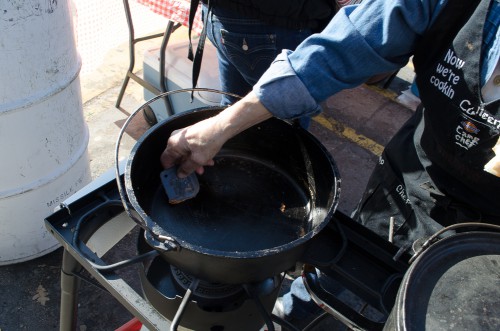
Cleaning a Dutch oven pan isn’t as hard as you think. Sure you can’t just stick it in the dishwasher (rust), but it’s not tough.
Colleen cleans a bit as she goes – as soon as an oven’s empty, she sprays it with her vinegar water bottle so the food doesn’t harden on the pan.
Then when you’re washing your dishes, put your Dutch oven in the sink with hot water, swish it around with a rag. Dump it out, rinse it again, then put it on the stove and warm it up to dry. You could also put it back in your stove’s oven if the oven’s still warm. This’ll make sure all the moisture disappears.
Then, when you get your Dutch oven out to cook next time, just oil it up, heat it up, and you’re ready to go.
About Colleen
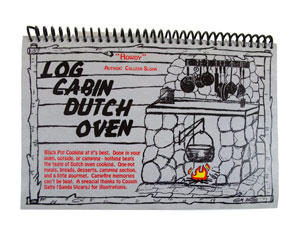
A caterer by trade, Colleen Sloan had always been around Dutch oven cooking – her great-great grandparents came across the plains cooking in Dutch ovens all the way, so her great grandparents, grandparents, and parents have all helped refine her family’s recipes. Colleen compiled her grandmother’s recipes in the Log Cabin Cookbook.
And that’s not her only book… she’s written a total of 6 Dutch oven cookbooks, and you can find them all at Smith & Edwards – we even have her first book available online here.
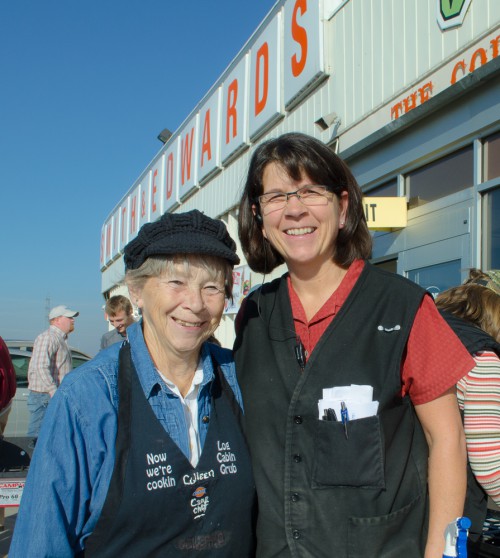
Colleen Sloan and Vickie Maughn, our Housewares manager
Raised on a Utah farm by pioneer stock, and involved for 45 years in Scouting, Colleen loves sharing her knowledge and passion for Dutch oven cooking. Colleen loves just about everything out of a Dutch oven, but 2 of her favorites are bacon cheese biscuits, and fried chicken in a Dutch oven. And she’s sure you’re going to acquires some favorite Dutch oven dishes, too!
Nervous to try Dutch oven cooking? Colleen’s sure there’s no bad recipe. Just put together the food you have and your favorite seasoning, and it’ll turn out! Colleen says, “When it comes to seasoning, let your imagination do the walking through your Dutch oven recipes. Try some different things and see!”
Get your Dutch Oven Gear online at Smith & Edwards:
 |
 |
| Dutch Ovens |
Colleen’s Dutch Oven Cookbook |
Thanks Colleen, Skip, and Audrey!
Colleen’s been coming out to Smith & Edwards for over 20 years to give us demos, samples, and great advice on Dutch oven cooking. We sure appreciate it.
We owe a big thank-you to Colleen and her crew! They braved the cold the morning of Black Friday 2013 to cook and serve up samples during the day – and they even served up hot chocolate and coffee for folks waiting in line before we opened the doors. It was sure appreciated by folks standing in 32-degree weather!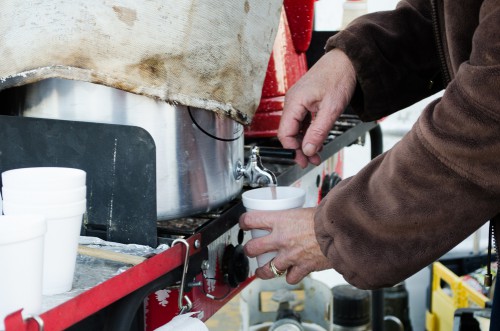
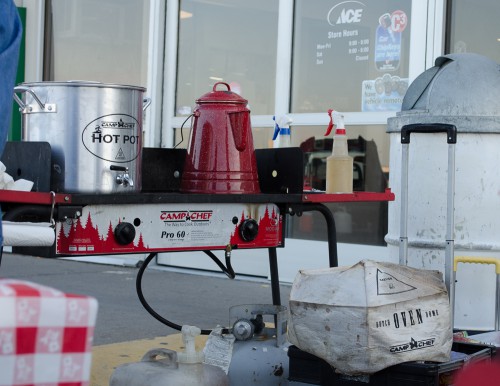
Who doesn’t love the coffee and hot chocolate camp stove setup that they have?
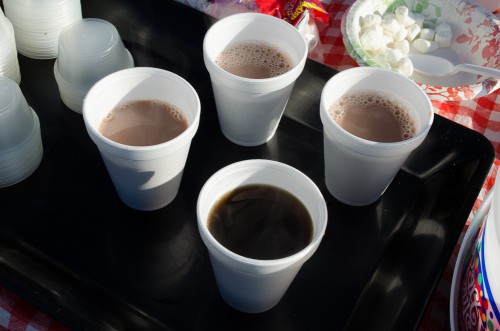
Steaming-hot hot chocolate and coffee make even a brisk morning warm.
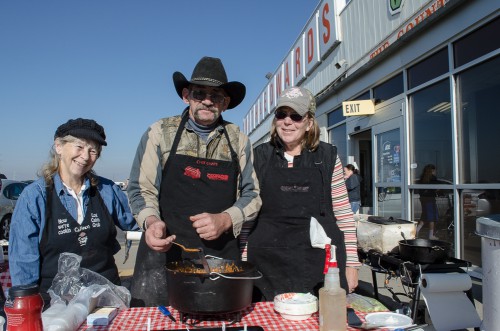
Colleen, left, with her assistants Skip and Audrey – Dutch Oven caterers!
Many thanks to Colleen and her friends Skip and Audrey of S & A Catering in Sandy, Utah. Skip & Audrey’s number is 801-973-8371.
Want to know more about Dutch oven cooking? Visit IDOS, the International Dutch Oven Society. Not only are they worldwide – IDOS members will also be sharing samples and recipes the first weekend of May at the Weber County Fairgrounds, so mark that on your calendar if you’re a Dutch oven fan or just looking to get started!
