Over 120 Brand Name Smith and Edwards Spices!

- posted by Rebecca Adams

Smith and Edwards has everything you need, if we can find it. Why not have our own line of affordable spices, seasonings, rubs, herbs, and air dried vegetables?

From the freshest ingredients comes over 120 spices that are must haves for your kitchen.

A few of the Smith and Edwards line up. Oregano, nutmeg, and tomato flakes!

A few of the Smith and Edwards line up. Oregano, nutmeg, and tomato flakes!


You’ll find new ways to use these spices following our Pinterest board, For Your Kitchen. New recipes are added weekly!


Nutmeg Spice and Tomato Flakes

Nutmeg Spice and Tomato Flakes


You’ll find all the spices by clicking this link here. You’ll find more ideas for your kitchen by visiting our kitchen and housewares section on our website!

I love my raised garden! Click to find these vintage ammo boxes and make them your own too!

Use tissue paper to make fun faces on mason jars!

Fun Halloween Mason Jar Ideas!

- posted by Rose Marion

The people in our Housewares department are ALWAYS full of ideas! That’s why when I saw they are doing a weekly Mason jar idea I HAD to share it with you!

Halloween Mason Jar ideas: Jack O'Lantern Jars Use tissue paper to make fun faces on mason jars!
Place tea lights or battery-operated candles in mason jars for fun decorations. Use tissue paper to create fun Jack o’Lantern faces like ghosts and Frankenstein, then use Mod Podge or glue to glue them to mason jars!

They used a limited edition, green Mason jar to create these fun decorations, but you can use clear ones, too!

You can use Mod Podge or glue to attach tissue paper to the glass jars – OR, you can even use a Sharpie marker to draw on the glass. They glow better when you use tissue paper, we found!

Everyone in Housewares contributed to this Halloween mason jars idea, and Ashley and Melissa put them together.

Nice going, Melissa and Ashley!

Want more Mason Jar ideas?

Mason Jar gift ideas

There are a million and a half fun things to do with Mason jars BESIDES canning… if you’re looking for inspiration, check out Amy’s 7 Super Simple Mason Jar Crafts that Make Great Gifts. Doesn’t she have great ideas? I think it’s something to do with the fact that Amy was in HOUSEWARES before she came to the Web department! Hm…. I think Vickie‘s on to something in her Housewares department, if only she could bottle it…

Canning basics - and Utah fruit stand forecast!

Canning Tips and Fruit Stand Forecast

- posted by Rose Marion

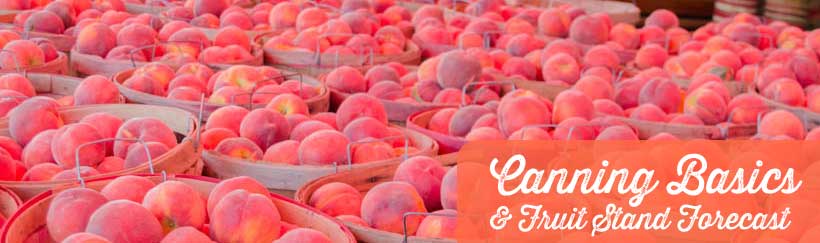
Ah, the first of August! It’s that time of year: Time to turn the fragrant, tasty fruits of summer into beautiful bottled treats for the winter. That’s right, it’s canning season. And if you haven’t been up Highway 89 this summer, you’re really missing out!

Pettingill's Fruit Stand on Highway 89 in Willard, Utah

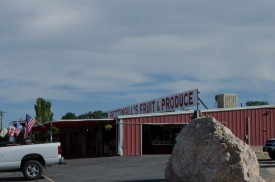
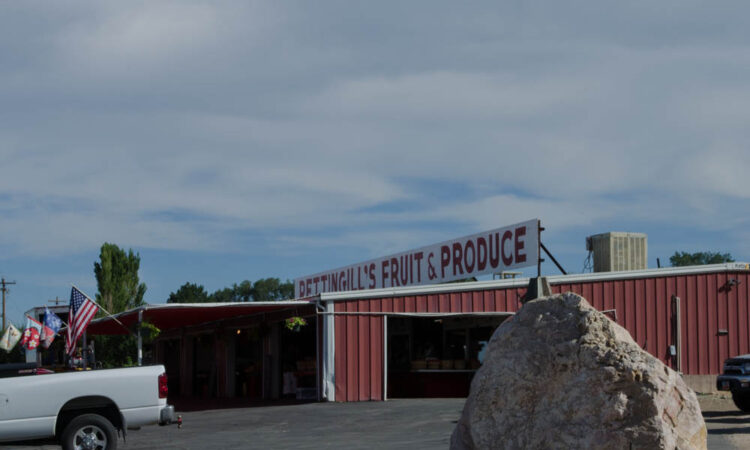
Take Exit 351 north off I-15 and head up Highway 89 to see the produce at Pettingill’s!

Jean Davis runs the southernmost fruit stand, Pettingill’s, with her family. Jean’s father built the farm back in 1947. Jean and her family have put together one of the finest fruit stands along the entire “Fruit Highway,” which is Highway 89 from the I-15 exit 351 north to Brigham City at the Eagle Mountain Golf Course in northern Utah.

There’s nothing better than local produce fresh from the farm: it’s excellent quality at good prices, and you’ll get to meet some great people at the fruit stand, too. They’re friendly and always happy to share uses & ideas for the produce that’s in-season… they may even tell you what’s coming around the corner!

I asked Jean what some of the best fruit and vegetables are best for a beginning canner. Apricots, she said. Apricots and Peaches. It’s a quick bottling process and easy to do.

And you don’t have to can all that produce to keep it for the winter. Sweet corn is excellent frozen. Peaches, nectarines, pears, tomatoes, apples, corn, and apricots are all wonderful dehydrated (more on dehydrating in a moment!)

Peaches at Pettingill's

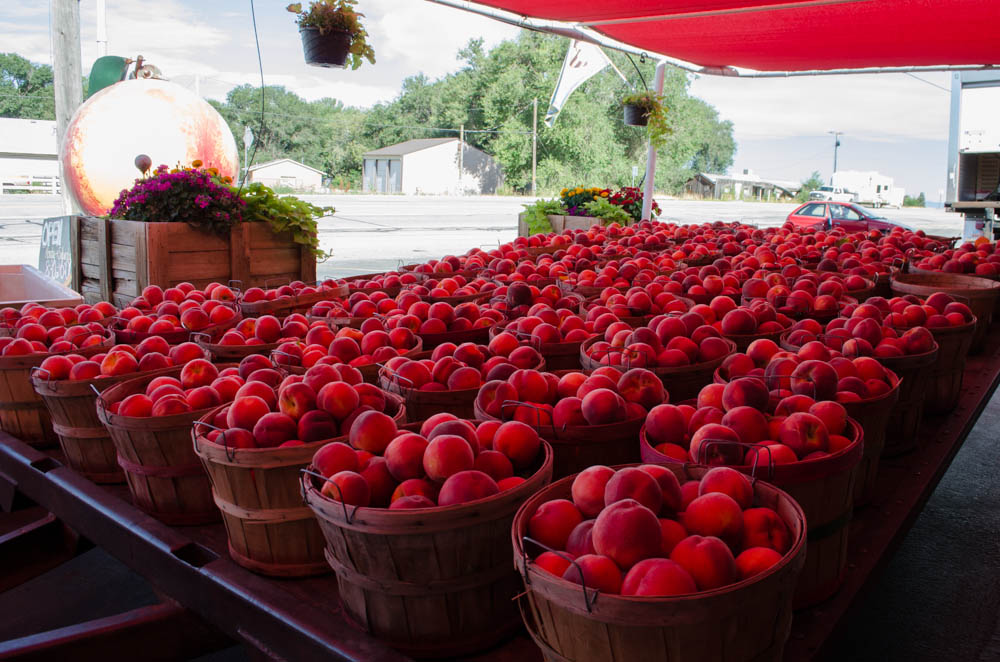
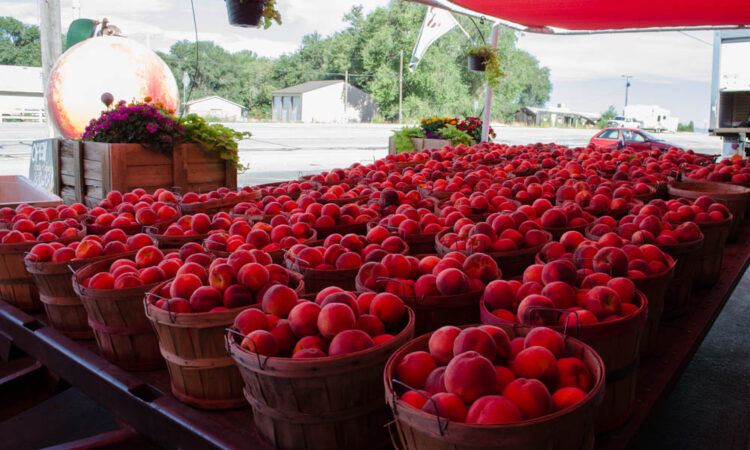
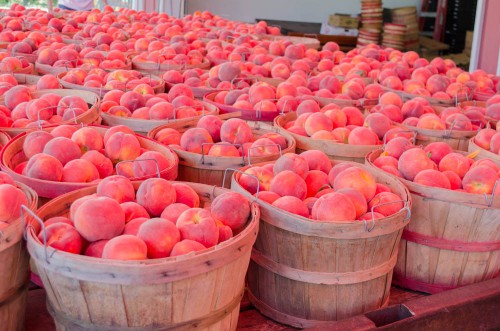
Bushels of tasty peaches at Pettingill’s

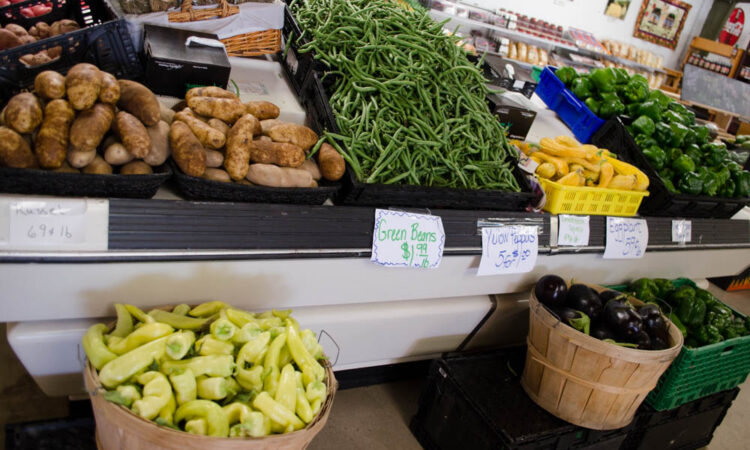
So what’s in the fruit stands right now? (As of July 31, 2014. Available produce will vary from month to month, year to year.)

What to Can in August

It’s pretty tough to say which tasty fruits and veggies will be in the fruit stands week-to-week… your best bet is just to drop in and see what’s there! Please note that all dates are as of August 1st. Generally speaking, here’s what you can expect for the month of August in the Fruit Stands this year:

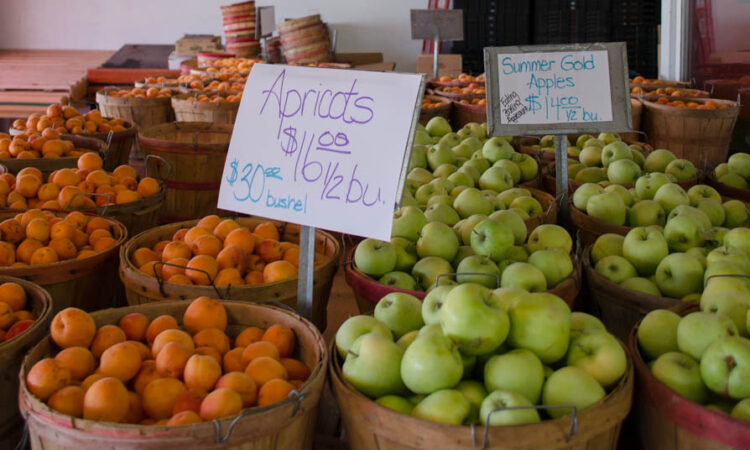
Just finishing, get ’em now: Cherries and Apricots. Summer apples have about 3 weeks left!
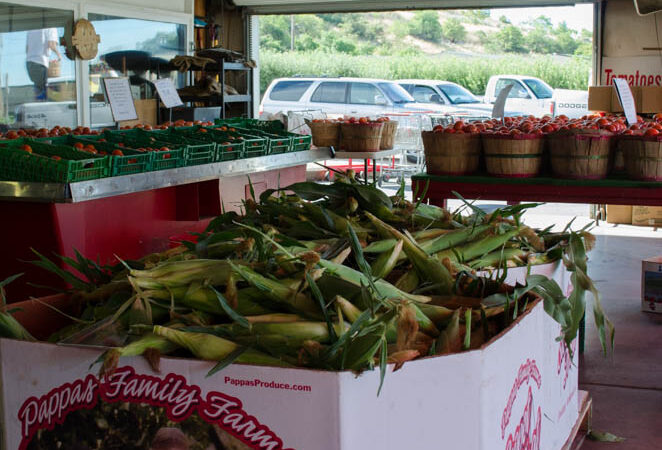
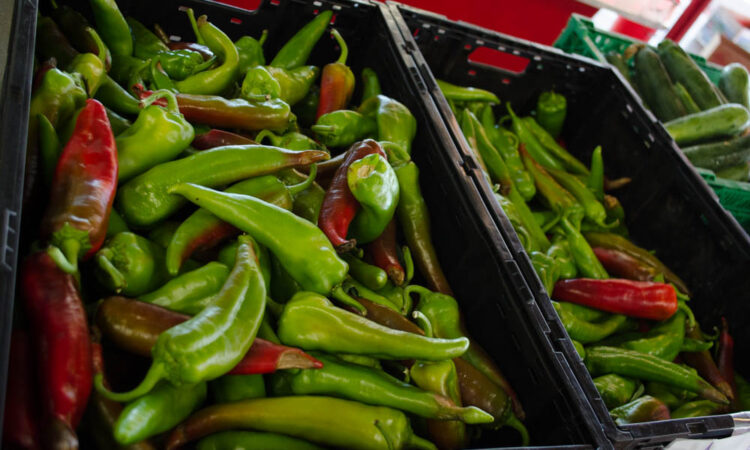
Just in: Tomatoes and Sweet corn just came in – this is a great time to get your salsa, bottled tomatoes, and sauces going! Freeze your sweet corn today (you can also dry it!)

Pears will be coming in to Pettingill’s in about 10 days.

Cantaloupe and Watermelon at Pettingill's

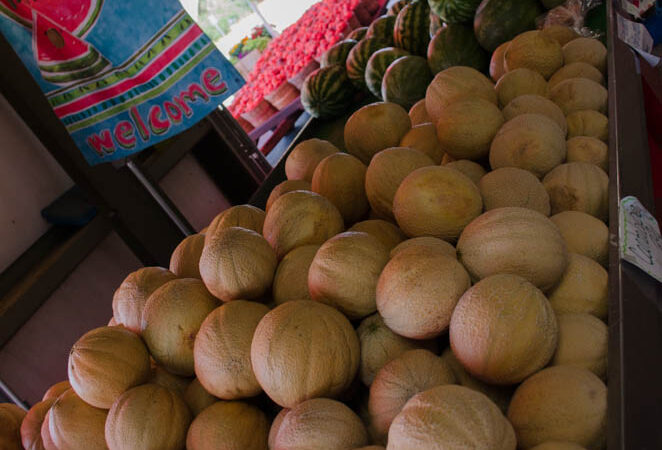
Cantaloupe and watermelon

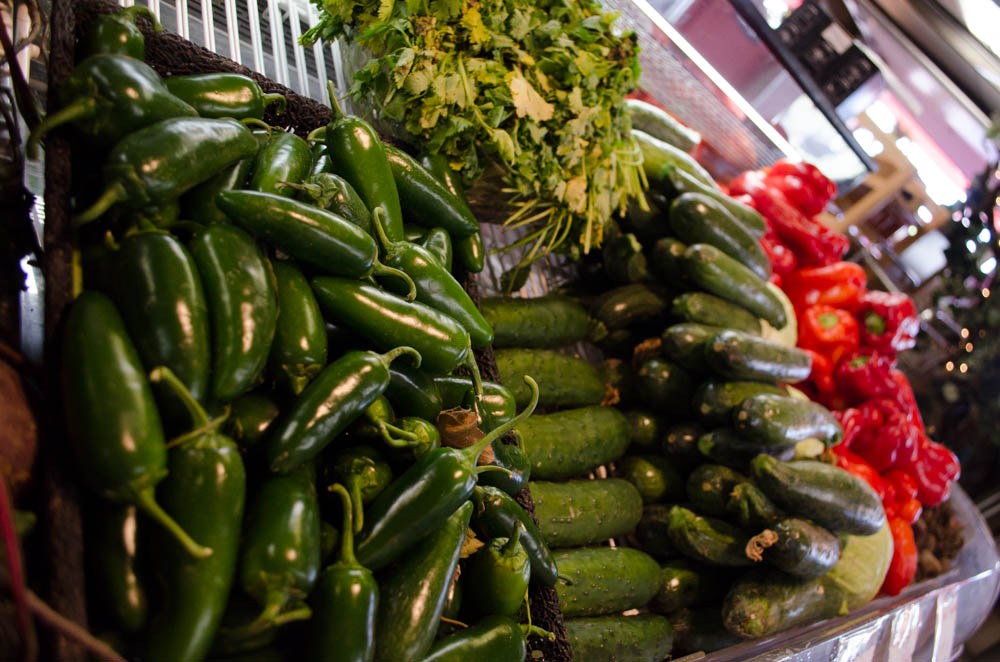
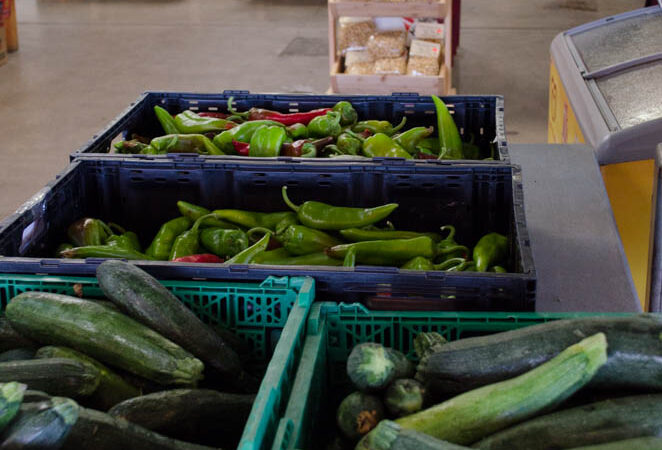
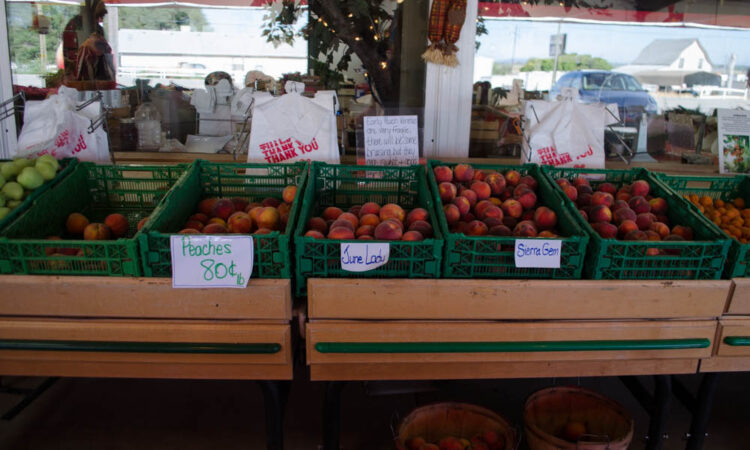
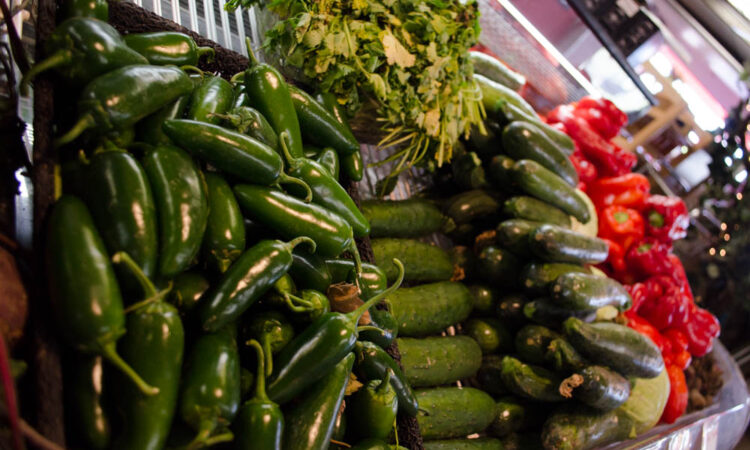
Also in now: Watermelons, Anaheim peppers, Jalapenos, Yellow peppers, Cantaloupe, Raspberries, Zucchini, Beans, Beets, Peaches

Peppers, cucumber, and zucchini at Pettingill's

Peppers, cucumber, and zucchini

Coming soon: Fall apples will start at the end of August and continue to the first week of October. Plums will come in September.

Summer Gold Apples at Pettingill's

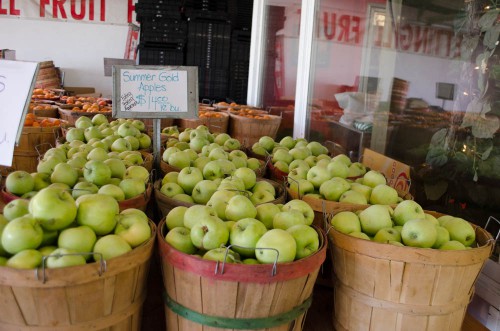
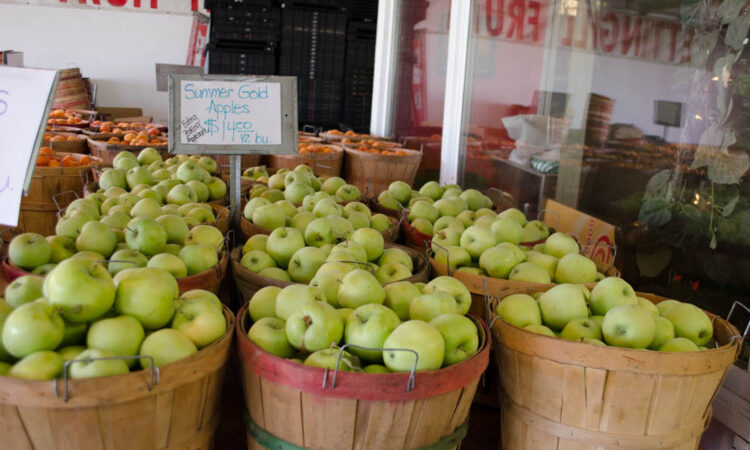
Summer Gold Apples at Pettingill’s – great for eating, baking, and making applesauce

Update August 9: Pickling cucumbers are in at Pettingills, and so are yummy Bartlett pears! Today was the first day for both!

Pears at PettingillsAll those yummy fruits and vegetables are in season now and ready for you to freeze, can, or dehydrate. You can get day-by-day updates on the Pettingill Facebook page!

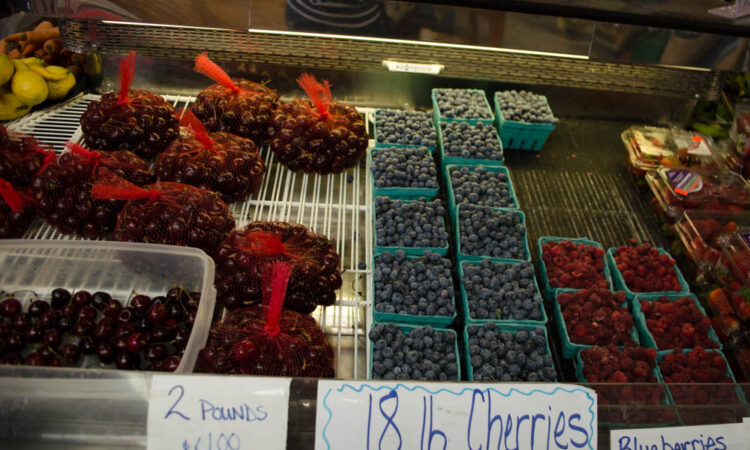
We were so lucky this year to have an amazing cherry season in 2014. They’ve about wrapped up now… hope you got to make some delicious cherry cobbler, canned cherries, or crumbles with them!

Best Peaches for Canning

One question both Jean and Smith & Edwards get is “What peaches are best for canning?” It’s a tough question because Jean’s farm has 50 different varieties of peaches alone!

Peaches at Pettingill's fruit stand

They all come on one after the other, and who could pick a favorite out of 50? So what Jean’s customers have said is the best canning peaches come on in August and September. The top 6 varieties of peaches for canning according to Pettingill’s customers are: Canadian Harmony, Rosa, Early Elberta, Angeles, Sun Princes, and Hales.

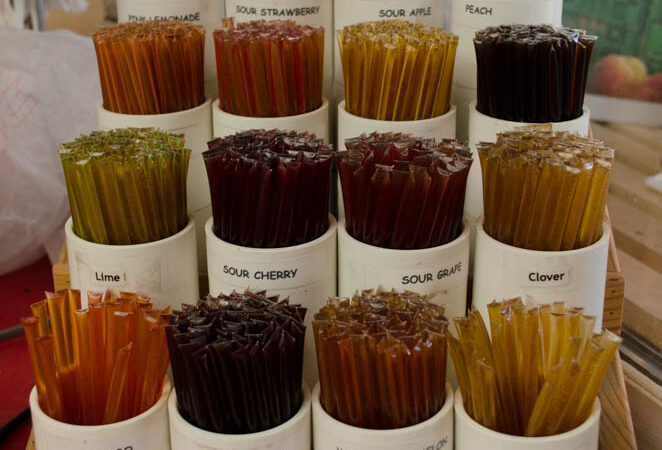
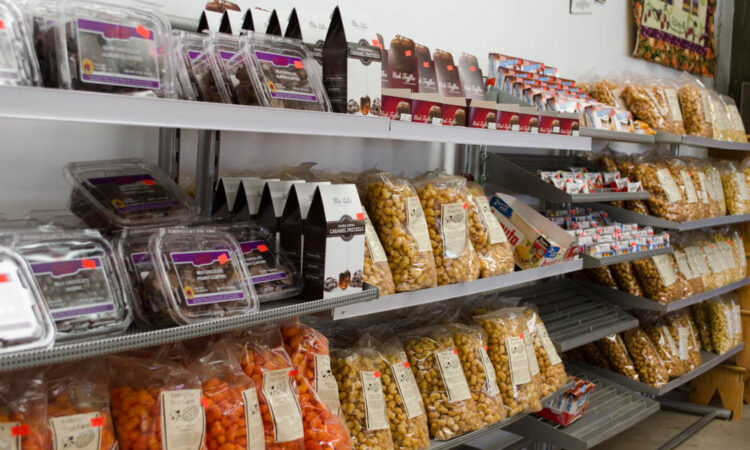
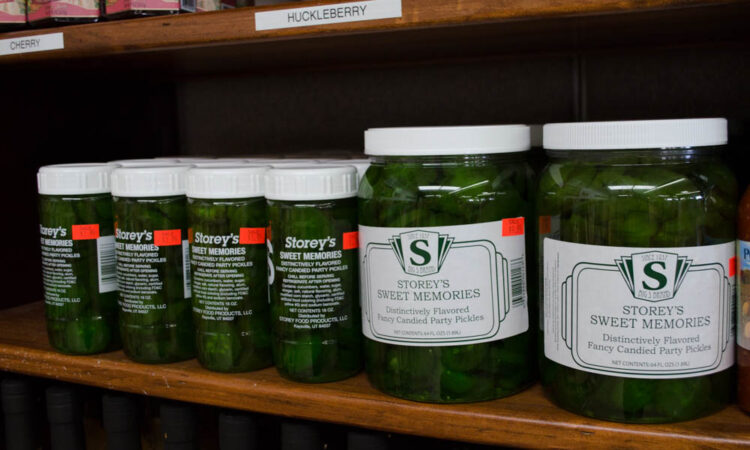
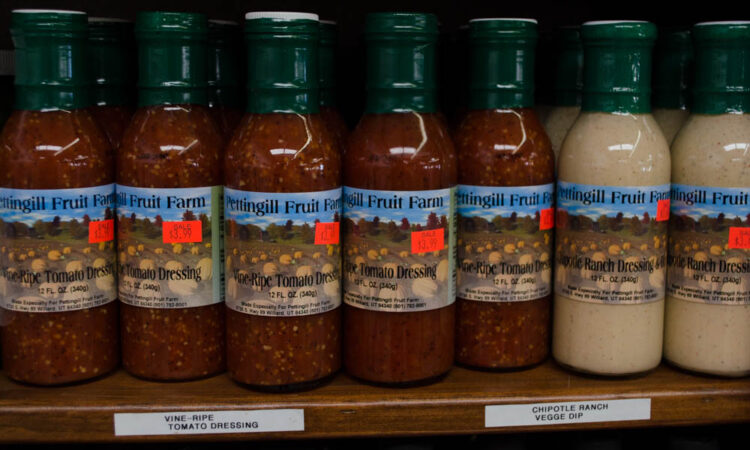
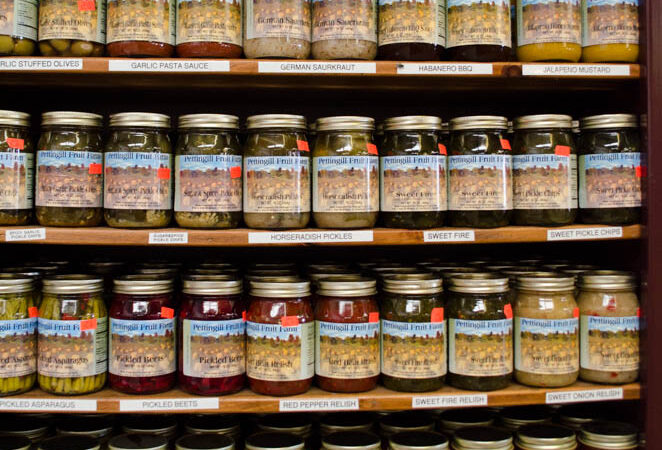
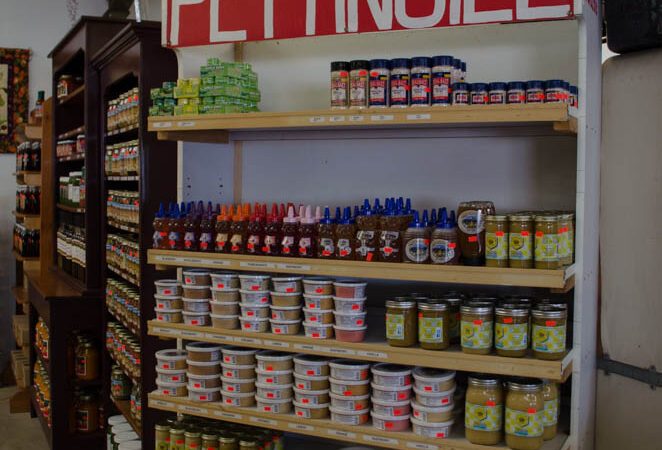
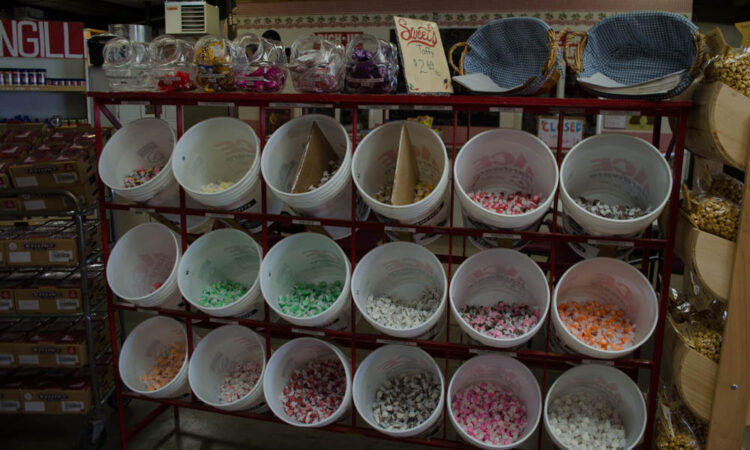
Besides fresh local fruit, Pettingill’s carries Utah and German chocolate, truffles, spicy cheese nuggets, syrups from every berry imaginable, vinaigrettes, local honey (in honey sticks, honey bears, and tubs), Farr West ice cream, and all sorts of sauces made from Pettingill’s produce. Plus they serve up shakes & hot dogs from 11-5:30pm. Just a mile north of Smith & Edwards, Pettingill’s fruit stand is a great local stop to visit all summer long!

Canning Tips from USU

Canning can be a lot of fun – well, at least it can be very rewarding! There’s nothing like digging in to your family’s favorite apple pie filling on a cold January Saturday morning. You can get better flavor through home processing, better nutritional content, and you can make food that fits your family’s special diet needs. Plus, once you’ve got a season under your belt – or friends, family, or church connections who can show you the ropes – you’ll have the canning process down pat.

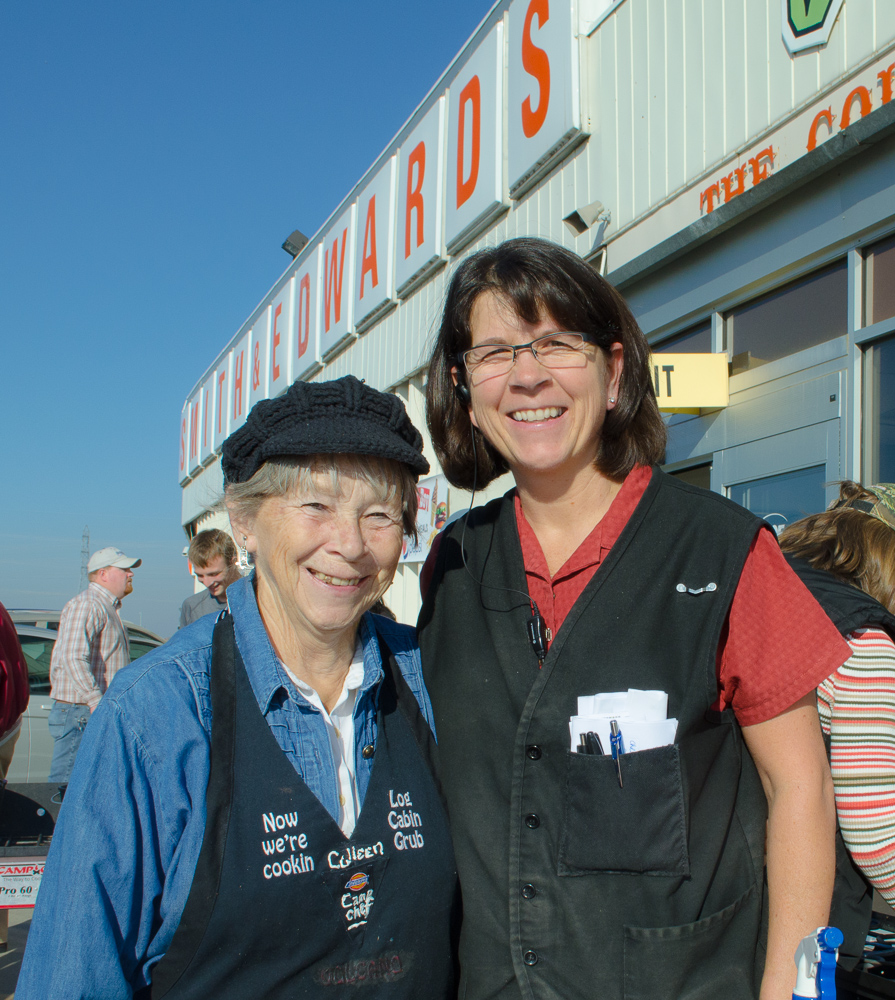
Teresa Hunsaker from the USU Extension Office came to Smith & Edwards in July to teach a Food Preparedness seminar, part of our monthly preparedness series (see all events here). Afterward, she stayed at the store to test pressure canners, so you could be sure your pressure canner gauge is working properly!

Teresa Hunsaker educating people about canning and testing pressure canners at Smith and Edwards

Teresa Hunsaker educating people about canning and testing pressure canners at Smith and Edwards

Teresa had some great tips for us… here are a few:

  1. Use citric acid to preserve tomatoes. Really! You only need 1/2 teaspoon citric acid for quarts, which means you get more of the sunny tomato flavor. Using vinegar, you’d need a whopping 4 tablespoons, or 2 tablespoons of lemon juice. Try it this year and see!
    Tomatoes at Pettingill's

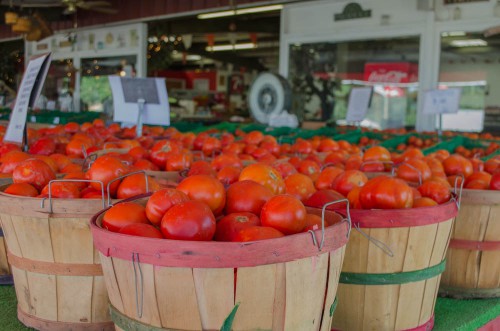
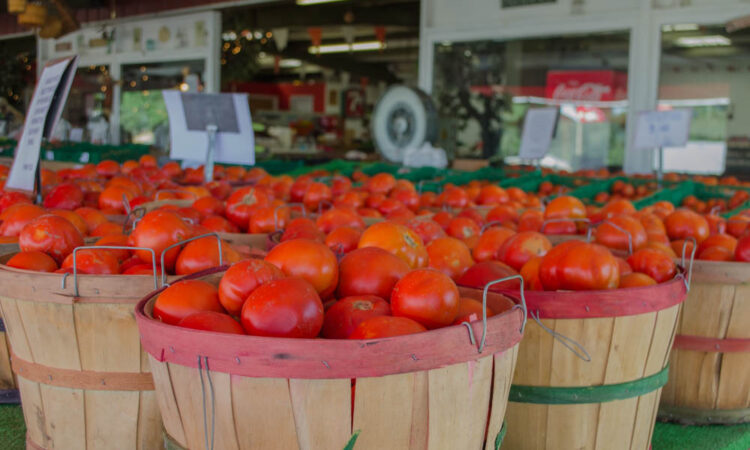
    Bushels of ripe tomatoes at Pettingill’s – for salsa, canning, & BLTs!

  2. Canning adjustments for our area: Weber County isn’t at the same elevation as most cooking & canning books are written for. For Ogden, Brigham City, Farr West, and other places in our area, we’re right around 4300 feet. At sea level water boils at 212°F, but at our altitude in Weber County, water boils at about 202°F. So it will take longer to get the necessary heat to the center of the jar to destroy molds and yeasts.
    But it’s easy. If you’re using a Water Bath Canner, just add 5 minutes for a process time less than 15 minutes; or, add 10 minutes for a process time 20 minutes or more. If you’re Pressure Canning, have your dial gauge at 13 pounds between 4,001-6,000ft altitude, or 15 pounds on a weighted gauge for 4,001-6,000ft altitude.
  3. Think all bottles have to be sterilized before using? Not anymore! If you’re pressure canning or water bath processing for at least 10 minutes, you don’t need to sterilize the jars. The jars should be filled with food. You do want to wash the jars before using, though!

Need to know how much headspace to leave? Here you go:

  • 1/4-inch headspace on Jams & Jellies
  • 1/2-inch headspace on Fruits and Tomatoes
  • 1 to 1-1/4 inches headspace on low acid foods

Canning Basics: Water Bath and Pressure Canning

The Ball Blue Book of Canning

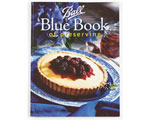
The Ball Blue Book of Canning is the definitive resource on canning.

Canning may take a day out of your weekend, but those yummy pickled beets, salsa, and applesauce are so worth it in the wintertime.

Jean from Pettingill’s highly recommends the Ball Blue Book of Canning. It’s got everything you need to know about canning in it.

If you’re just starting out, Jean says, remember that you don’t have to go it alone! Ask your family, friends, neighbors, or friends from church or work if they want to come can with you. More people makes it more fun, you’ll learn from the wide experience they’ve had, and someone might bring a special ingredient or recipe that you’ll all wind up loving!

All-American Pressure Canners

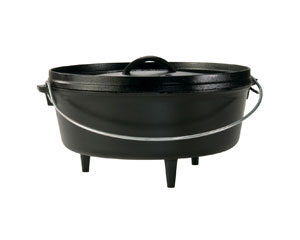
All-American pressure canners (click to see more)

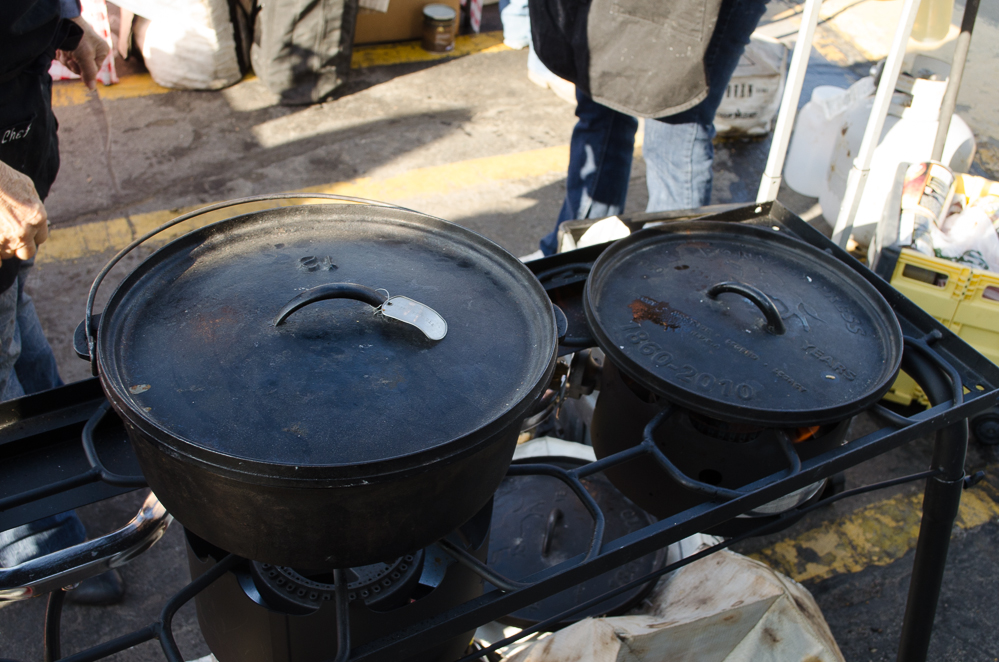
There are 2 good methods for canning and bottling: Pressure canning and Water Bath canning. Use a pressure canner for vegetables, to avoid botulism. The modern pressure canners aren’t your grandmother’s canner, where the lid blows off! Today’s pressure canners are safe and have gauges and weights that will depressurize if needed. Plus, we always have Teresa from USU Extension come test pressure canner gauges at least once a year, so you can be sure you’re canning safely.

Fruits, jams, jellies, and tomatoes can be done in a water bath canner. Steam canners are available to use, but USDA and USU don’t recommend them due to lack of testing – most canning recipes don’t have adjustments for steam canners.

There are a couple good brands of pressure canners out there, Presto and All-American among them. Both are good, come in different sizes, and they will both last you a lifetime. Presto has one tray. The All-American 21.5 Quart canner comes 2 trays for your convenience, so you can double-stack the pints! All-American canners have the advantage of having an all-metal seal, so you don’t have to replace the rubber gasket. They’re made in the USA and precision manufactured and inspected, so there’s a reason behind the investment.

Canning this year?
Whether it’s your first time or you’ve got seasons of canning under your belt, we’d love to see how your bottling turned out this year! Email your canning pictures to info@smithandedwards.com.

Vickie’s Canning Tip

Vickie Maughan, the Kitchen & Canning buyer for Smith & Edwards, has an amazing tip for canning.

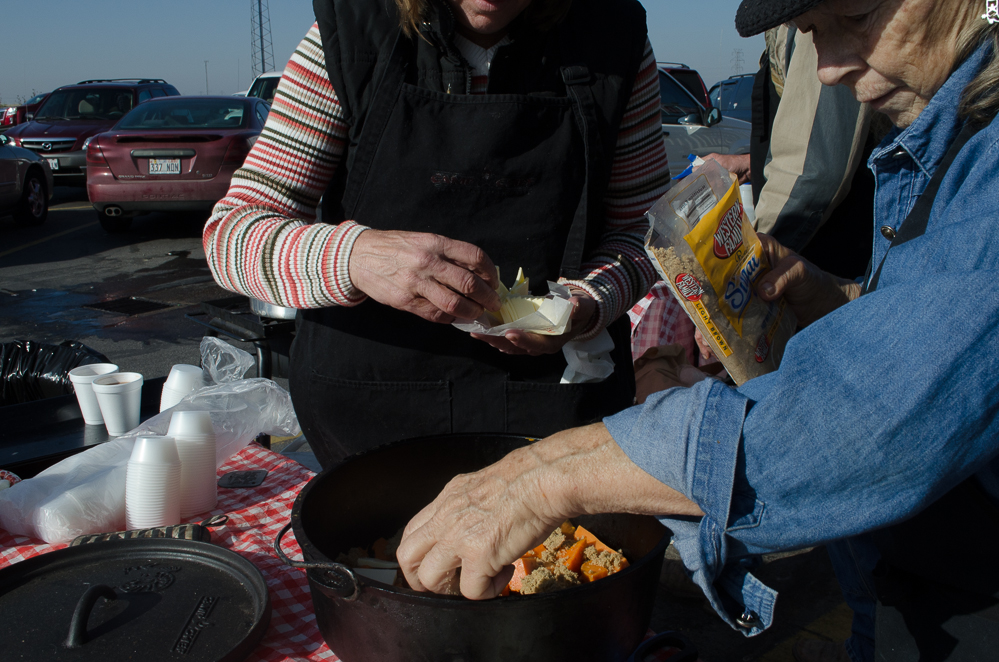
In the summer, it’s already hot, and then you’re cranking up the heat in the kitchen and making your air conditioner work doubletime. Plus there’s the heat and the mess to deal with in the kitchen, and maybe you have a glass stove top which means you have to be careful about which canners to use on it.

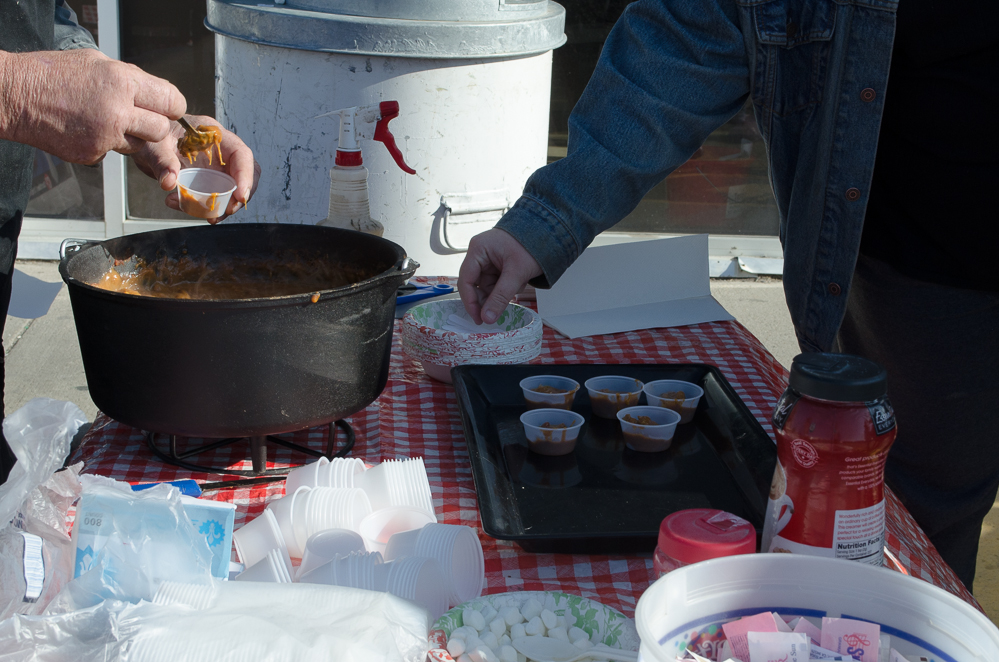
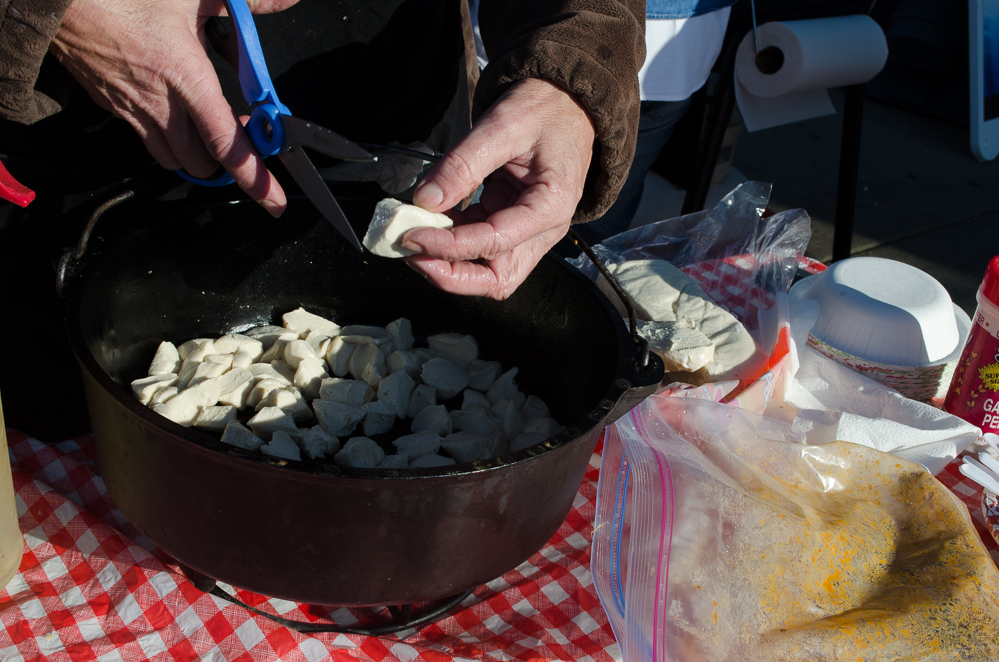
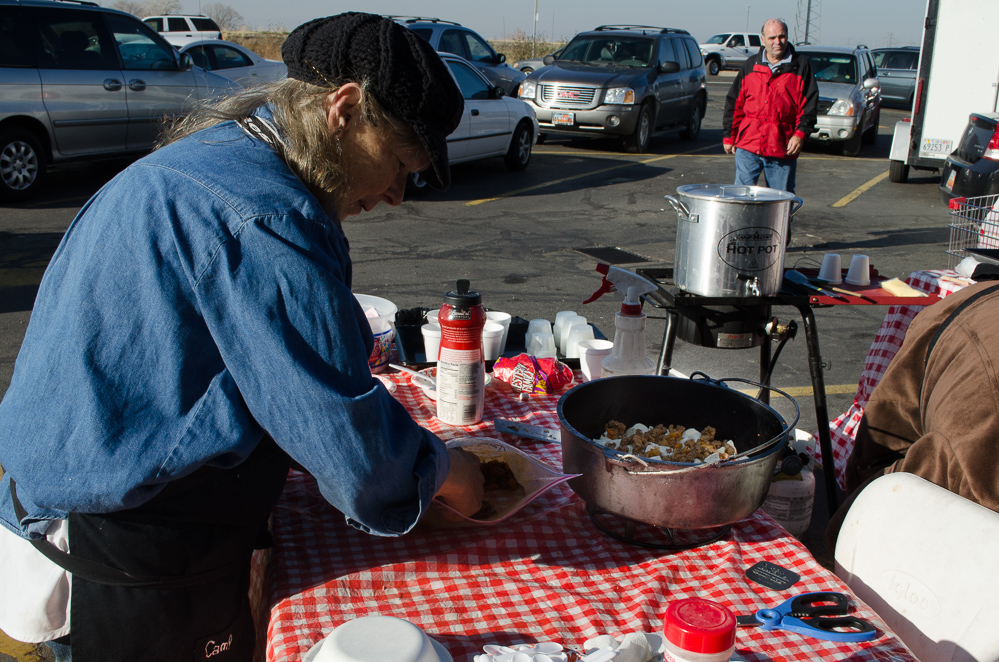
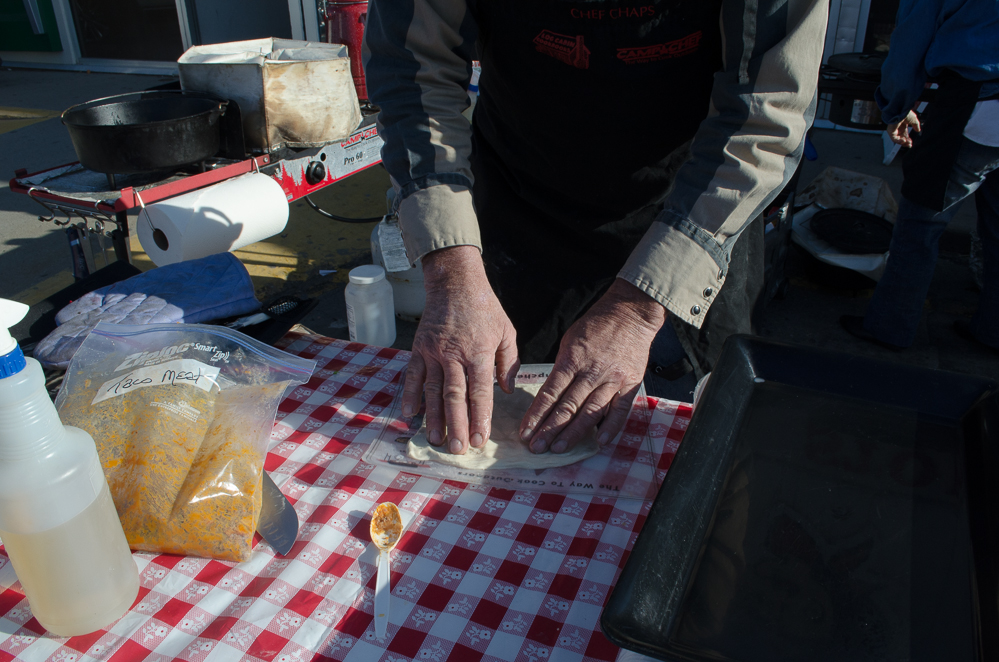
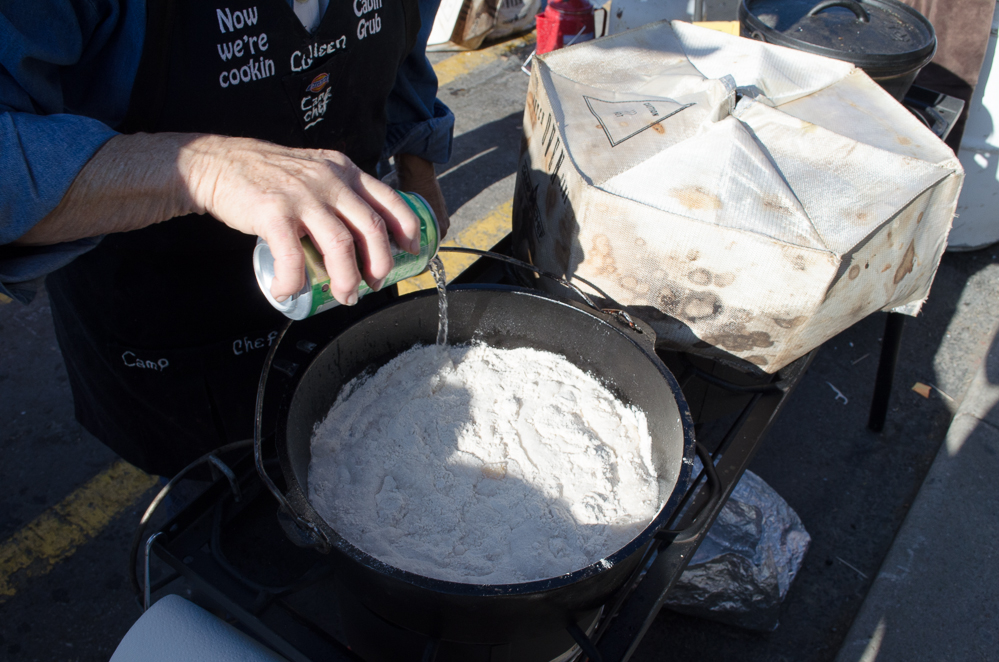
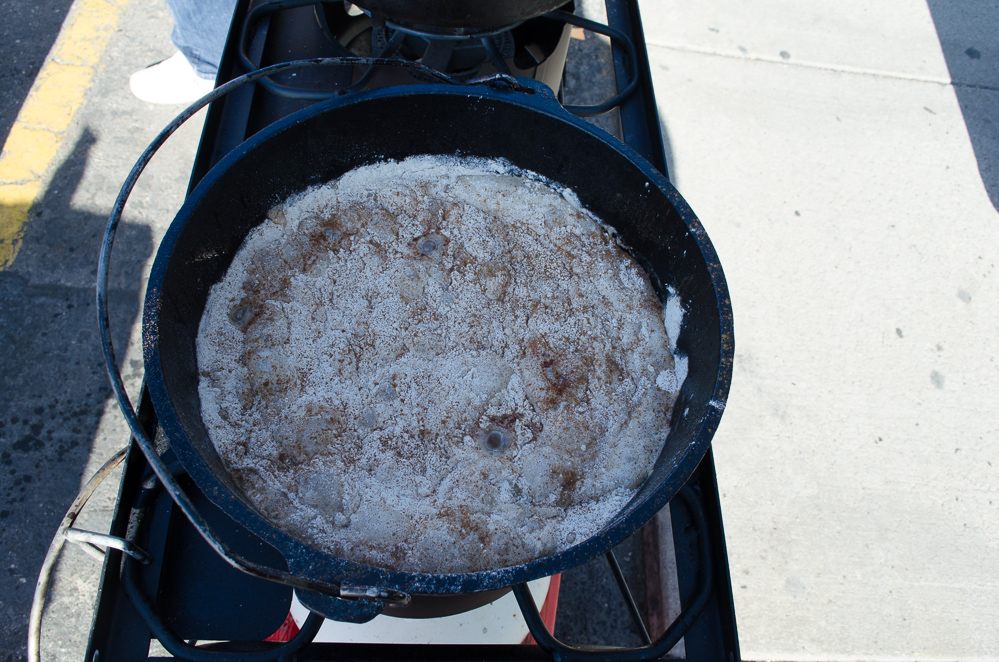
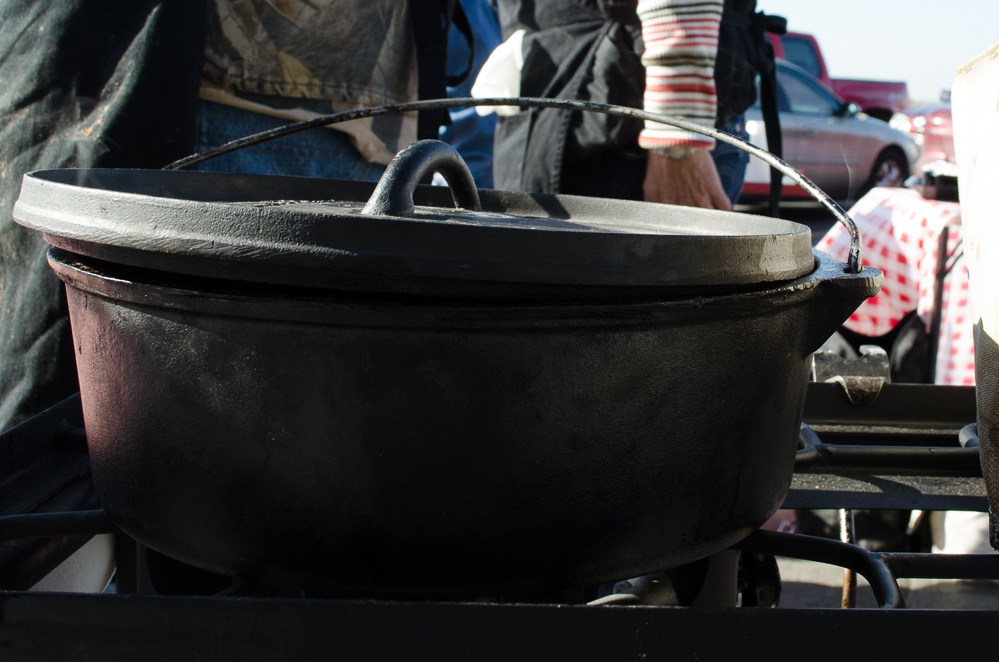
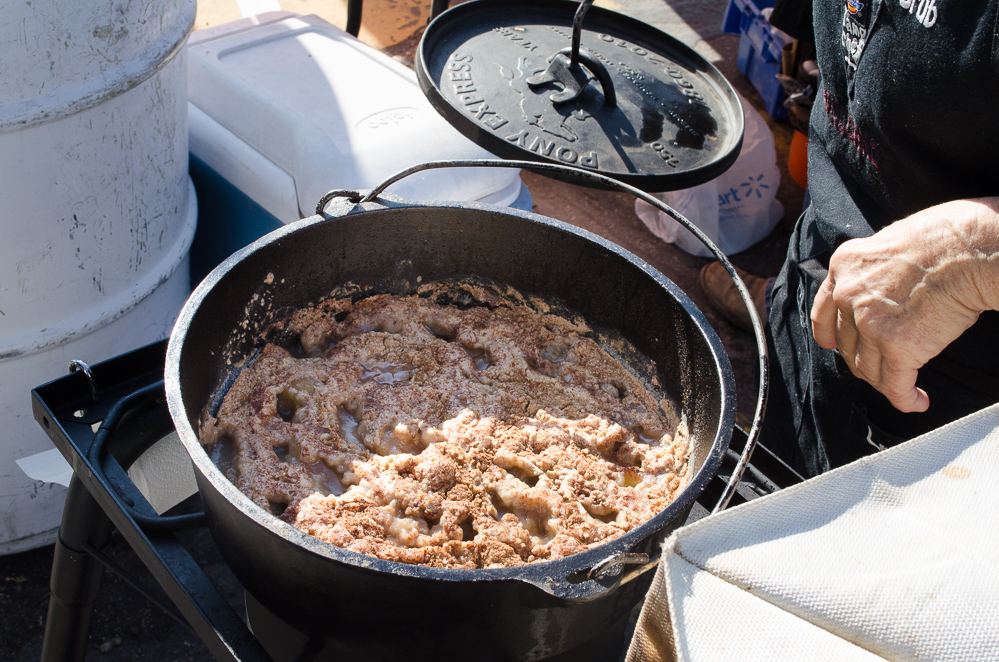
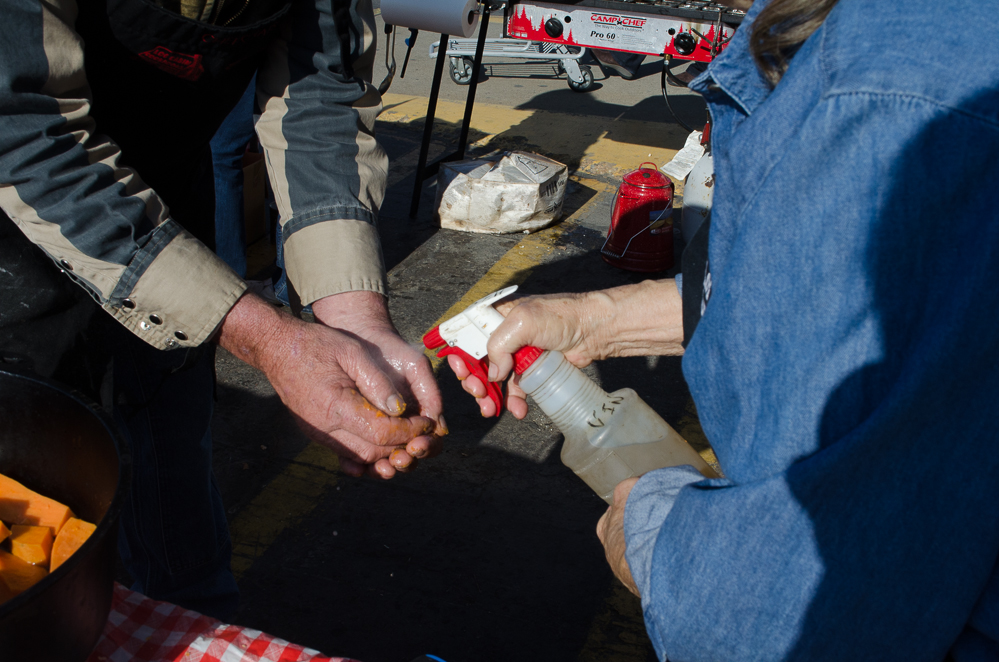
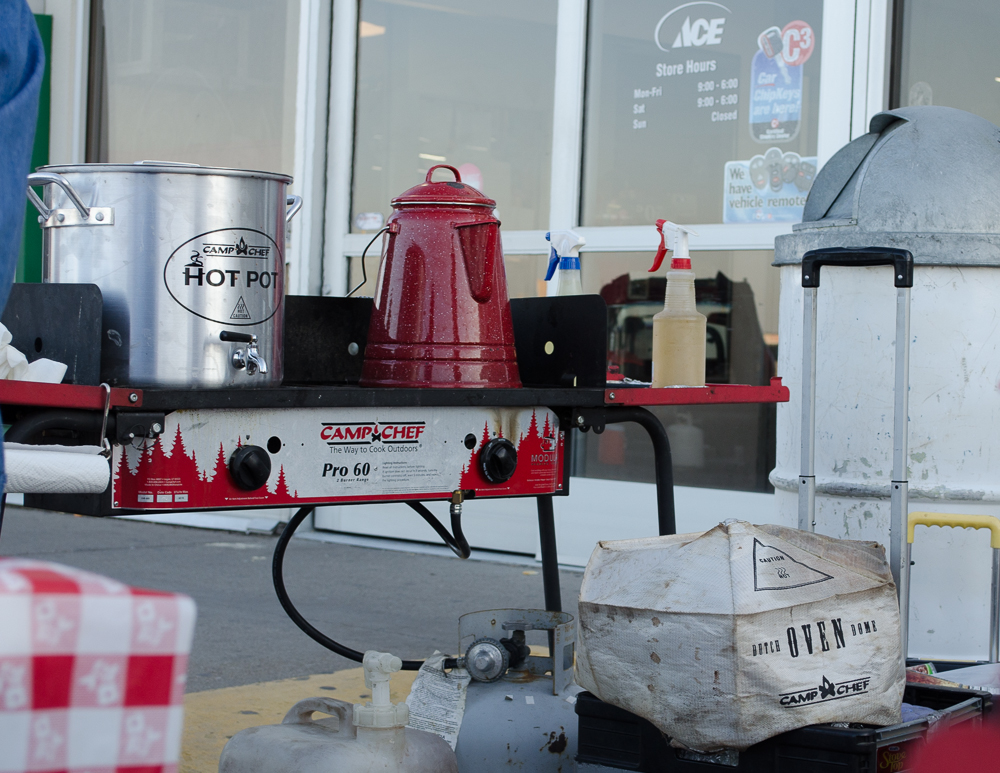
Vickie’s solution? Use your Camp Chef and do all the canning outside. It’s easier on the AC, it’s less mess and cleanup, and you can use just about any canning equipment on it. Come in to the store and check out Camp Chef stoves, it’s a real nice way to get your canning done!

Cooking on a Camp Chef

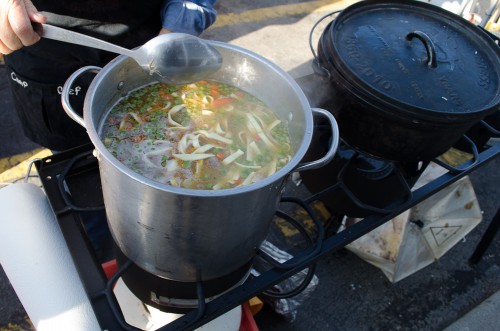
Sure you can make chicken noodle soup on a Camp Chef – and you can can fruit on one, too!

Dehydrating Recommendations

Square Food Dehydrator at Smith and Edwards

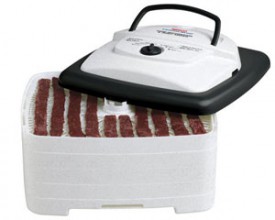
Square food dehydrators are great for jerky!

When it comes to dehydrators, the higher the wattage, the faster it will dehydrate your food. You can get ones that heat from the top or the bottom. We’ve found the dehydrators that heat from the bottom work best for us – look for metal-bottom dehydrators for best results. Square dehydrators are best for jerky, because you can fit more on.

What can you dehydrate? Fruit of course, jerky, and herbs all are great to dehydrate. If you’re just starting, head over to a fruit stand and start simple with cherries and apricots. You can even try dehydrating zucchini – it’s fabulous with cheese sauce! You can even dehydrate beautiful flowers from your garden, like sunflowers, to keep as decorations.

Apple peelers are a dream tool for dehydrating apples!

Try dehydrating your own jerky, either with a jerky gun which uses ground meat, or slice thin strips of meat yourself.

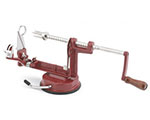
Here’s another tip: an apple corer makes dehydrating easy. You can peel, slice, and core all at once and then put the apple slices right on your dehydrator!

Once your food is dehydrated, keep it safe from moisture in a ziploc bag in the fridge, the freezer, or a cold, dark space.

A word about Food Storage

Freeze Dried Meals for Emergency Preparedness

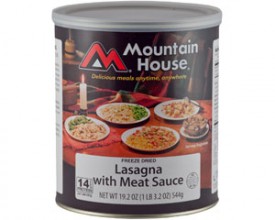
Home-canned or preserved foods can supplement freeze-dried vegetables or meals like Mountain House #10 cans… or even eliminate the need for them!

Teresa also had some great advice about Food Storage when she came, and it’s really practical advice to live by.

Having food canned and set aside in storage isn’t just about preparing for a “disaster.” While some people may seriously be preparing for the apocalypse, having food your family will eat in a stressed situation is beyond value and worth considering.

What types of stressed situations are there? Well, true, natural disaster is one. But if you’re preparing for an earthquake, glass bottling may need some extra steps to make that a good plan. A truck can spill or a train can derail, meaning that it may be 72-96 hours until grocery stores are replenished.

Or, even situations such as job loss, sudden or long-term illness, surgery, or the off-season for seasonal jobs are great times to appreciate the food preparation you’ve done ahead of time.

Canning may or may not be a part of your Food Storage plan. Maybe your family devours everything you can by the time temperatures are back in the 80s. But if your family is the type to put up loads of beans and then forget them: Let your Food Storage be your “What’s for Dinner?” backup plan!

If you really want to be prepared to use your Food Storage, keep it fresh and have a plan of what recipes to use by drawing from it regularly. This means you’ll keep it rotating, and you’ll never be stuck with the power out, thinking “How am I going to make a meal with dehydrated veggies, canned tomatoes, and wheat?”

(By the way, a Cooking with Food Storage class is coming up this September!!)

By making your Food Storage something you’re familiar with and something you’re comfortable using, you’re going to be a lot more prepared than someone who has food storage older than their youngest child and have never tried to cook with it…. I guarantee it!

Your Turn

Have canning tips to share with other Smith & Edwards customers? Have questions for Jean from Pettingill’s, Teresa from USU Extension, or Vickie & the gals in our Canning Department? Leave your questions & tips in the comments below!

  • Pettingill's Fruit Stand front view
Dutch oven cooking with Colleen Sloan

Dutch Oven Cooking with Colleen Sloan

- posted by Rose Marion

We were so lucky to have Colleen Sloan, the first lady of Dutch oven cooking, give us some excellent tips on Dutch oven (D.O.) cooking. And you’re lucky, too – keep scrolling to see her creations & get 2 complete Dutch oven recipes!

I got to catch up with Colleen as she was cooking up samples outside Smith & Edwards. You wouldn’t believe the number of ovens she had going with all different meals and treats inside.

Colleen had a pie going, pizzas, orange rolls, chicken noodle soup, taco bread, chili, garlic cheese rolls, apple crumble, and even more meals – there were Dutch ovens everywhere.

See Colleen Cook!

If there was a way to capture the heavenly smell of Colleen’s Dutch oven cooking, you wouldn’t need to see what she was doing. But these pictures tell the story of some of her dishes, and just think, every dish smelled – and tasted – just as scrumptious as you’d imagine looking at them.

Remember, Collen prewarms her D.O.s and sprays the inside with a coat of vegetable oil before each dish.

Chili

Dutch oven chili - cooking
Nothing better on a campfire than some chili steaming away. For this pot, we just opened some canned chili and added cheese (lots!) – but a Dutch oven will give your from-scratch chili an amazing flavor, too!
Dutch oven chili - serving up
Serving up the cheesey chili – mm mm mmmm!

Taco Bread

This is a happy recipe Colleen discovered – Taco cheese biscuits, or taco bread! In a warm D.O., the dough rose and baked for about 35 minutes, then it was ready. You can make this same meal with your own favorite spices – and lots of cheese :)

Dutch oven Taco bread - Cutting up dough
Audrey’s cutting up some frozen bread dough into morsels. You can keep your dough whole, or in medium chunks for rolls: cutting it this small made it easier to break into samples when it’s done, and also faster to cook.
Dutch oven Taco Bread - adding meat
Where’s the beef? Colleen’s adding some precooked ground beef cooked in taco seasonings.
Dutch oven taco bread - cheese
Audrey: How much cheese do I put in?
Colleen: Just put in the whole bag!

Dutch oven Taco Bread - Green Onions

Last peek before the lid goes on: some green onions on top. Yum!
Dutch oven taco bread - serving up
It’s half gone already! Look at that… and it breaks apart into perfect morsels because the bread was cut in pieces. Yumm!


Candied Yams

You’ll have to imagine how these turned out – I could have watched Colleen cook all day, but I had to go back inside before I saw how these candied yams turned out. I’m sure they were delicious… and so easy to make!

Dutch oven candied yams - Baked yam
To start, Colleen sprayed vegetable oil in the Dutch oven. Then she’s got some prebaked yams wrapped in foil, just like you can bring on your camping trip, and Skip’s going to peel and slice them.

Dutch oven candied yams - slicing yams

Dutch oven candied yams - brown sugar
Yams are very good for you! So go ahead and add in a couple handfuls of brown sugar…
Dutch oven candied yams - butter
…plus a sliced stick of butter for a delicious pot of vegetables!

Then pop the lid on, and let it go til you smell that delicious candied yam smell. Mm mm mmmm!

Pizza

This was another one I couldn’t snap the final product – it was out of the Dutch oven and scarfed down before I could take the picture! But here’s how Skip made his Dutch oven pizzas:

Dutch oven pizza - kneading dough
Skip’s kneading some Rhodes dough into pizza shapes
Dutch oven pizza - dough in pan
Skip can fit 2 pizzas in this 10″ Dutch oven – he could also cook them on a flat lid
Dutch oven pizza - toppings
Let’s see… Skip’s got pizza sauce, ground meat, pineapple (yum!) going… good so far, but we’re missing something…
Dutch oven pizza - cheese
That’s better! Can’t forget the cheese. Lid on, cook away, and devour!


Apple Crumble

Dutch oven apple cobbler - First the pie filling
First thing you need for a Dutch oven apple crumble is some apple pie filling
Dutch oven apple cobbler - add cake mix
Add a bag of cake mix over the filling
Dutch oven apple cobbler - stir
Give it a nice stir – keep the cake mix on top
Dutch oven apple cobbler - add cinnamon
Think it needs some cinnamon! It smells so good already (remember, the D.O. is prewarmed)
Dutch oven apple cobbler - add pop
Add a can of pop – you can use any you like, Colleen went with Sierra Mist
Dutch oven apple cobbler - bubbles
It’s bubbling now with the pop in there! Time to put the lid on and let it go.
Dutch oven apple cobbler - cooling off
Smells ready! We peeked, and it’s done. So we’ve tilted the lid to help it cool down.
Dutch oven apple cobbler - ready to serve up
Mmm! It’s ready – smells like cinnamon, rich apples, and good cooking.
Dutch oven apple cobbler - dishing up
It’s time to serve up! Colleen does the honors
Dutch oven apple cobbler - tasting time
Kelly gives this apple cobbler her seal of approval! Yum!

Beginning Dutch Oven Cooking Tips

The Dutch Oven Cooking Basics

If you’re cooking for just you or 1-2 more people, a 10-inch Dutch oven is a great size to start with. Get yourself a Dutch oven, a hot mitt and a lid lifter if you like, and a cookbook – Colleen’s Log Cabin Dutch Oven cookbook is a great place for beginners to start! Just start trying it out – you’ll get the hang of it in no time.

Where do you Start?

Do you have a recipe you use at home? Just put it in a Dutch oven, put your Dutch oven in your electric oven set to 300°, and let it go.

You don’t need to go hotter than that, because the cast iron gathers and retains heat, so it’ll get even hotter than 300.

If your Dutch oven is a camp oven – that is, if it has legs – simply set your Dutch oven on a cookie sheet to avoid hassling with the racks. A cookie sheet makes it easier to slide the Dutch oven out, too.

Keep the Lid on It

Try not to peek, so all the flavors and nutrients stay inside the Dutch oven. Instead, when it smells like what it tastes like, your nose will let you know when it’s done!

The Dutch oven is the original slow cooker and pressure cooker – in fact, with the lid on, you can get between 1-3 pounds of pressure inside, which helps your food cook thoroughly for a rich flavor, without a long time waiting. So remember, don’t lift the lid because it’ll release all that pressure.

The best way to get started Dutch oven cooking is to try out your own recipes you already know. Then once you’ve got a feel for it, give one of Colleen’s great recipes a try!

Dutch Oven Recipes

I asked Colleen if I could share some recipes from her wonderful Log Cabin Dutch Oven Cookbook, and… she said YES!

So here are 2 very simple recipes that you can try tonight with just a Dutch oven in your oven at home. And as I learned today, you can add your own spices, sauces, and especially cheese to just about any Dutch oven recipe to make it even tastier! (We debated the finer points of cheese on apple pie – a cheese-stuffed crust was the way to go, we decided)!

Dutch Oven Bread

You’ll need:

  • 3 cups flour
  • 1 Tbsp. Baking Powder
  • 1 tsp. Salt
  • Water (enough to make a dough)

Mix dry ingredients with 3 Tbsp water to start. Add more if necessary. Work as little as possible and bake in a greased Dutch Oven for 20 to 25 min. It can be baked as one large loaf, or several small loaves.

You’ll find dozens of hand-written notes in the Log Cabin Dutch Oven Cookbook from Colleen. She’s written “Um-Um-Good” next to this one! This is such a simple recipe, I can’t wait to try it. And here are some variations she recommends to mix it up:

  • Use milk instead of water
  • 1 Tbsp. Sugar
  • 1 Egg
  • 1 Tbsp. Oil
  • 1 tsp. Cinnamon or Nutmeg
  • Raisins, currants, drained blueberries, cheeses, garlic, onions, and more. All to make your bread taste swell.

Dutch Oven Pot Roast

You’ll need:

  • 1 large Pot Roast
  • 1 tsp. Salt
  • 1 medium Onion (sliced)
  • 1/2 tsp. Pepper
  • 8 to 10 Potatoes (peeled)
  • 1 cup Water
  • 10 to 12 Carrots (peeled & cut in half)
  • 1 can Cream of Mushroom Soup
  • 2 Tbsp. Cooking Oil (or bacon grease)

Put cooking oil in bottom of Dutch Oven and place the roast inside. Place onions on top. Add remaining ingredients and cover. Cook for about 90 minutes. Be sure to maintain the temperature. This one-dish meal is excellent for outdoors. Briquettes can be added 15 minutes before serving.

Recipes reprinted from Log Cabin Dutch Oven Cookbook by Colleen Sloan, with permission – thanks, Colleen!

More Dutch Oven Cooking Tips from Colleen

Colleen uses vegetable oil – Dutch ovens love it, and it’s easy to spray through a spray bottle. Just fill a spray bottle and pack it with your Dutch ovens for easy.

The other spray bottle Colleen keeps with her when cooking is a 4:1 mixture of 4 parts water, 1 part apple cider vinegar. She uses this to disinfect pots, Dutch ovens, and her hands while cooking. That’s a tip you can use camping, too!

Spraying Skip's hands with vinegar to clean them after peeling yams. Just make sure your bottle's labeled!

Spraying Skip’s hands with vinegar to clean them after peeling yams

Preheat your Dutch oven, so it’s got a head start and can cook your food faster. Especially if you’re out in cold weather! Don’t get it piping hot, just warm, and then oil it up and cook away.

Don’t forget you can cook on a lid! Pizza and fillets are great to cook on a lid, not to mention eggs and toast.

You have some choice in the shape of lids: some lids are fairly flat, and others are quite rounded, giving you better control of liquids and eggs.

Cast iron Dutch oven lid

Here’s an example of a rounded Dutch oven lid – this one is by Camp Chef.

Speaking of lids… while you’re preheating your Dutch oven, or D.O., make sure your lid’s preheating, too. And when you take the lid off, put it on a burner to help it stay warm!

Keeping a Dutch oven lid warm on the Camp Chef stove

Keeping a Dutch oven lid warm on the Camp Chef stove (right burner)

Cleaning Dutch Ovens

Cleaning a Dutch oven pan isn’t as hard as you think. Sure you can’t just stick it in the dishwasher (rust), but it’s not tough.

Colleen cleans a bit as she goes – as soon as an oven’s empty, she sprays it with her vinegar water bottle so the food doesn’t harden on the pan.

Then when you’re washing your dishes, put your Dutch oven in the sink with hot water, swish it around with a rag. Dump it out, rinse it again, then put it on the stove and warm it up to dry. You could also put it back in your stove’s oven if the oven’s still warm. This’ll make sure all the moisture disappears.

Then, when you get your Dutch oven out to cook next time, just oil it up, heat it up, and you’re ready to go.

Scraping a Dutch oven

About Colleen

A caterer by trade, Colleen Sloan had always been around Dutch oven cooking – her great-great grandparents came across the plains cooking in Dutch ovens all the way, so her great grandparents, grandparents, and parents have all helped refine her family’s recipes. Colleen compiled her grandmother’s recipes in the Log Cabin Cookbook.

And that’s not her only book… she’s written a total of 6 Dutch oven cookbooks, and you can find them all at Smith & Edwards – we even have her first book available online here.

Colleen Sloan and Vickie Maughn, our Housewares manager

Colleen Sloan and Vickie Maughn, our Housewares manager

Raised on a Utah farm by pioneer stock, and involved for 45 years in Scouting, Colleen loves sharing her knowledge and passion for Dutch oven cooking. Colleen loves just about everything out of a Dutch oven, but 2 of her favorites are bacon cheese biscuits, and fried chicken in a Dutch oven. And she’s sure you’re going to acquires some favorite Dutch oven dishes, too!

Nervous to try Dutch oven cooking? Colleen’s sure there’s no bad recipe. Just put together the food you have and your favorite seasoning, and it’ll turn out! Colleen says, “When it comes to seasoning, let your imagination do the walking through your Dutch oven recipes. Try some different things and see!”

Get your Dutch Oven Gear online at Smith & Edwards:

Camp Dutch oven Log Cabin Dutch Oven Cookbook by Colleen Sloan
Dutch Ovens Colleen’s Dutch Oven Cookbook

Thanks Colleen, Skip, and Audrey!

Colleen’s been coming out to Smith & Edwards for over 20 years to give us demos, samples, and great advice on Dutch oven cooking. We sure appreciate it.

We owe a big thank-you to Colleen and her crew! They braved the cold the morning of Black Friday 2013 to cook and serve up samples during the day – and they even served up hot chocolate and coffee for folks waiting in line before we opened the doors. It was sure appreciated by folks standing in 32-degree weather!Hot cocoa from a Camp Chef Hot Pot at Smith and Edwards

Who doesn't love the coffee and hot chocolate camp stove setup that they have?

Who doesn’t love the coffee and hot chocolate camp stove setup that they have?

Steaming-hot hot chocolate and coffee make even a brisk morning warm.

Steaming-hot hot chocolate and coffee make even a brisk morning warm.

Colleen, left, with her assistants Skip and Audrey - Dutch Oven caterers!

Colleen, left, with her assistants Skip and Audrey – Dutch Oven caterers!

Many thanks to Colleen and her friends Skip and Audrey of S & A Catering in Sandy, Utah. Skip & Audrey’s number is 801-973-8371.

Want to know more about Dutch oven cooking? Visit IDOS, the International Dutch Oven Society. Not only are they worldwide – IDOS members will also be sharing samples and recipes the first weekend of May at the Weber County Fairgrounds, so mark that on your calendar if you’re a Dutch oven fan or just looking to get started!

Smith & Edwards Toy Sale event tips

3 Tips for a Victory at Smith and Edwards’ Toy Sale

- posted by Rose Marion

Smith and Edwards’ Toy Sale is a great event for getting gifts for Christmas! You’ll be sure your kids and grandkids will have a fun-filled Christmas morning with toys from our Toy Sale.

About the Toy Sale

The Smith and Edwards Toy Sale happens every fall. Like us on Facebook to see all our events and when they are scheduled. Promotional toys are at a fixed low price leading up to December!

We’ll publish our list of Toys available on our Current Specials page!

What kind of toys can you get? Top brands like Disney, Mattel, Fisher-Price, Hot Wheels, Littlest Pet Shop, and much, much more.

3 Tips for VICTORY at the Smith and Edwards Toy Sale

What do we mean by “victory”? Well, the top toys sell out fast, and you want to be sure and get the toys your kids will love. There’s nothing more satisfying than getting the toys your children want at a great price! You’ll walk out the doors with amazing toys and a huge smile on your face because you did so well at the Toy Sale.

Vickie, our Toys & Housewares buyer, offered some advice she’d give for first-timers hoping to have a great time at a Toy Sale. Hardware buyer Blaine offered tips, too – together they’ve watched thousands of excited, savvy shoppers run down the aisles of our Toy Sales, and they know how to make it a great experience.

1. Prepare – and be early! Watch for our toy lists so you can go straight to the toys you’re shopping for.

While we have thousands of toys at each Toy Sale, the most popular ones disappear fast, so if you want a specific toy from the toy list, plan ahead so you can head straight for it Monday morning without distractions.

Our doors open at 9am, but we’ve seen people lined up much, much earlier than that. Plan to be here early. You can even bring a chair and meet some new friends in line before the Toy Sale starts!

Our lucky winner and her friends, first in line at Smith and Edwards' Toy Sale!

Nitasha got to skip to the front of the line October 14 at our second Toy Sale in 2013. Congrats!

2. Shop Ahead! It feels amazing to get your Christmas shopping done early! Sure, you might be getting great deals on toys for the holidays. But these aren’t Christmas-only toys – I bet you can get great deals on toys they’ll love the whole year, for birthdays and more.

This is a great way to get name-brand toys for every boy and girl on your list – especially if your children have lots of cousins and friends. You’ll be prepared for Christmas and beyond with a little help from us at Smith & Edwards :)

And by the way – if it looks like we’re out of a certain toy, feel free to ask us for help. Oftentimes shoppers will take toys to the register, but they’ll only keep some of them. We’ll be running more toys back to the Toy Sale tables all morning to help you get the toys you want!

3. Come with your friends! Arrange for someone to watch the kids while you bring your friends to go Toy Sale shopping with you. Leave the kids at home, because you don’t want to worry about a stroller or collecting the kids when you check out (or them seeing their presents!). So having a girls-day-out-shopping will make the sale a big adventure. Not only is there safety in numbers – it’s a lot more fun, too!

You can combine your friends’ shopping lists with yours, or you can divide and conquer – you’ll have a ton of fun together, and you’ll all have a great experience to talk about afterward.

So get ready for lots of fun! Plan on coming and enjoying a morning of scoring great toys your kids will love. It’s really spectacular – you’ve gotta be here!

And while you might have heard scary rumors… our Toy Sales are typically pretty tame. Promise! It can get crowded, but everyone’s here to have a good time and get great toys for our kids, so you don’t need to bring knee pads or elbow pads. Just plan on a nice morning of great deals and great savings!

Got questions? Give us a call at 801-731-1120, we’ll be happy to help you get everything you need for a great Christmas.