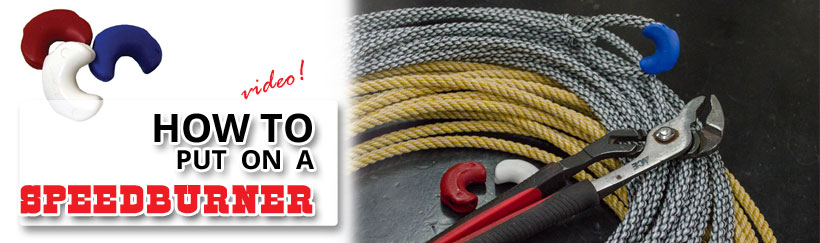
We get asked how to put a speed burner on a rope pretty often – so here’s a 2-minute video showing you how to do it at home! Speedburners are so quick to put on & easy to use.
How to put a Speedburner on Your Rope
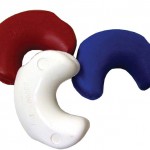
Speed Burners come in different colors!
Like Marty showed, all you need is your speedburner, your rope with a honda (click here to see how to tie a honda), and a microwave with a cup of water. Some wide pliers will do the job – Marty uses a handy pair of channel locks.
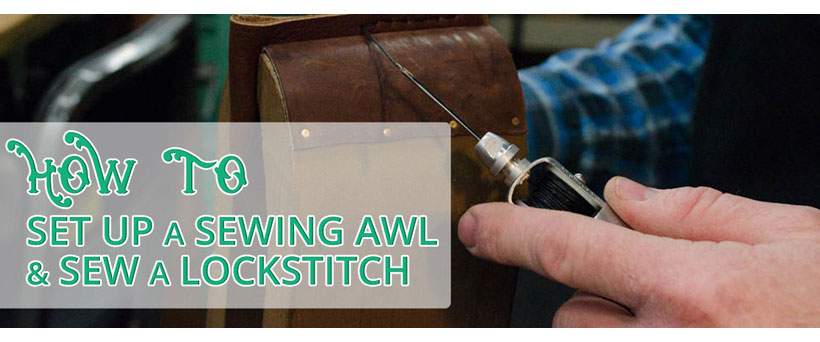
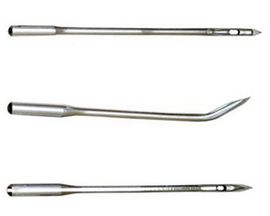
Awls are some of the handiest tools in a leather repair kit. A sewing awl can stitch up a leather bag, sew a canvas satchel, or even help you repair upholstery.
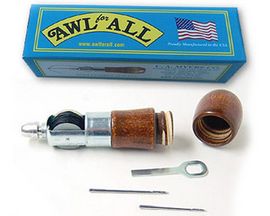
In this video, Marty, our Western Dept guy, shows you how to load a needle in the “Awl for All” sewing awl, get the thread ready, and begin sewing a basic lockstitch.
And now you know how to use a sewing awl!
What would you make with this tool? Leave a comment & let us know.
What leather working videos would you like to see us make? Let us know in the comments below. If you liked this video, please help us out by Tweeting about it or sharing on Facebook.
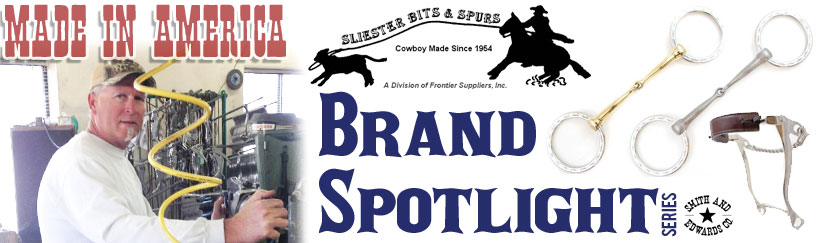
As a Western tack & lifestyle store and a tack manufacturer ourselves, Smith & Edwards loves spotlighting American companies who produce their wares in the U.S. This post is part of a series spotlighting American manufacturers.
Sliester is a well-known name for Western bits. Steve Dunn spoke with us about Sliester Bits’ history and where the company is today!
The bit builder: Sliester’s Steve Dunn, squeezing the rivets on a loose jawbit. Racks of bits behind him!
Tell us about Sliester’s history.
A pair of cowboys, Don & Vic Sliester, started the company in 1954 with their aluminum hackamore. At the time, my family (the Dunns) operated a deburring business. We had rock tumblers and de-burring equipment.
Don & Vic came to us to find a process to smooth and polish the bits they made. Each of the bits spends a few hours in our tumbling machines, which slowly sands the sand marks out.
As it turns out, my dad Earl Dunn wound up buying the business from Don & Vic in the 1980s, when I was 18.
Did anything change when the company changed hands?
Not much. It’s the same great quality and craftsmanship since the beginning. We’ve had the same bit builder for the last 35 years, and that’s me!
We’ve had more people helping at times, including my two brothers Jim and Earl, but I’m the one who’s stayed around from the beginning. My dad is still here with me and answers the phone and helps where he can.
All the bits are still made here in America. There’s a lot of competition now for overseas stuff. I believe in my product and I believe in keeping it American-made.
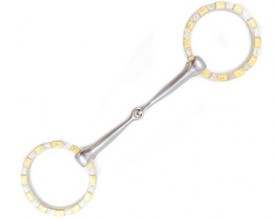
One of the many fine bits Sliester produces: this engraved snaffle bit features full silver & jeweler’s bronze rings.
The Sliester brothers started the company in Sanger, CA. In 1980 we moved the company here to Auberry, California, which is about 20 miles from Sanger. We still make all the bits here in Auberry.
The business has always been named Frontier Supplier Inc manufacturer of Sliester Bits & Spurs. My dad kept the name when we bought it.
What do you love about continuing the Sliester tradition?
My favorite part of the business is being self-employed and working with my hands. I have made bits for some famous people, but I don’t want to say names.
Family-owned and operated – these bits are not mass-produced. If you have ever owned one, you can feel the balance.
Thanks for talking with us, Steve! Find Sliester Bits online:
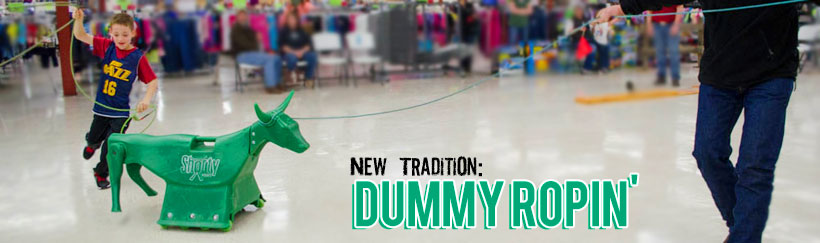
Did you hear about our first ever in-store Dummy Ropin’ contest? We had so much fun we’re already thinking about the next one! Check out what happened and see who won.Sign up for our emails just for horse enthusiasts so you don’t miss out on the next one!
Our western department has western rock stars as far as I’m concerned. Not only do they carry a great selection of quality products, they are also so knowledgeable, friendly, and genuinely good people. They live the lifestyle they are talking about and have first hand experience.
Tom, Dave, Sam, Marty, Jess, Dani, Steve, Kyle, Shaun, Kris, and Sherm
Often they are asked how to do certain things, and how to tie a honda is a common request. Tom, one of our fabulous craftsmen from our manufacturing department (yes, they design and manufacture a lot of the tack they sell, and they do it right here in Smith and Edwards!) agreed to show us how to tie a honda. It must be effective because people keep coming back for more! (click here to skip to a written step-by-step how-to)
Watch How to Tie a Honda
Step by Step Tutorial on How to Tie a Honda
Tying a sturdy honda is really a two step process, but it really is quick and easy. First you make a stopper knot, then you can make your honda.
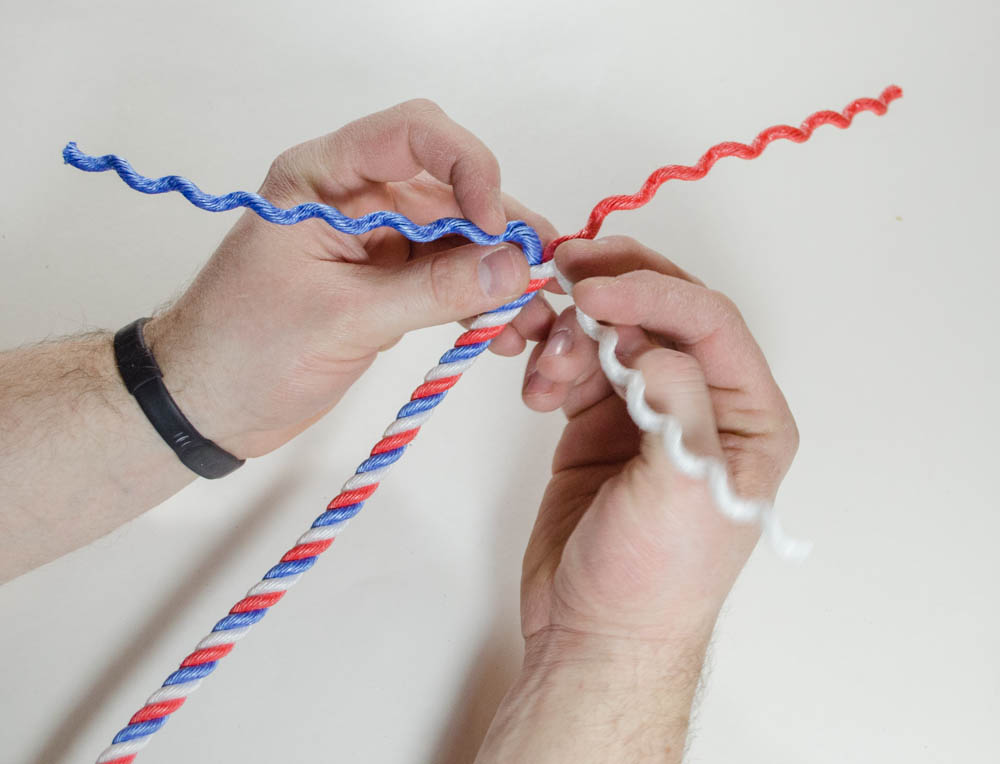
Begin by untying the strands in your rope about 6″ down and separate them. For our tutorial we’re using a 3 strand rope but you can easily do the same action with a 4 strand rope.
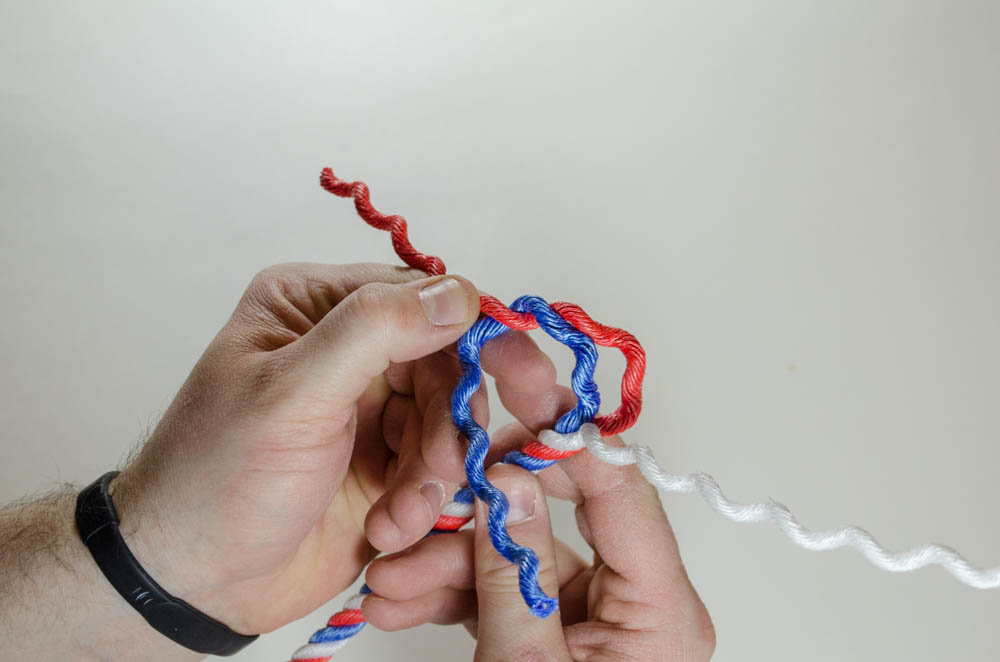
Take the middle back red strand and curve it to the left.
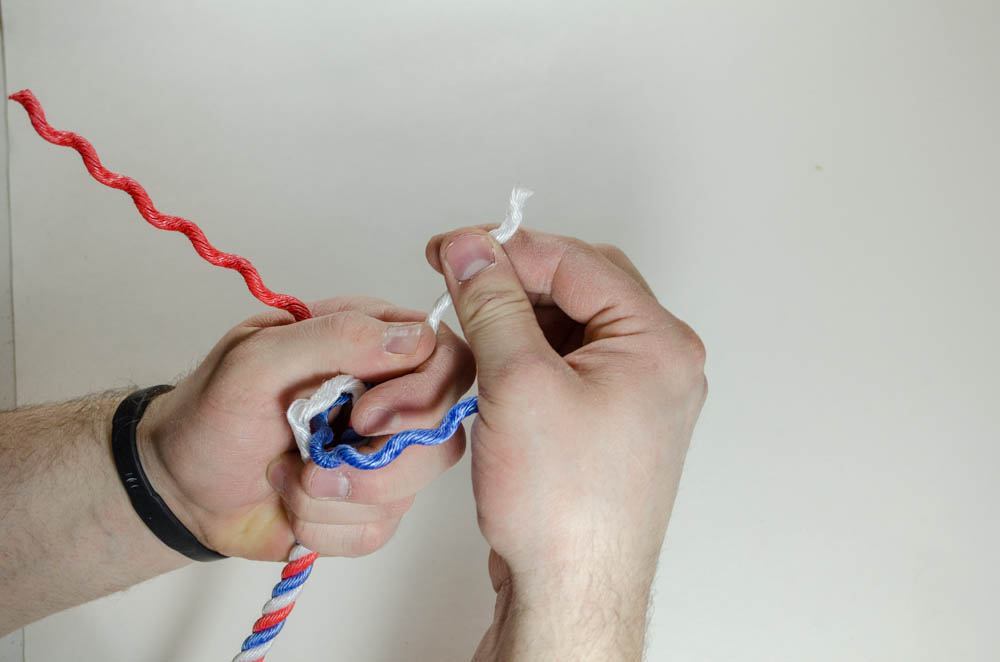
Take the blue strand on the left and go over and then under the middle red strand you just curved to the left.
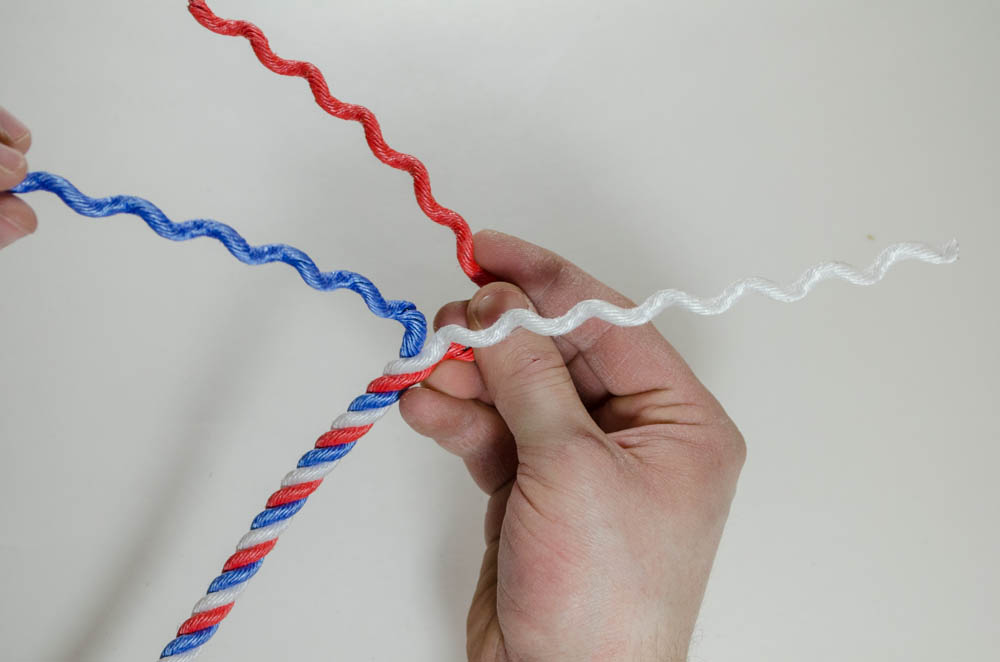
Now take the right white strand and do the same over and under action you as you just did on the previous blue strand.
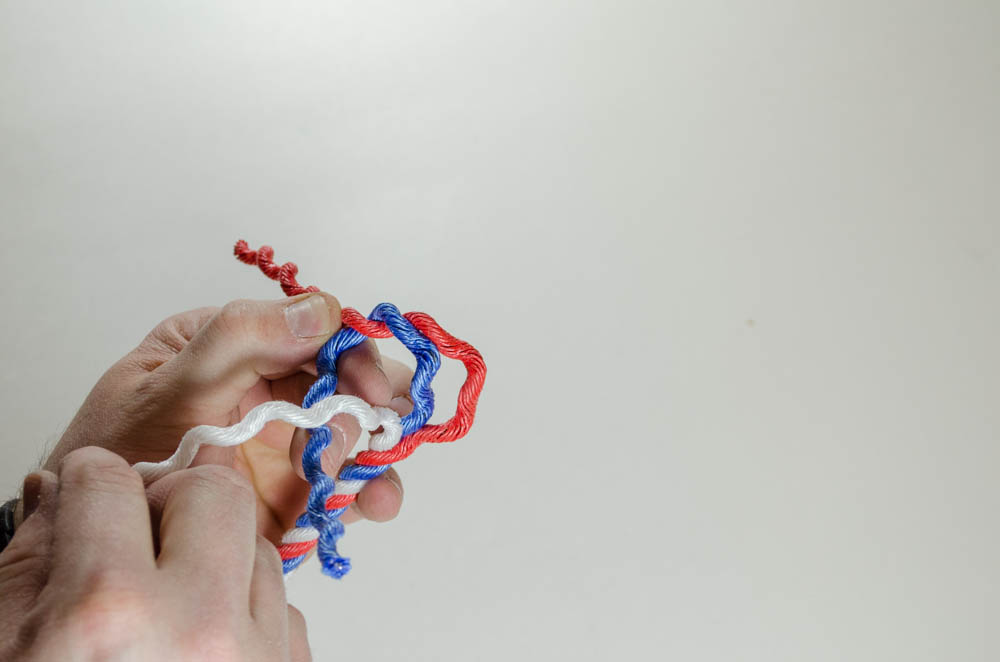
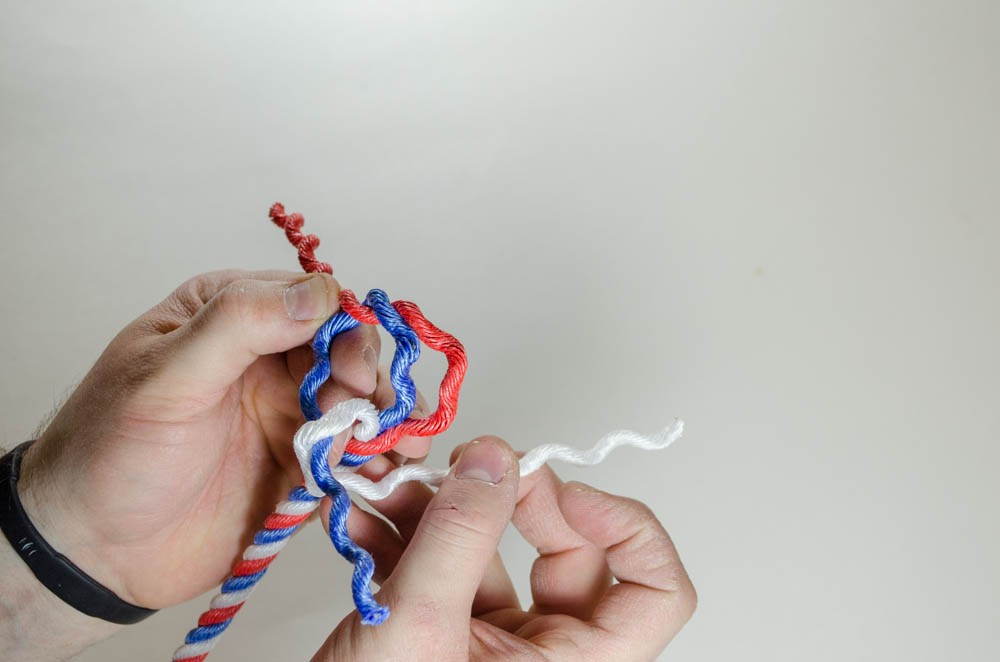
Grab the tip from this same white strand and insert it in the top loop you created with the first red middle strand.
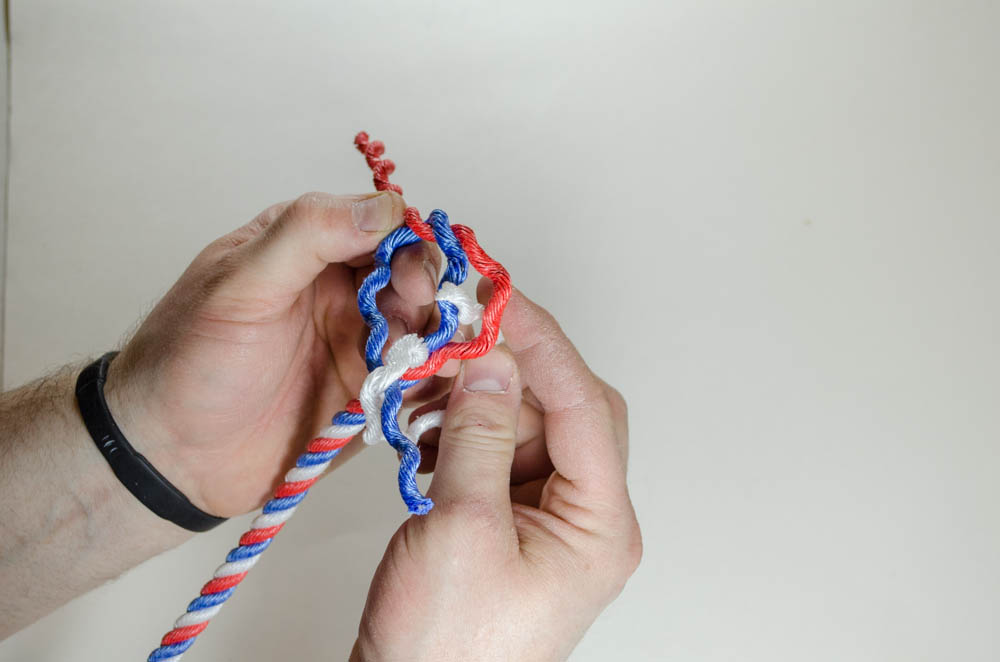
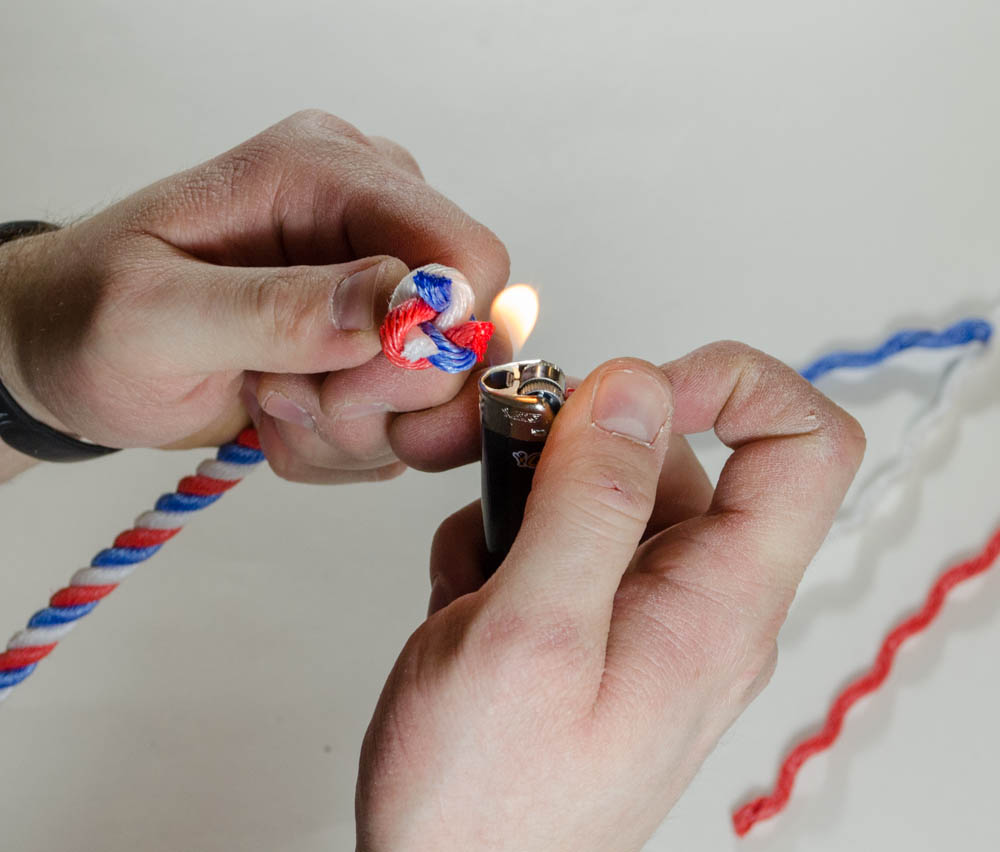
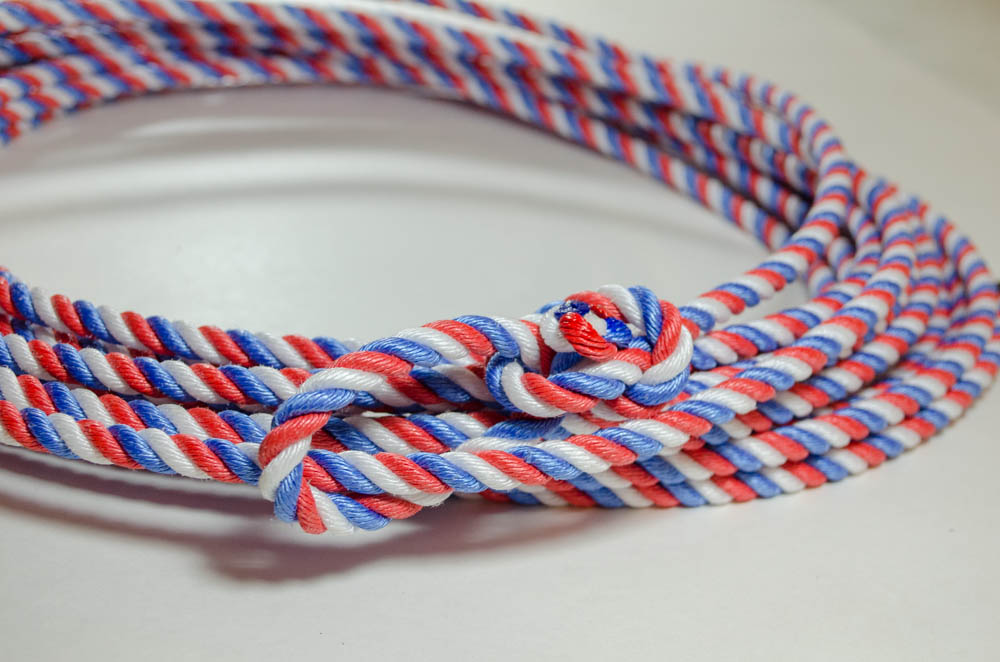
Pull the end of each strand, making a tight knot at the bottom. Cut and burn the ends to seal it.
Now you’ve got your stopper knot ready for the next step. Look how great it turned out!
Time to tie your Honda
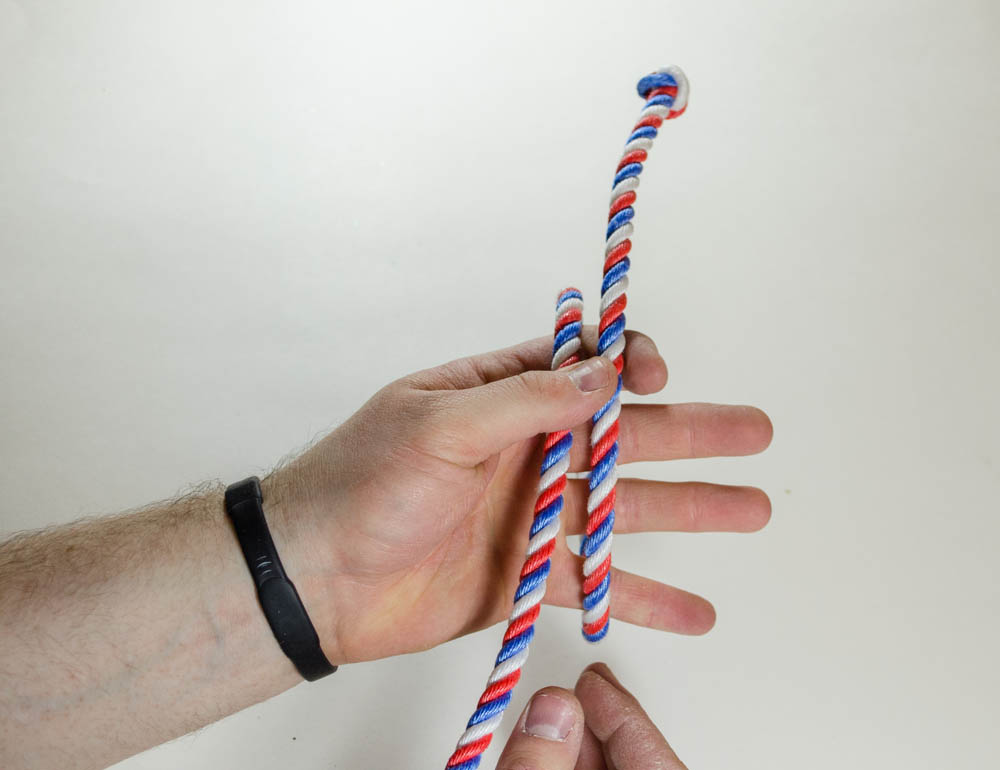
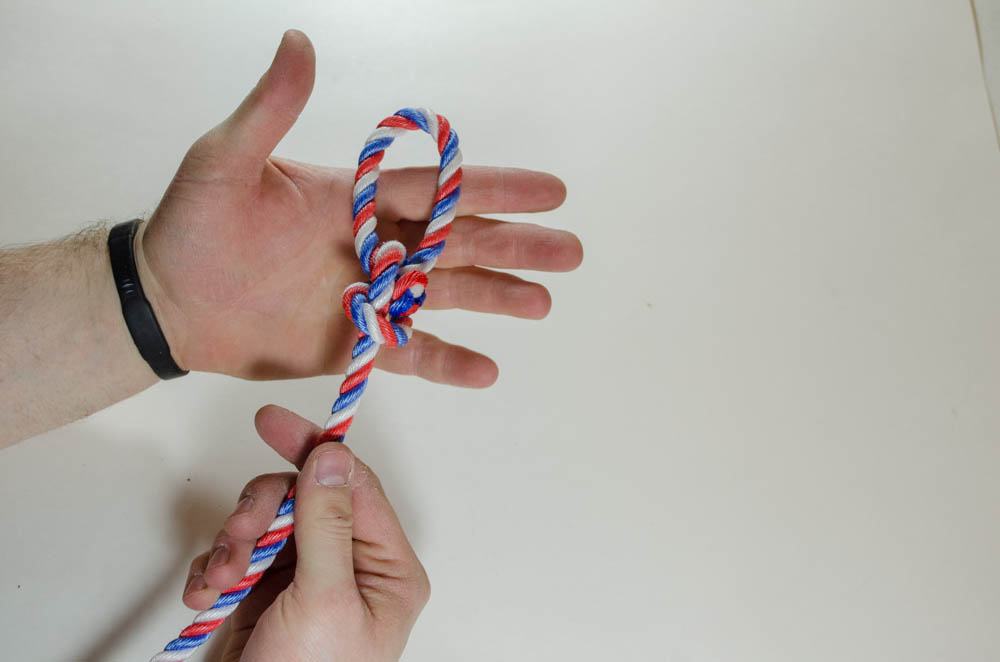
With about 18″ of rope, take the end that has your newly tied stopper knot. Working towards the right of your rope, loop it towards you til the knot faces away.
Grab the knot, take it to the left of the loop, then under and up, making an overhand knot.
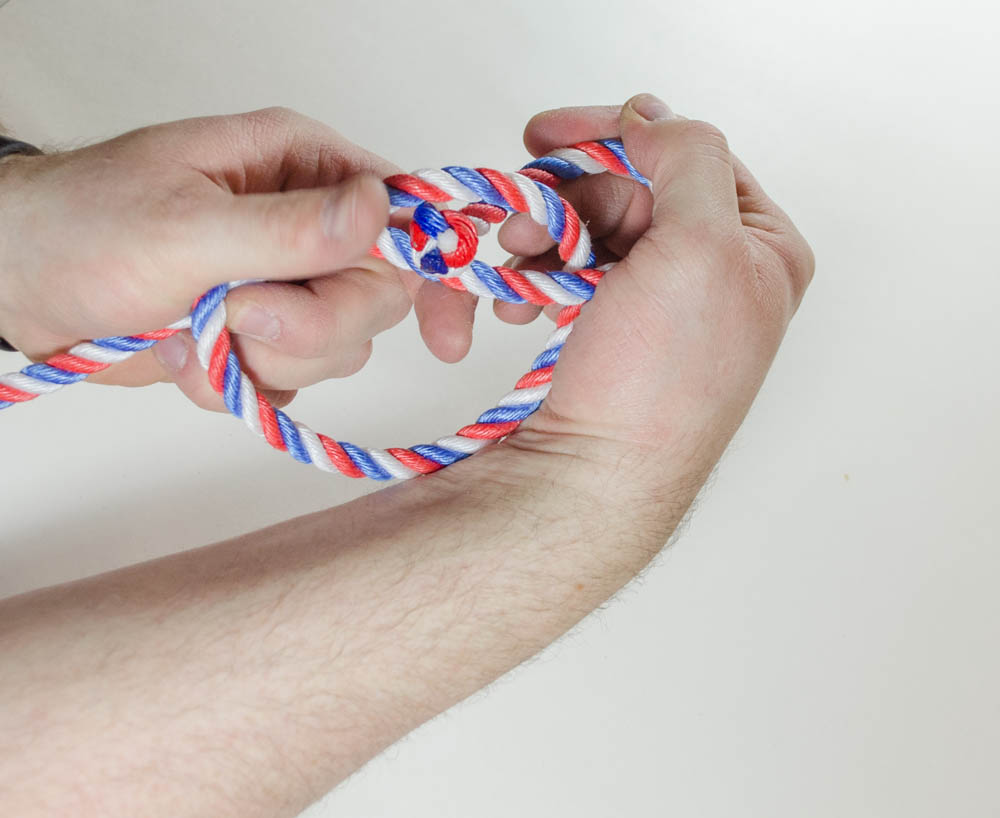
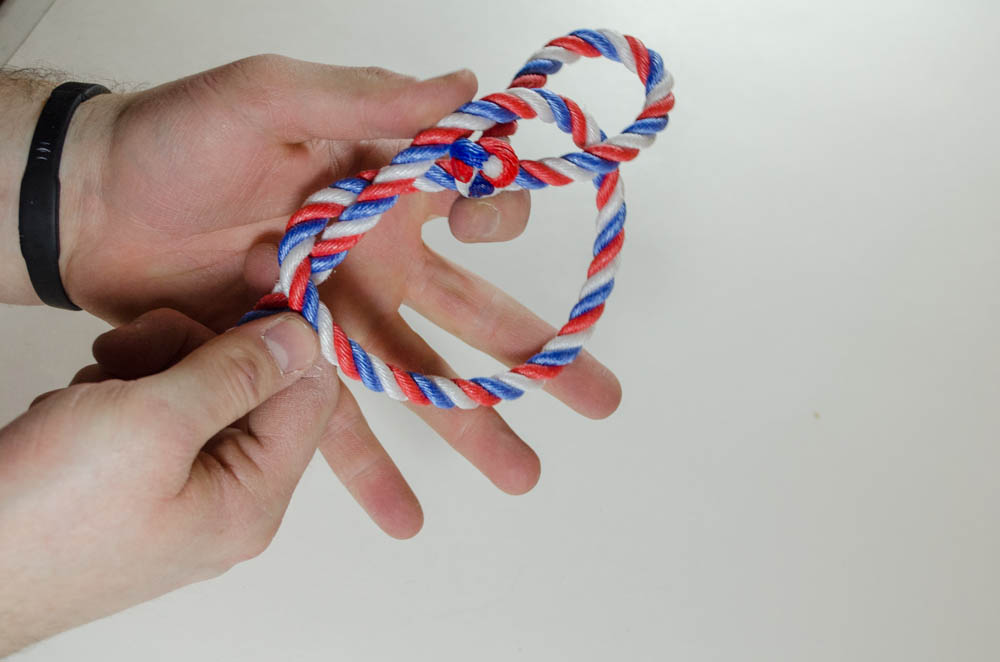
It kind of looks like a pretzel now. Take your knot back behind the top of the loop and tuck it in the top loop of the overhand knot.
Make sure the upper loop you just made is the size you want and pull the bottom rope tight. Push the stopper knot up as you do this to keep it out of the way.
Now you’ve learned how to tie a honda like a pro, just like Tom and the rest of the crew.
Hope you enjoyed the tutorial and feel confident in tying your own hondas. If you have a question or there is something you’d like to know more about, let us know. Tom, Marty, Dani and others are happy to share their skills with us!
Be the first to find out about newly added Western products, special offers just for our online friends, and more helpful tips of the trade by signing up for our emails today. Join your email list here!
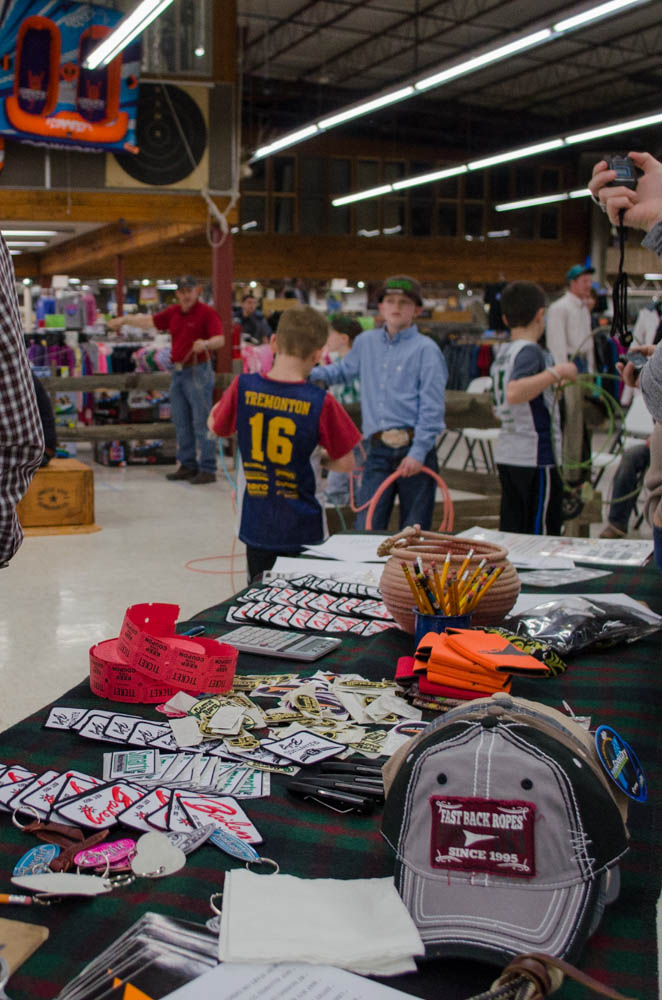
Smith & Edwards hosted our 1st Dummy Ropin’ on Valentine’s Day, February 14.
We’re glad everyone who came had such a great time!
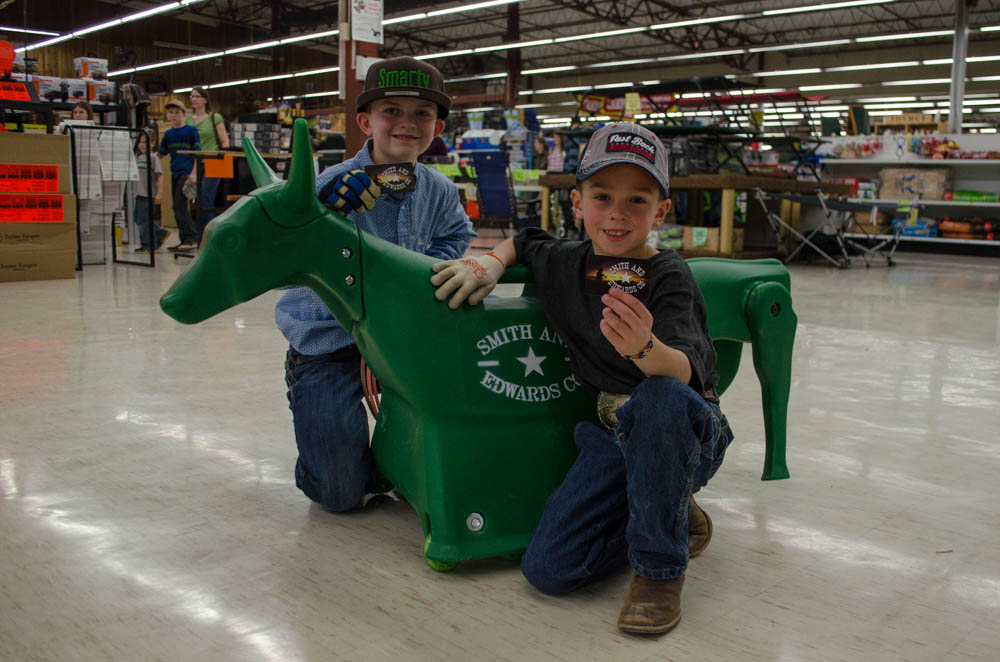
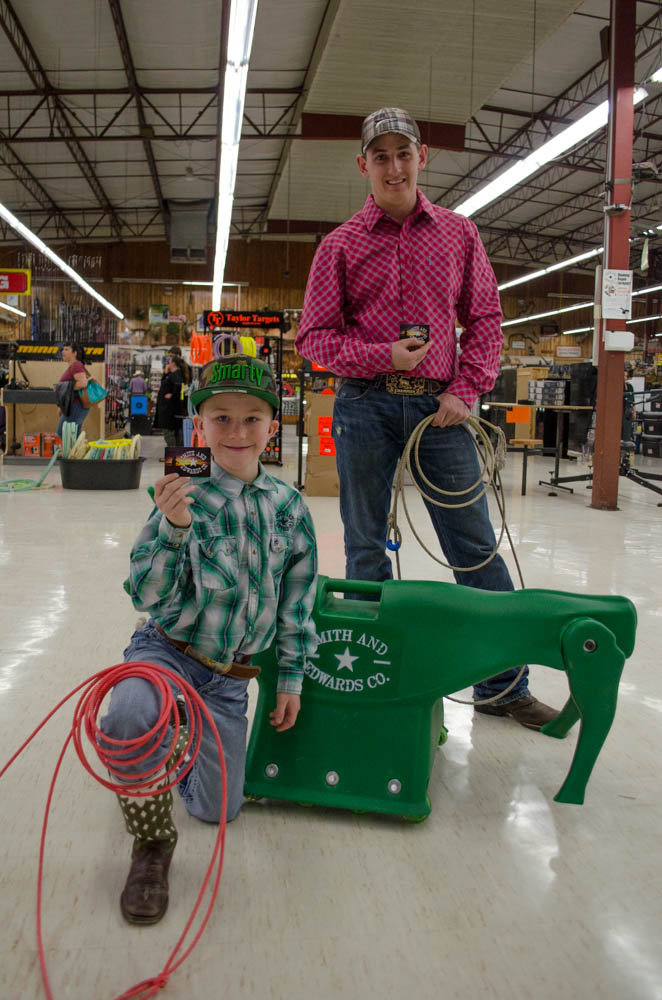
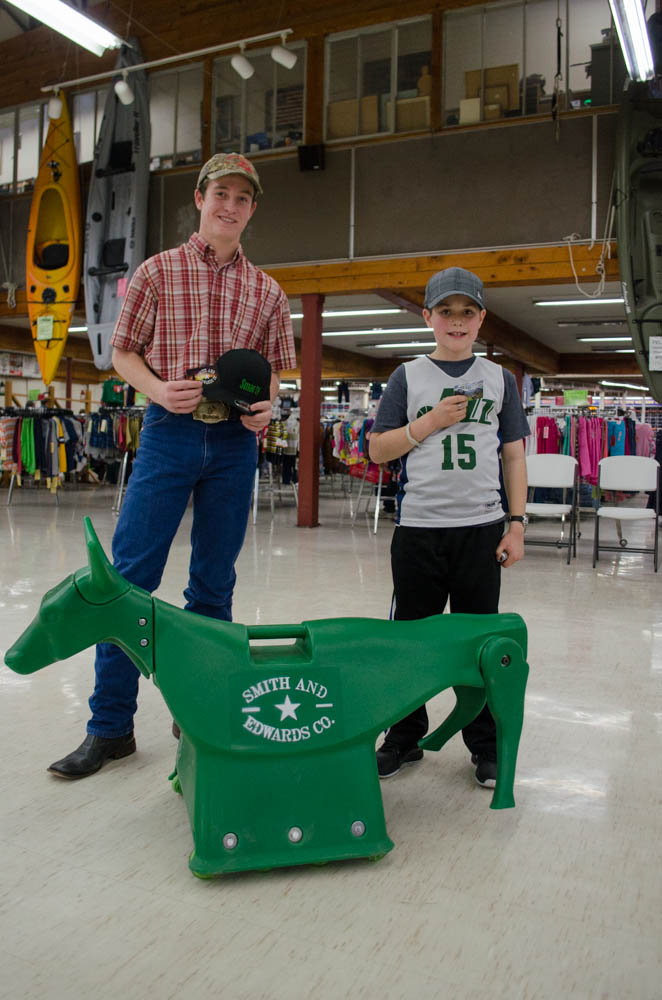
There were 3 rounds and a range of ages participating…. and some GREAT prizes, from Smith & Edwards gift cards to ball caps and patches from Smart Roping, Fast Back Ropes, Bailey, Bex, and more.
It was a ton of fun for the adults who came. And it was even more fun to see the kids having a blast, whether they brought their own rope & gloves or they were trying their hand at ropin’ for the first time.
What do you think? Should we make a Dummy Ropin’ a Smith & Edwards tradition like the Gun Auction?
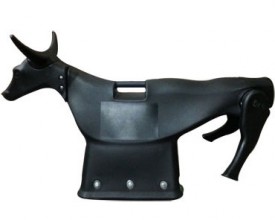
You’ll find 4-wheeler roping dummies, Shorty the Steer, and even tabletop roping dummies on our site! Click the picture to shop.
So now you’re probably thinking, Hey, I need one of those roping dummies!
Well, they are a ton of fun. The one you saw is available in green and black. It uses 8 wheels and is real easy to push on a flat floor. We built our own chute-launcher, you can see in the gallery. I bet you could come up with a system that works for your family to use.
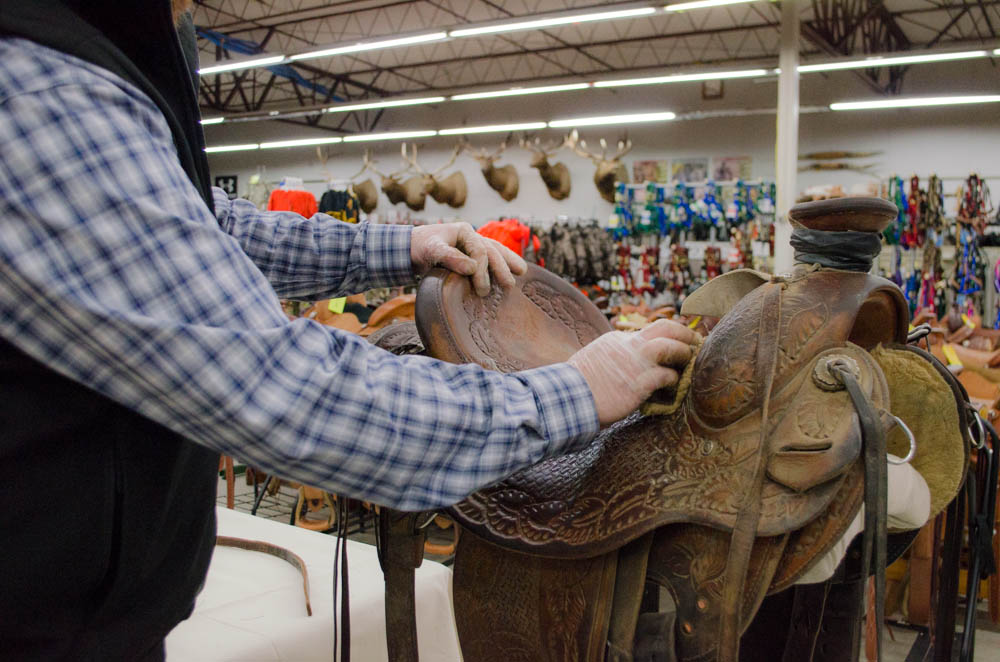
It’s so easy to put your saddle on the stand and walk away when snow starts to fly in the fall. But that leaves a lot of dust & residue on your saddle so when you take it out in the spring, it’s WORK lookin’ you right in the face!
When you’ve put that much into a good Western saddle, you want to make sure your saddle stays clean and conditioned! Marty Thompson, our Western Saddlery guy, will take you through the most important parts of cleaning a saddle, whether you’re putting it away or taking it out in the spring.
Plus, if you have leather cowboy boots, scabbards, or headstalls that need a good cleaning, you can use these same steps to condition your leather.
How to Clean a Saddle Q & A
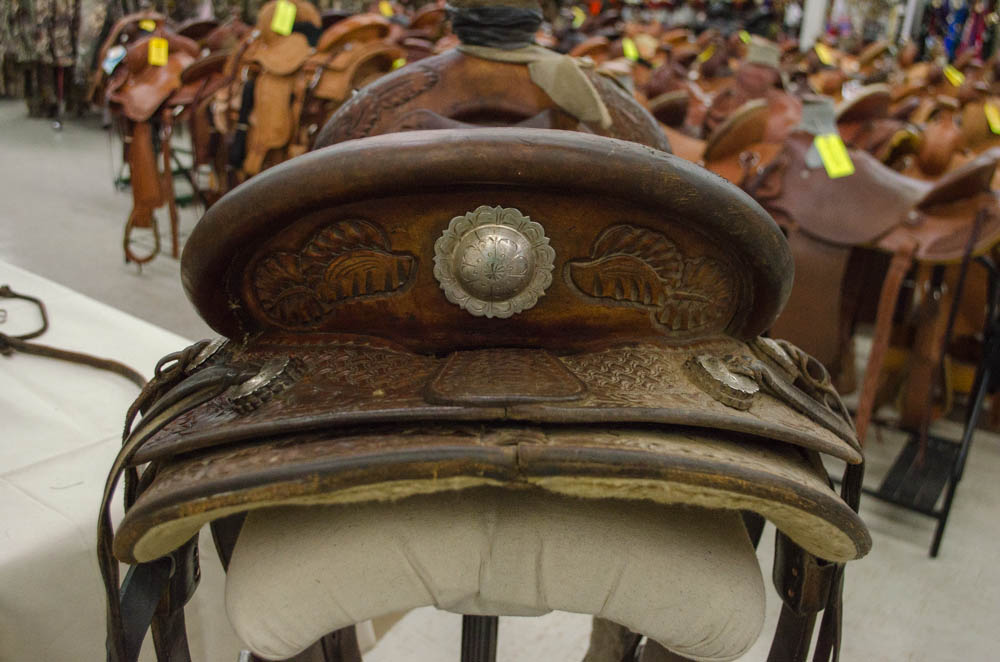
How to Clean a Western Saddle…. Before & After
Here’s a customer’s saddle. For some reason they were happy to volunteer when we asked around who wanted their saddle cleaned for free!
This saddle has some beautiful tooling and design, but it’s been buried deep under dirt & muck. Here’s what it’s going to look like when we’re done:
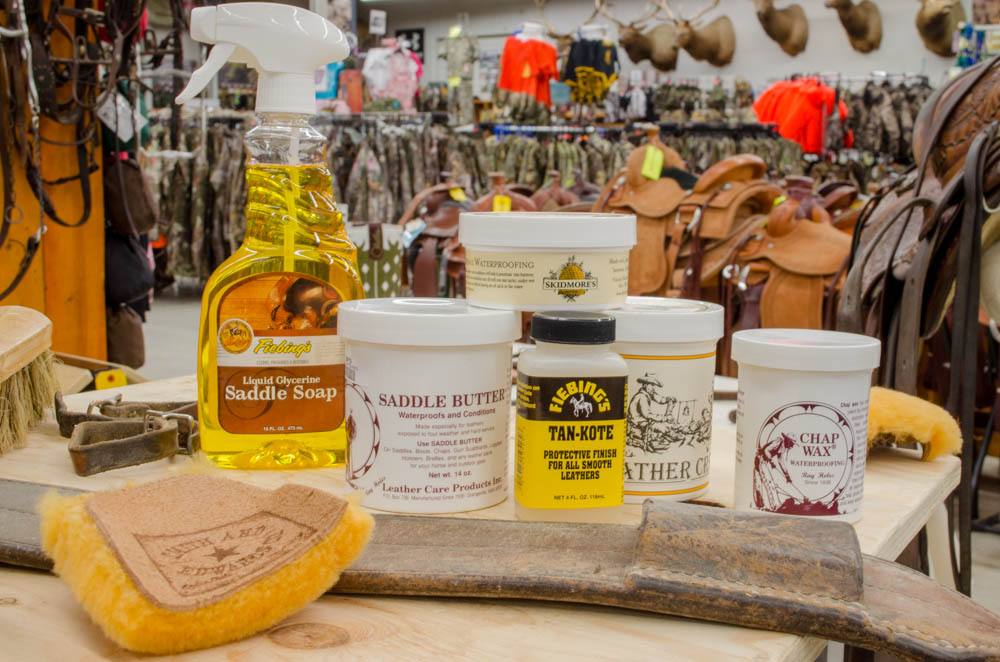
Leather Care Products you want to use
Everyone has their own preferences. Marty’s not only sold tack for 20 years here at Smith & Edwards – he does leatherworking & builds saddles in his spare time. So here’s what he recommends, based on his experience.
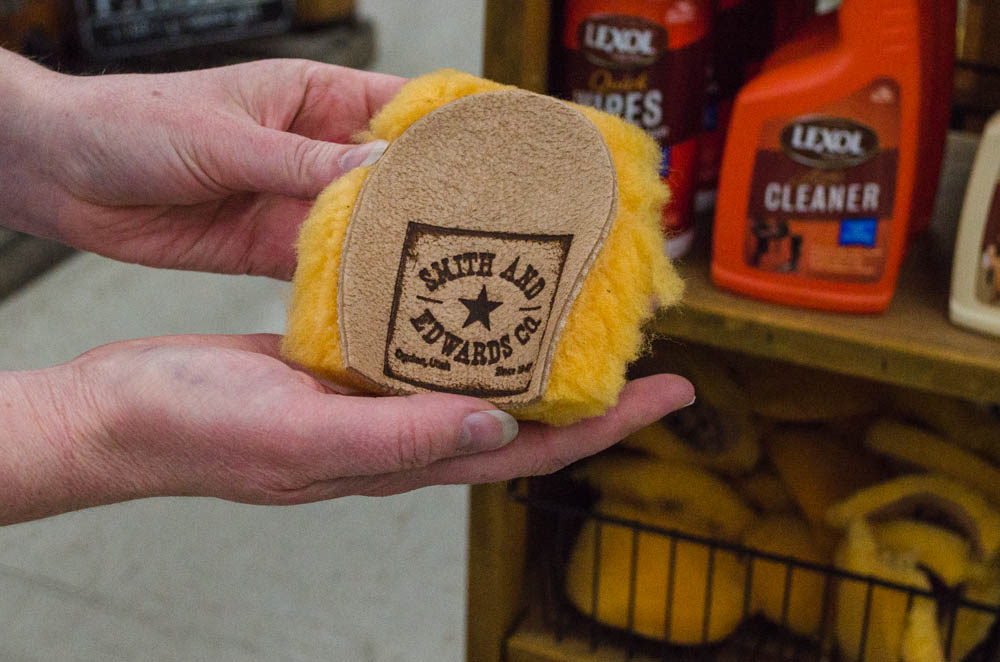
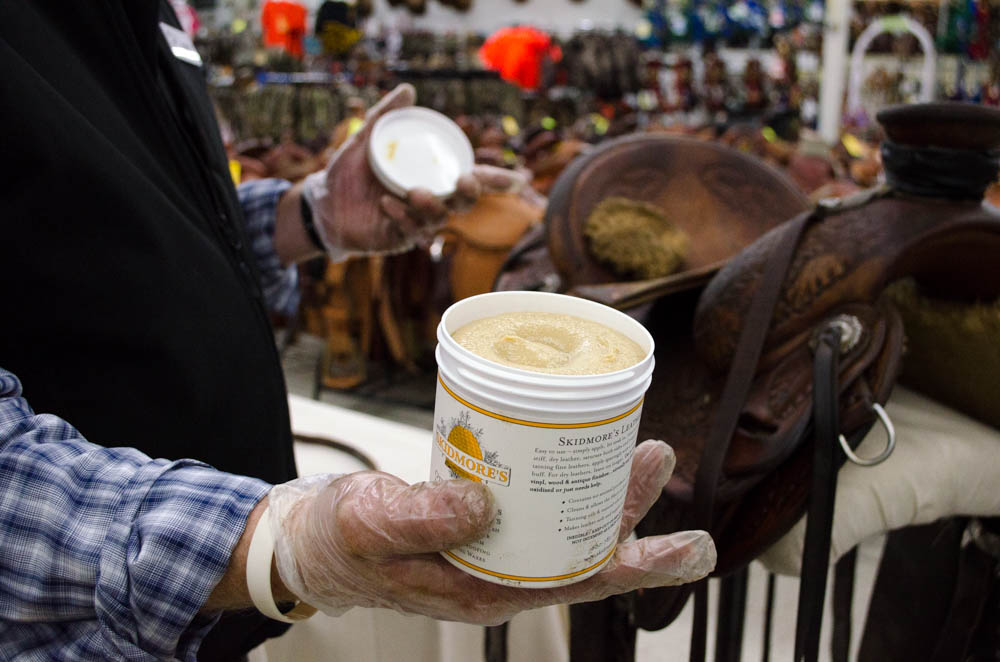
There are lots of products for cleaning your saddle, from Fiebing’s, Skidmore’s, and Ray Holes. A wool pad or scrap of sheepskin will help you gently rub the leather cleaner & conditioner into your saddle & gear without scratching.
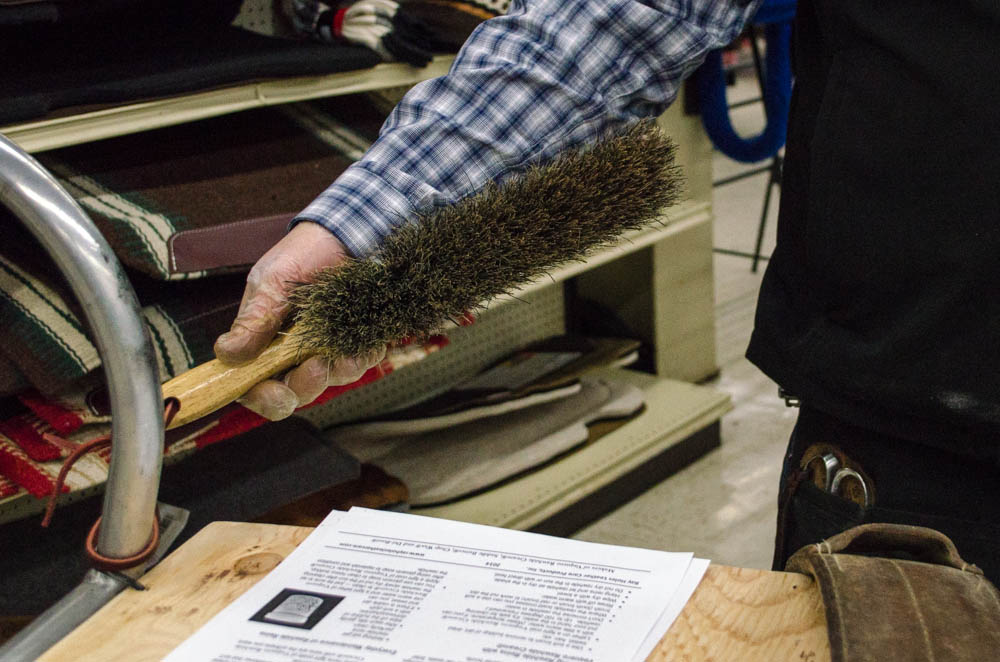
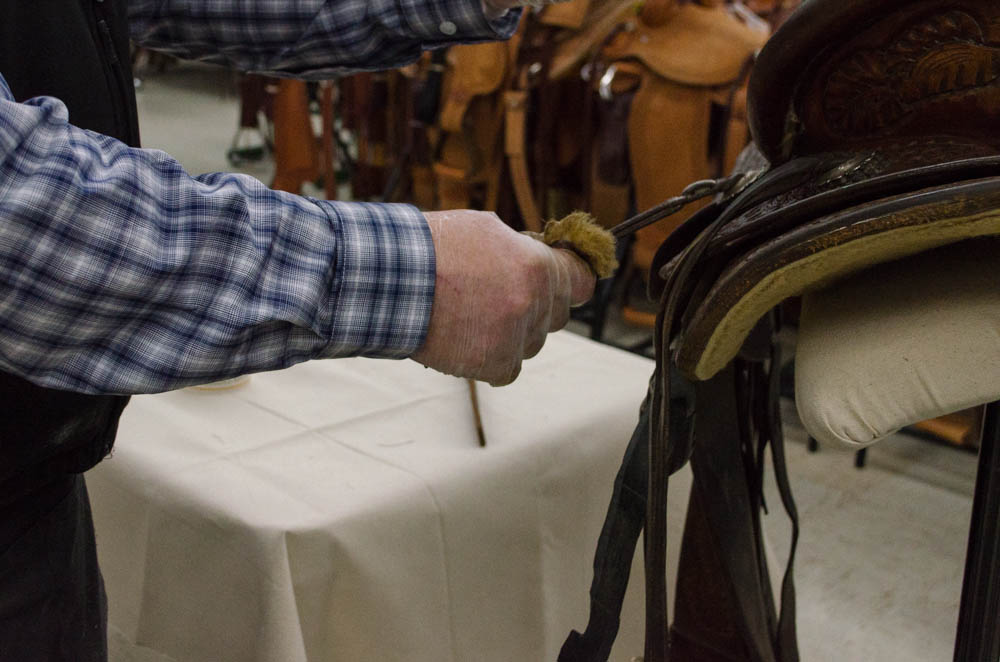
Before Marty started with products, he took a bristle brush to the saddle to get off most of the dirt before coming in with the liquid. An air compressor works good too, if you have one – especially under the skirts and jockeys!
If you have a REALLY dirty piece of leather, you can use some dish soap on it. Then, you need to come back and condition it afterwards.
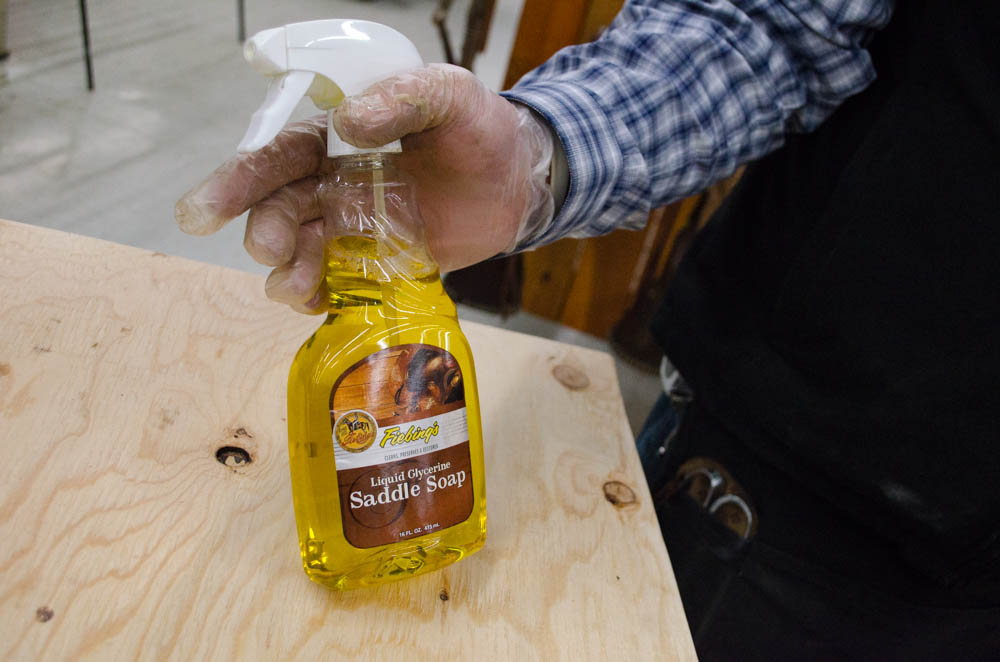
Marty likes using Fiebing’s Liquid Saddle Soap. This spray seems to cover better than paste, and you get less residue in the cracks of the leather. You can use a paste with a wet cloth, but if the paste gets too thick it might be hard to work out of your leather’s creases and details.
The Liquid Saddle Soap cleans it out really well, and it also lightly conditions it at the same time. Plus, it’s great to be able to spray in the spots you want.
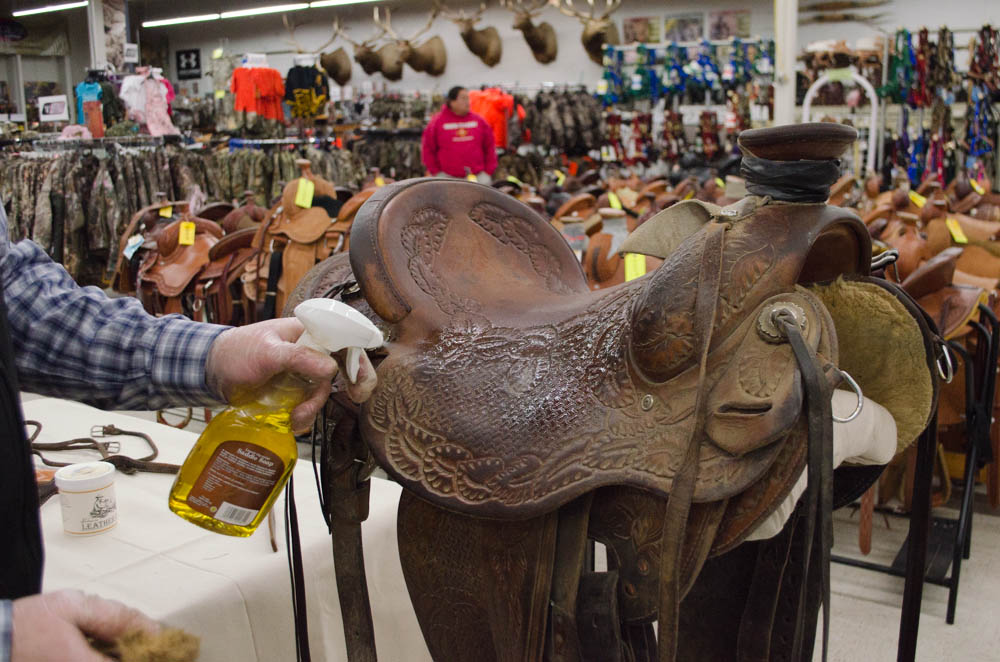
That first spray on the dusty leather is pretty satisfying…
If a saddle has a lot drier feel to it after going over it with saddle soap, you could go over it with some neatsfoot oil to condition it deeper.
A soft cotton cloth is good to use for rubbing the liquid into the saddle. You can also use a soft sponge or a piece of sheepskin. You want something that is soft and won’t scratch the leather, and also holds the cleaner and conditioner well.
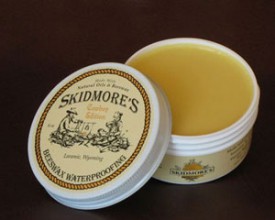
If you have an older saddle, or maybe a saddle that hasn’t seen enough care, the Skidmore’s Leather Cream is a great way to deeply condition your leather.
Skidmore’s Leather Cream
You don’t haveto wear gloves. Marty likes to wear gloves because that way he’s not running to the sink to get oil off his hands!
Parts of the Saddle to Clean
You want to clean your leather and get all the sand, dust, and dirt out of there. That helps your leather last longer and brings the beauty back into that leather.
It’s really important to do more than a surface clean when you care for you saddle.
When you’ve got sand and dust trapped in the fenders and parts of the saddle, it acts like sandpaper and wears out the leather.
You want to get in the fenders, the saddle strings, stirrup leathers.
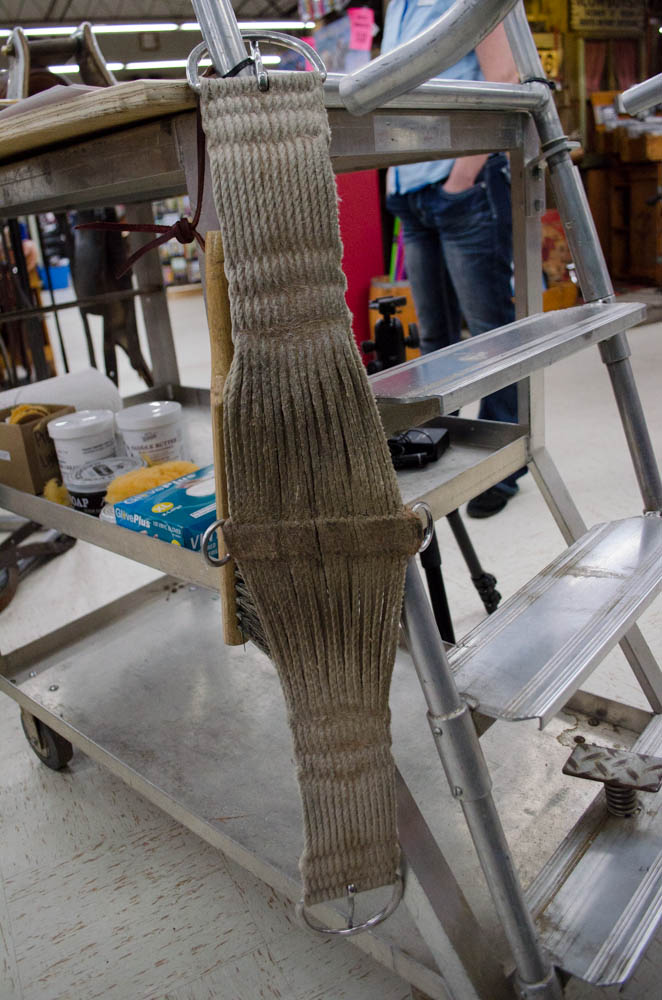
And the cinch and back billet are really going to want cleaning.
Make sure and finger-clean all the hair, sticks, and dirt out of your cinch.
Make sure and get your rosettes and conchos shined up while you’re at it!
Halfway through! Marty’s cleaned the left side of the saddle, and he’s only brushed the right side so far.
If your silver conchos are really tarnished, go ahead and take them off your saddle, then take some silver polish to them. That’s because some silver polishes can turn your leather white, so you want to be sure and take the silver off the leather before you introduce the chemicals.
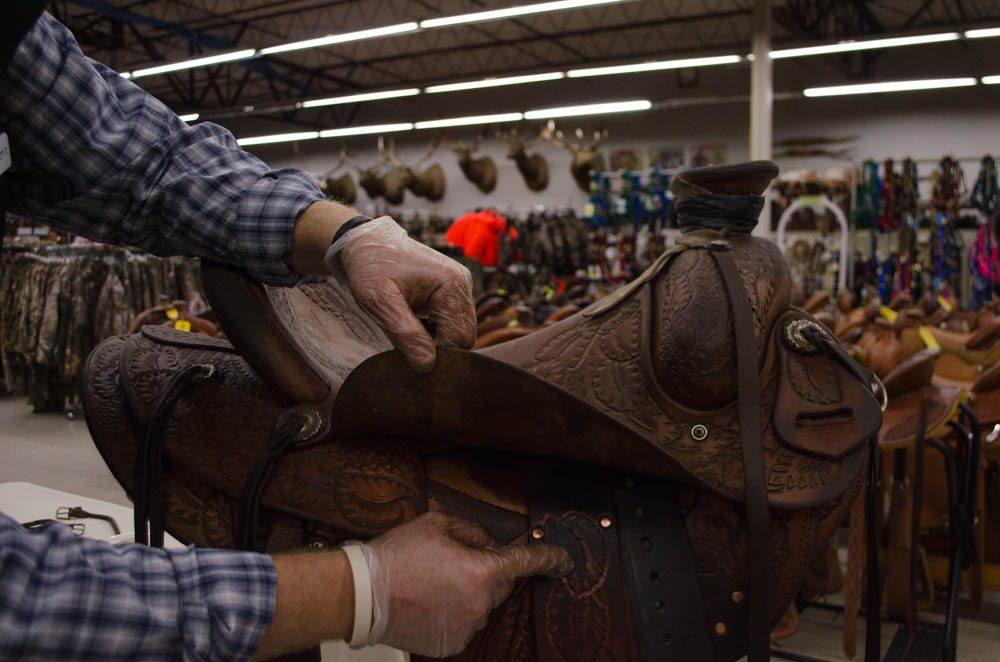
A lot of dirt and hair will build up where the stirrup hangs, so scrape and break up the dirt. You can scrape off the mud with a pocketknife on your stirrup leathers, and then you’ll be able to get the conditioner in the leather.
You’re not digging into the leather with your blade – just prying off the caked dirt.
If you have a rough-out or suede seat, you’ll want to use Bickmore’s Bick 4 instead of an oily conditioner, so the oil doesn’t come out on the seat of your pants! This type of product is also good for leather couches and car seats.
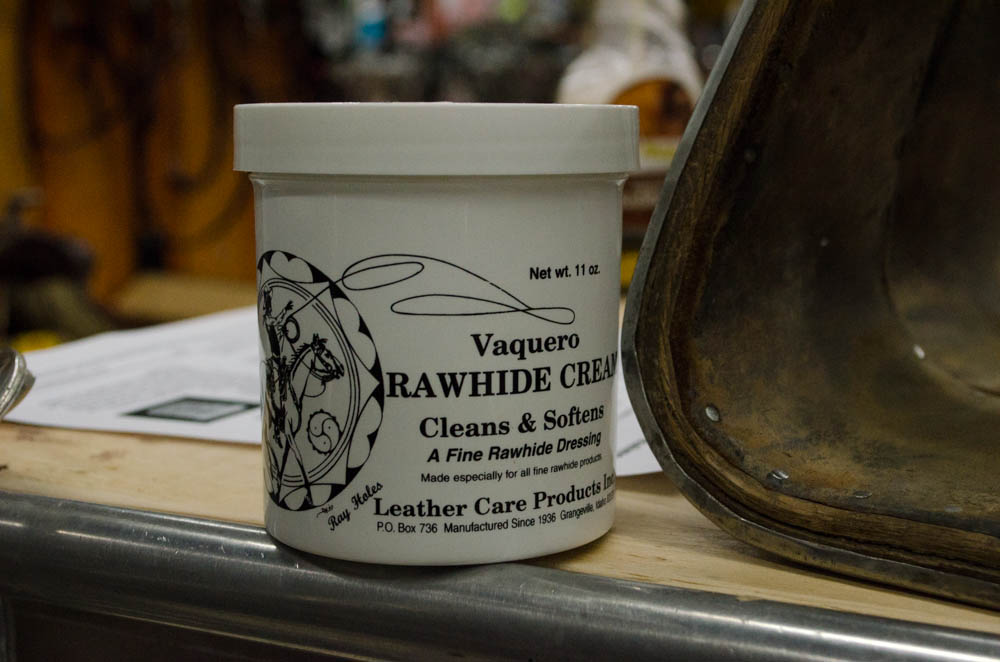
Same idea on cleaning rawhide: brush off any dust & dirt, then take a piece of sheepskin and work the rawhide cream into your gear.
Waterproofing Leather
Skidmore’s Beeswax Waterproofing
Ray Holes’ Saddle Butter conditions the leather well, AND has a waterproofing component in it. Ray Holes also makes Chap Wax, which is specifically designed for waterproofing. Skidmore’s also makes a waterproofing from beeswax. Each of these penetrates into the leather well and helps the moisture bead up and roll off instead of soaking into your saddle!
How do you waterproof your leather? Same process: clean your leather off with a brush and then a conditioner. Then, put on a coat of waterproofing.
Make sure and let your saddle dry on its own, at room temperature – this may take a half hour.
Finishing touches
To finish your leather, put a coat of Tan-Kote on your gear.
Tan-Kote, by Fiebing’s, gives your leather a bit of shine and also helps repel dust and dirt. Plus, it’s a softer product with a water base, that won’t cause your leather to crack.
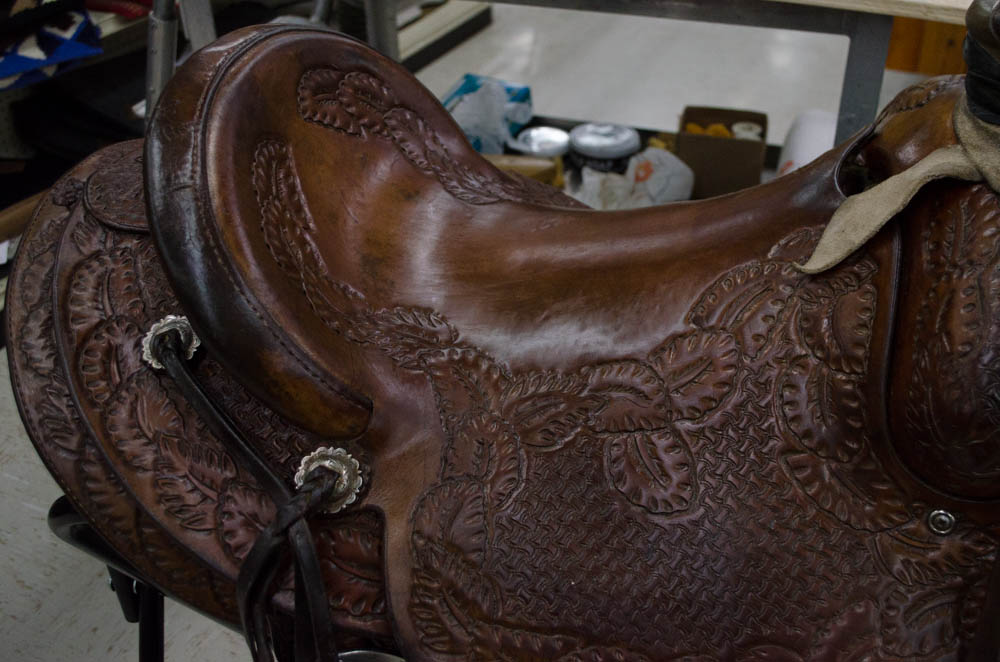
After
Beautiful!
Get more tips like this in your email!
Enter your email address & Marty will send you more tack tips plus let you know when he puts his Western tack & gear on sale.
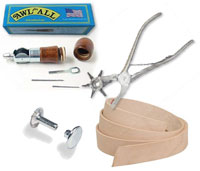
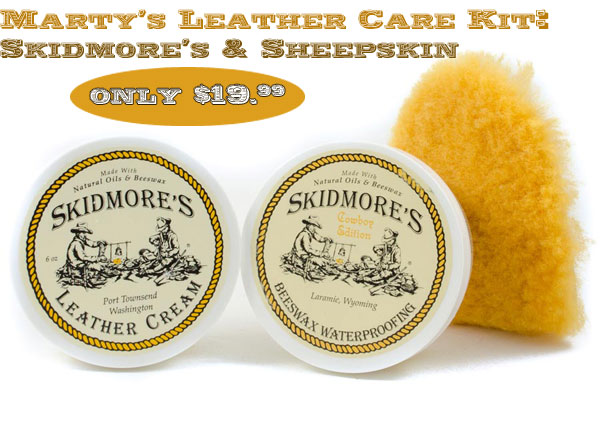
Get the Basics with this Leather Care Kit
Marty put this kit together so you can get everything you need in 1 place to clean and waterproof your leather. Skidmore’s leather products are made in the USA – which we love – and they’ll work great on your saddle & tack.
Plus, you save money by buying these products in the kit – AND you get a sheepskin piece to work it in! We don’t sell these sheepskin scraps on the website, so Marty’s kit is the only way for you to get your hands on one of these! Click here to check it out.
How do you care for YOUR saddle & gear? Let us know!
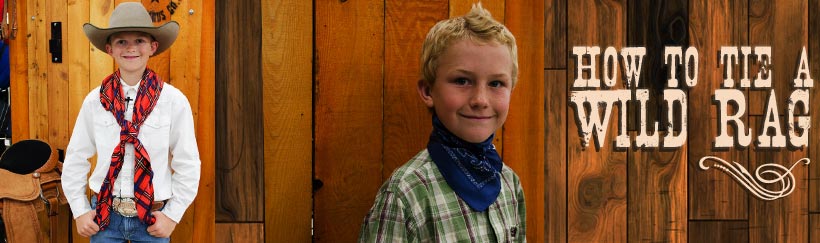
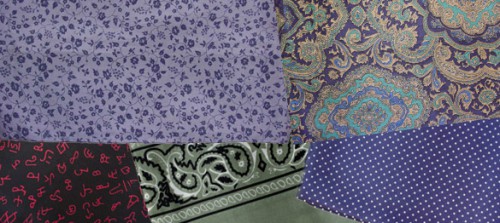
You found the gorgeous silk scarves called wild rags and now you want to wear one all the time!
Cowboys, ranch hands, and buckaroos wear these silk scarves because they wick away sweat in the summer, keeping them cool. They also keep heat in, in the winter!
And they can be used for just about anything on the back of a horse: mend a stirrup leather, tie a hat down, or even filter water in a pinch. No wonder a cowboy always has a silk scarf around his neck!
Well how the heck do you tie it? Well, there are 2 great ways to tie a Western wild rag or cowboy scarf. Our Western guy Marty and his sons Wells and Pace will show you how to do it.
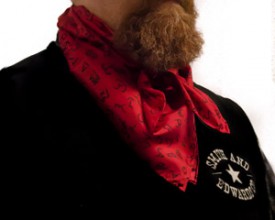
Tying a Buckaroo Knot
First, you can tie a wild rag in a buckaroo knot, also called a square knot:
Here’s how to do that: (See the video below for a detailed explanation.)
To start, fold your scarf in half diagonally, so it’s a long triangle. Put the scarf around the back of your neck, holding the ends of the scarf out in your hands.
Hold 2 fingers of your left hand out. Take your right hand and wrap the wild rag around your left fingers once. Then, with your other fingers, hold it there.
Reach back under and grab the other side of the scarf. Come over the front and split the wrap, right over the top of your fingers.
Then come up underneath by your chin and reach back through to grab that tail of the wild rag.
Now that you have that end, go through the loop that’s over your fingers, going through the same direction your fingers are going. Reach through and pull that tail tight.
Straighten the square out by pulling each end. There you have your square knot!
Thanks Wells and Marty for showing us how to tie a wild rag in a square knot!
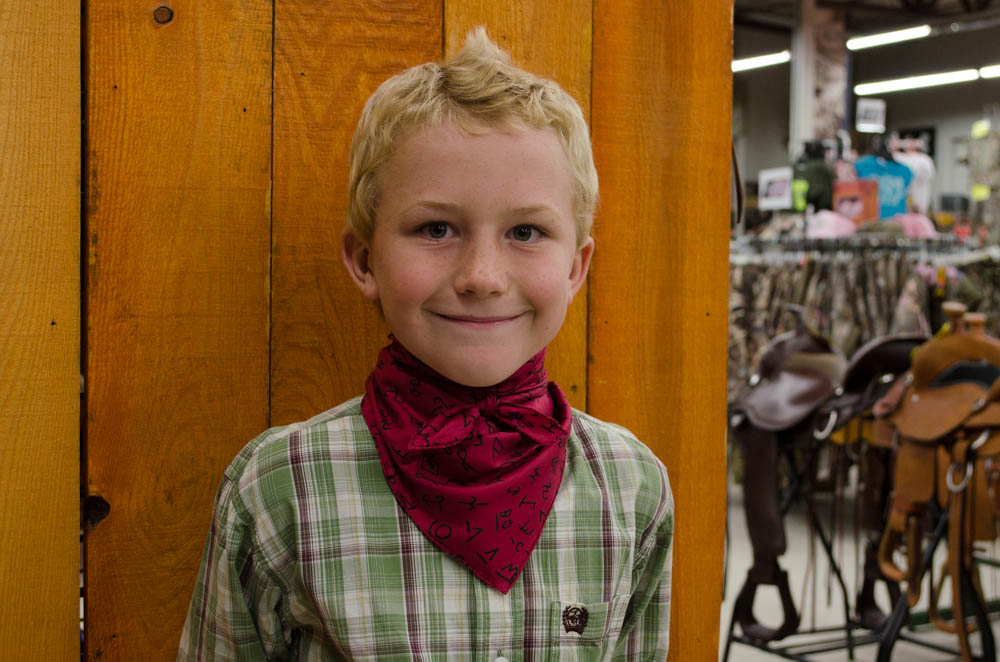
Tying a Simple Knot
Pace looking sharp in his silk scarf decorated with different brands
Or, if you want a snugger fit with less fiddling, here’s how to tie a silk scarf in a basic knot.
Take your silk scarf and fold it in half, into a triangle.
Put the scarf around your neck, with the big edge of the triangle going around your neck and the middle point on your chest.
Cross the two points that are lying on your back behind your neck, and then bring them back over your shoulders.
To finish, just tie the two ends under your chin in a granny knot. To tie a granny knot, simply tie an overhand knot, then tie an overhand knot again.
There you are!
Do you have another way of tying your wild rag, or want us to do more videos? Leave a comment below and let us know!
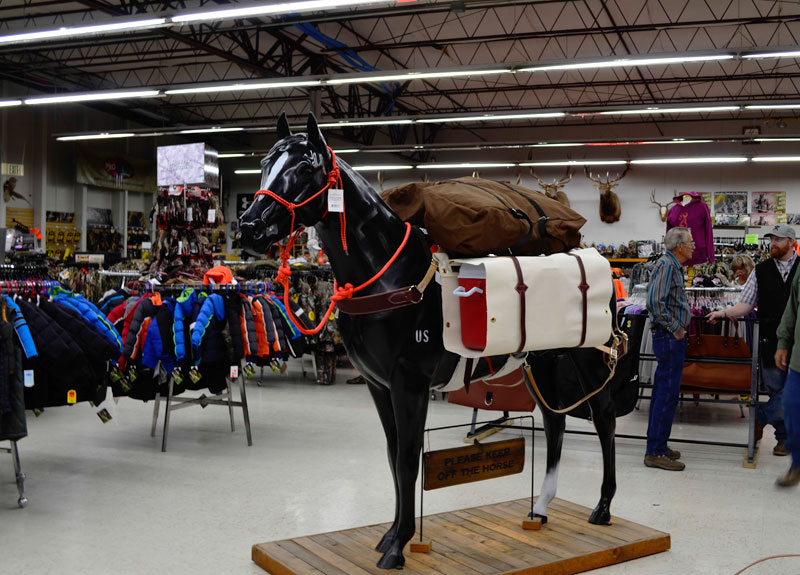
Today we had a great in-store demonstration in our Western Department at Smith & Edwards. Duane LeRoy and his son Scott LeRoy came to give us a Pack Clinic. Duane and Leroy know all about packing horses and trail riding because they love trail riding – and they’re members of the Back Country Horsemen of Utah. (Check their group out on Facebook)
Duane and Scott shared their knowledge and expertise about packing horses for trail riding, and demonstrated some of the great systems you can use to pack food, water, and supplies while you’re out riding on a trail.
Several people were here to get knowledge out of the hour-long horse packing demonstration, and there was time to ask questions and trade stories after the demonstration.
Packing with Horses for Trail Riding
Duane and Scott had been up at Ben Lomond just yesterday to support folks on the trail. Then this morning, there was the Skyline Mountain Marathon! Up in the pines, it’s much cooler than down here, but it still got hot. They were able to pack in 20 gallons of water, with dry ice to keep it cool, on each horse using this system!
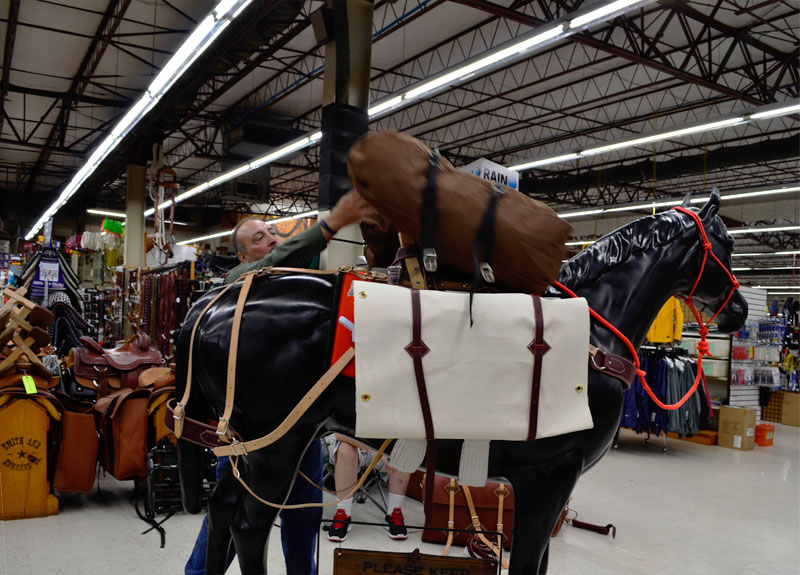
Scott adds a bag to our packhorse.
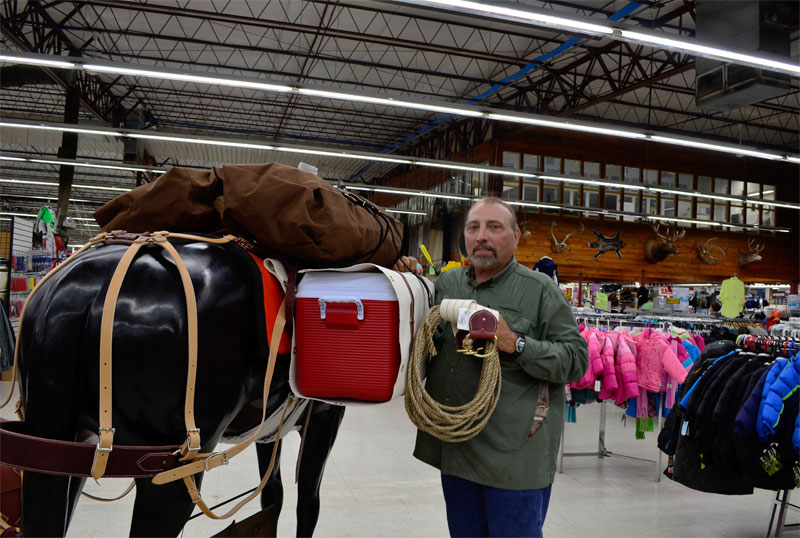
Scott LeRoy telling us about the rope, bags, and coolers you can use for trail riding.
You can hold one 10-gallon cooler on each side of this canvas sling pack. Scott and LeRoy loaded theirs full of water bottles, but you can keep your favorite drinks and cold food in these coolers. Then make sure they stay cool by packing the coolers with ice or dry ice, depending on your level of adventure! Load up your top packs with food, supplies, and Easy Boots just in case. We’ve got all this gear in-store for your next adventure… waterbottles too!
All packed and ready to go!
We carry all the equipment to load your horse and have a nice day of trail riding. Marty and the folks in our Western Department in the northeast corner of Smith and Edwards will be happy to help you get all the gear you need – as well as tack and supplies. We know Western Tack because we use our gear ourselves! All our folks in our Western Department know and love horses, from trail riding to work to rodeo.
Did you know we make a lot of our Western Tack right here in the store? And if there’s a real special saddle or set of spurs you’ve got your eye on, we offer Layaway, too.
We’d love to have the Back Country Horsemen back here next year to demonstrate packing techniques again! Will we see you here? What do you like to use when you’re trail riding with your horse?