What is the most frustrating thing about installing your dryer? For me, it’s all the hoses and attachments, and then, getting them to fit in the laundry room without crushing them.
Even more frustrating is how awkward it is to try to lean over your dryer with the hose clamp and screwdriver to install or clean the ventilation hose.
Luckily for you, and for me, Ziggurat Products came up with a solution to our problem. Snap-to-Vent connectors make this job quick and easy!
How the Snap-to-Vent system Works
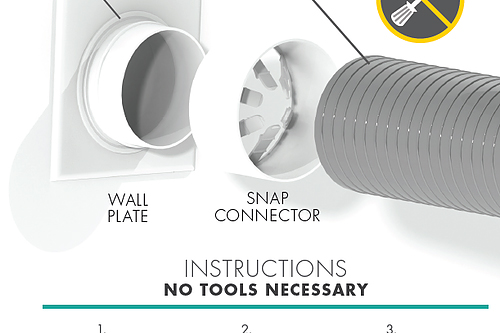
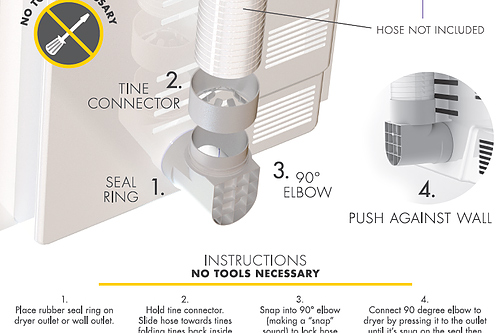
When pushing your dryer back against the wall, sometimes the hose can be crushed and this prevents necessary ventilation. Both Snap-to-Vent’s products prevent against crushed dryer hoses and are super easy to install.
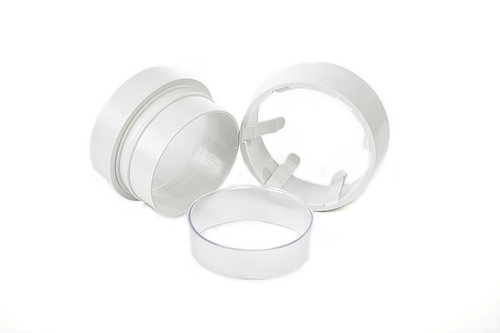
If your Clothes Dryer vents straight to the duct: Straight Connector
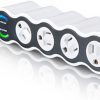
If your dryer duct and wall duct are relatively close together, you will want the Snap-to-Vent Straight design connector. This is an easy connection for installing your dryer, and if you ever need to take it back apart for maintenance or cleaning. Simply pre-connect Snap-to-Vent Straight before you go behind your dryer for installation. Place the snap connector over dryer hose with tines on the inside of the hose. Take the straight and place it so that the tines push against the hose holding the connector tight to the dryer hose. Take the seal ring and either put it around the duct or in the straight and press into the duct until it creates an air tight seal. Easy enough!
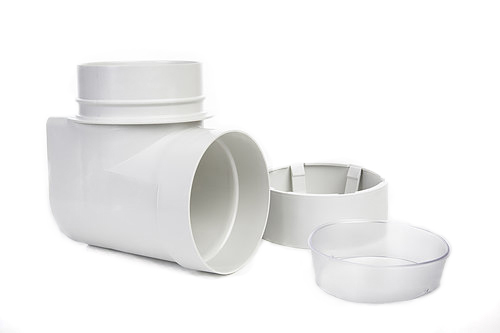
If your Clothes Dryer hose has to vent on another wall, use the 90° Elbow
The Snap-to-Vent 90-degree Elbow connection helps to avoid smashing your hose by connecting the hose at a 90-degree angle to your dryer. It comes with easy instructions: Pre-assemble the hose to the snap connector and the snap connector into the 90-degree elbow and snap together. Take the seal ring and pre install onto dryer or wall duct and press the 90 elbow into the dryer duct or wall duct. And voila! The elbow connector can push right up against the wall and still keep your hose protected and working how it should.
Having a clean and clear vent reduces the risk of fires and improves the efficiency of your dryer. With no tools necessary and less time and confusion during installation, how could you not love Snap-to-Vent!
After a long, cold winter, it’s time to clean up. Planting new flowers, mowing the lawn – all the little things to make your yard beautiful again. It’s the time of year to break out all our lawn care equipment again.
As people are preparing for the summer, we often get questions about troubles getting all the tools tools to start up after long, cold winter storage.
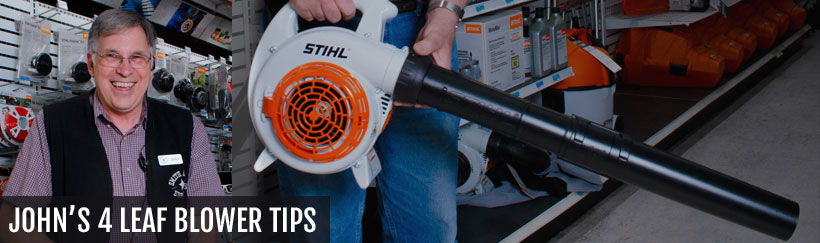
Tool Troubleshooting: 4 Leaf Blower Tips
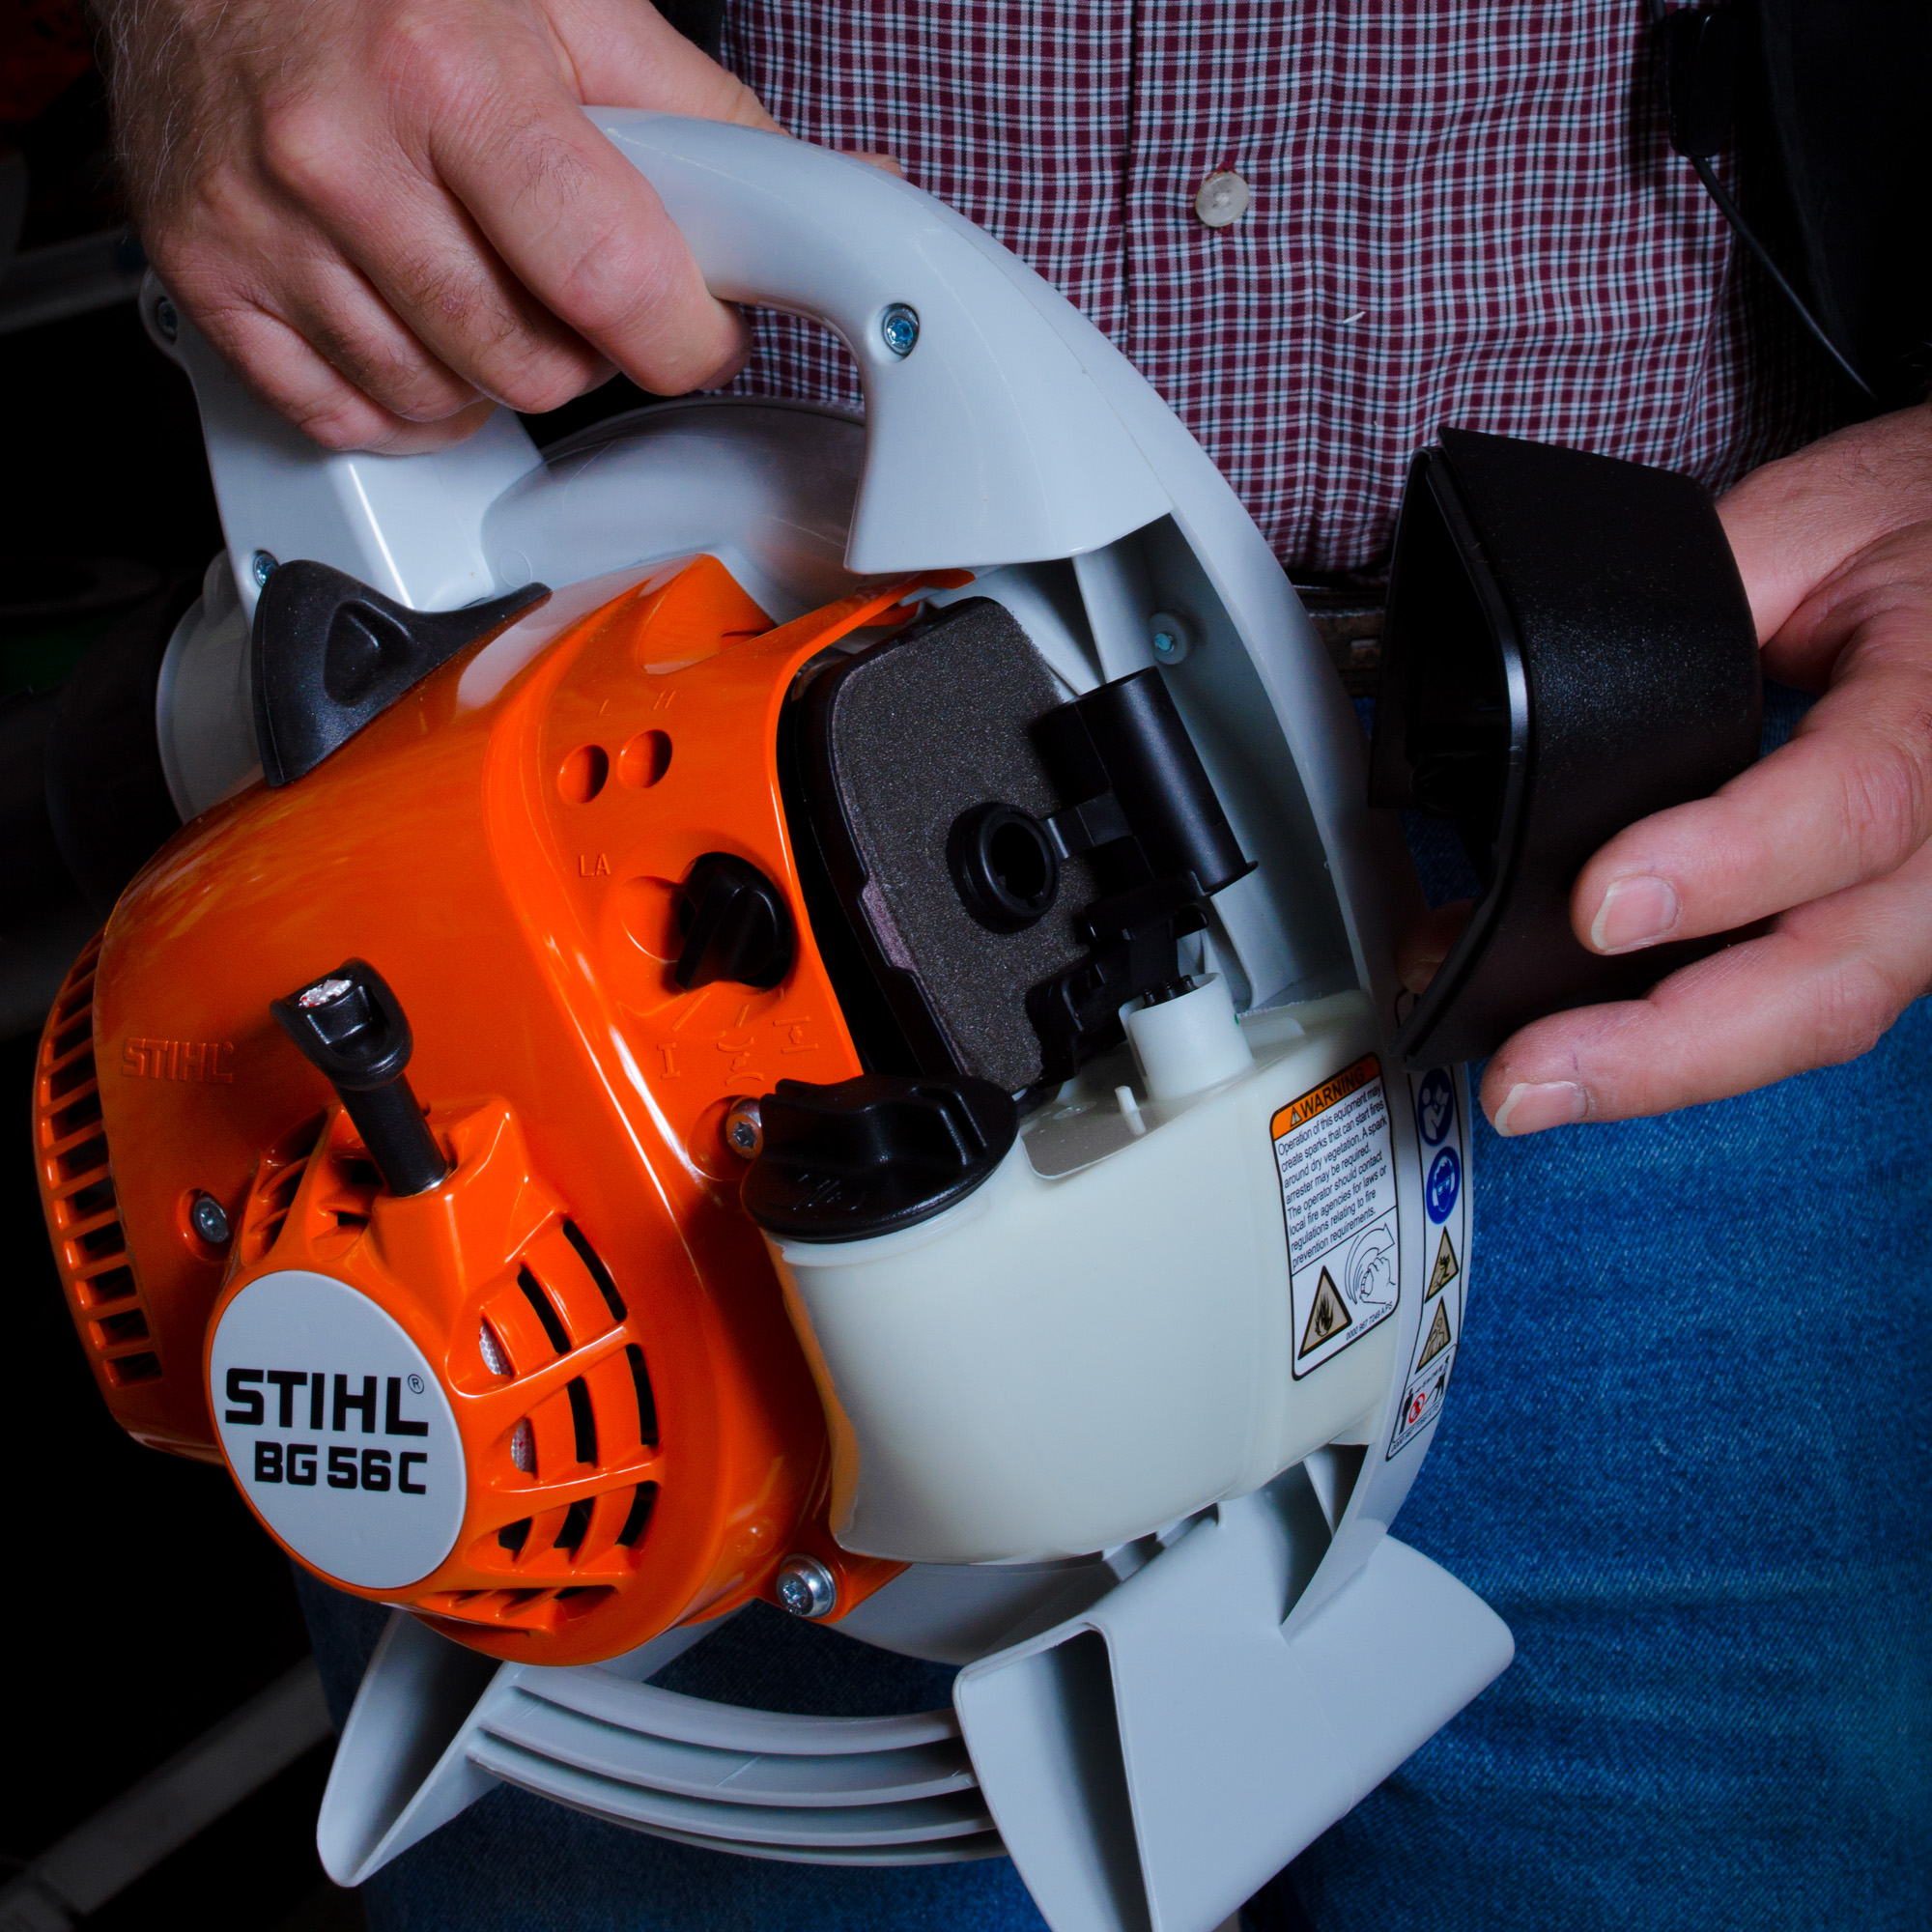
Many people are ready to use their gas powered leaf blowers, but it can be hard to get them started after winter. John, part of our team in the Lawn & Garden department, has thought of 4 possible solutions for this:
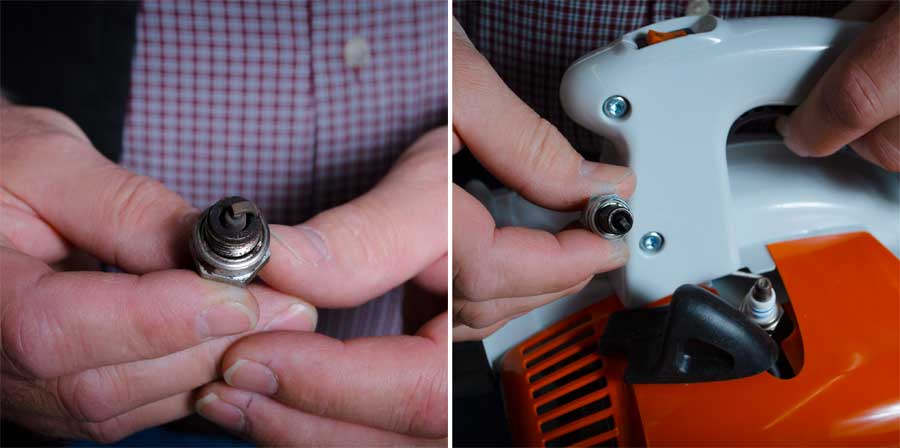
Spark plugs. This is a very common solution for blowers not starting. Check your spark plugs, and if any of them have build-up, it’s time for a replacement.
Air filter. Check that your air filter is clean and not plugged up. If not, you know it’s time for a change.
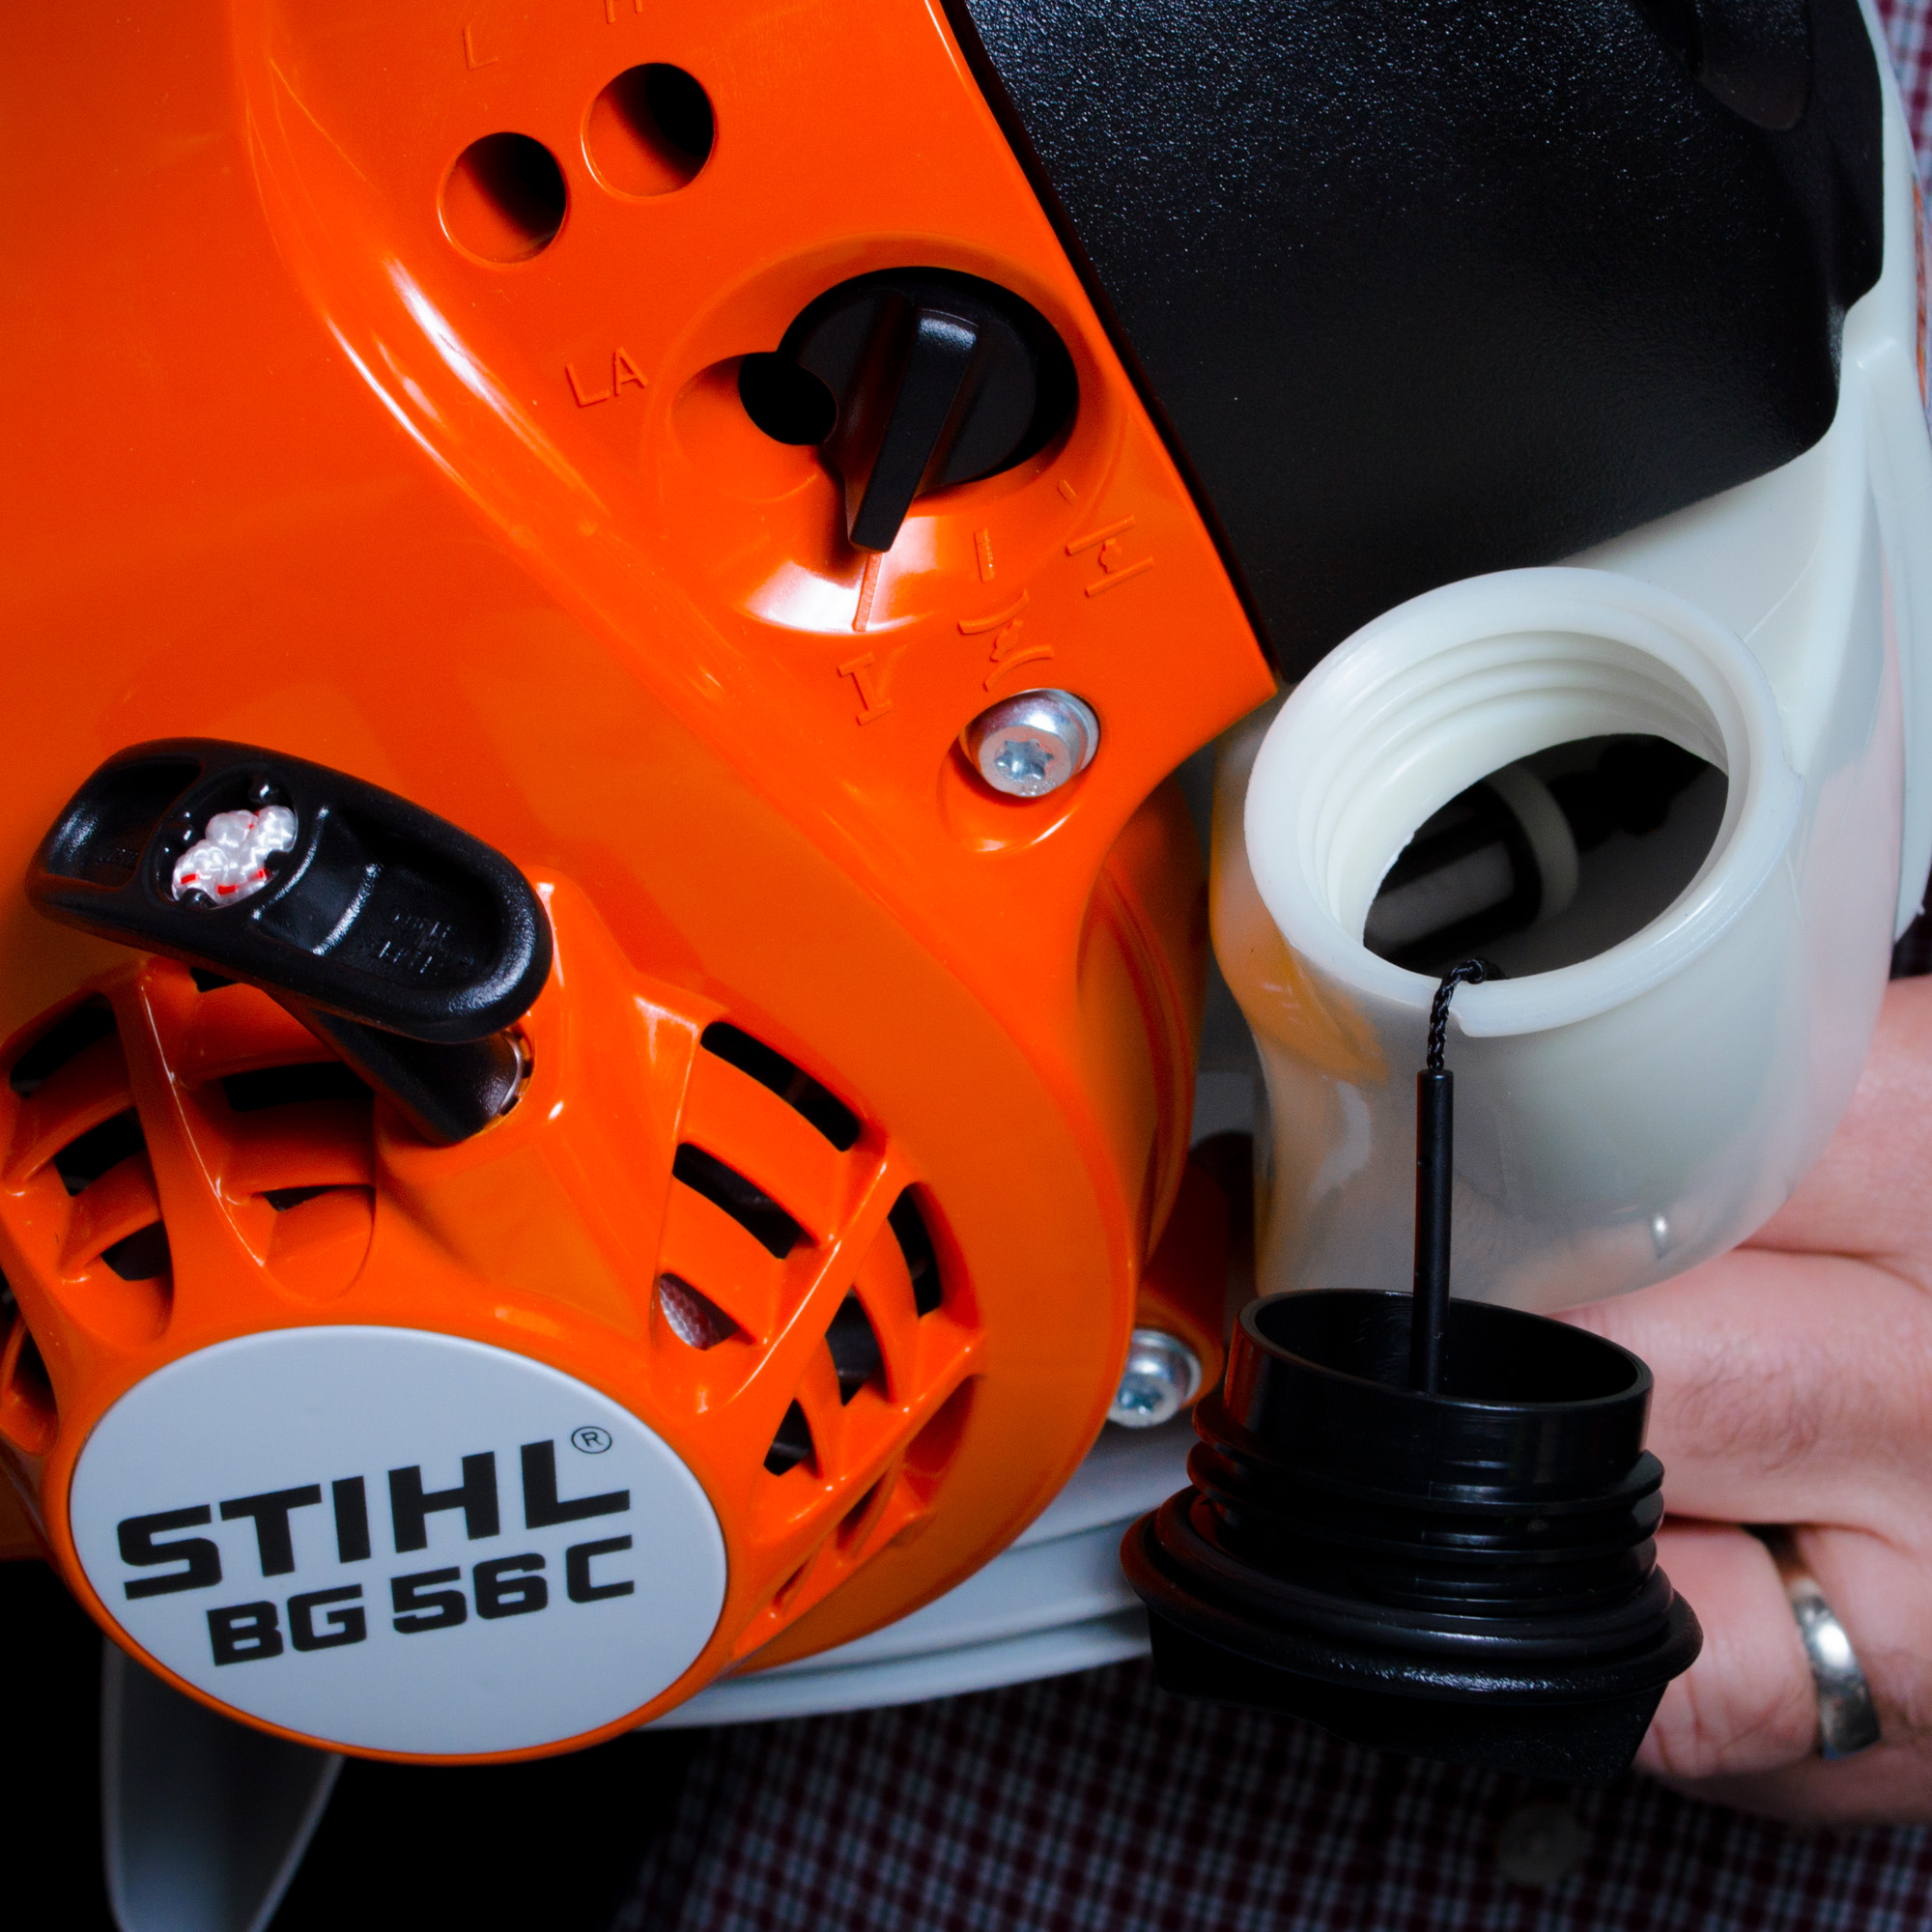
Fuel filter. Not as common, but equally a potential solution. Check that your fuel filter isn’t clogged up. If that’s the case, replace it with a new filter.
Note: Not all models of Stihl Gas Powered Leaf Blowers are the same. Check for your Stihl® model manual here.
Thanks for the leaf blower tips, John!
Thanks John! These are his best tips, and if these don’t work, you can consult your blower model’s manual for more advice here at stihlusa.com.
Muck-covered overalls? Horse leg wraps? Greasy shop rags? There’s no way those are going in the nice front-loading washing machine.
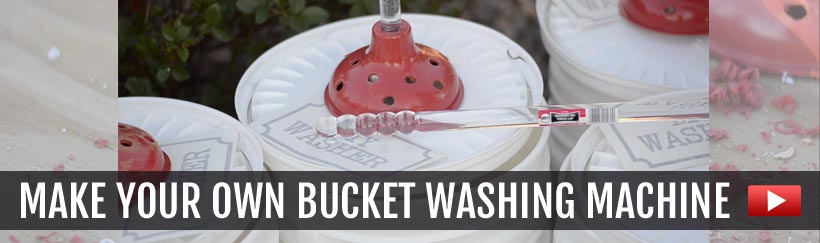
Here’s a neat way to turn 5-gallon buckets into a shop washing machine that keeps the mucky things out of the clothing laundry. We saw this on Pinterest and HAD to try it out!
Plus, you can also keep this on hand for emergencies: the Zombie Apocalypse or when the power goes out.
Thanks to Melissa in our Housewares department for showing us how to do it, and Marty for cleaning the leg boots!
Tip: Did you just buy a new pair of dark-wash denim jeans? Add a cup of vinegar and don’t add soap. Then, add your new jeans and let them sit overnight. This will help set the dye, and you won’t get as much indigo rub-off on the rest of your laundry!
Make your own DIY Laundry Bucket at Home
You’ll need these supplies:
Two 5- or 6-gallon buckets (We offer 5 gallon on our website.)
It’s so easy to put your saddle on the stand and walk away when snow starts to fly in the fall. But that leaves a lot of dust & residue on your saddle so when you take it out in the spring, it’s WORK lookin’ you right in the face!
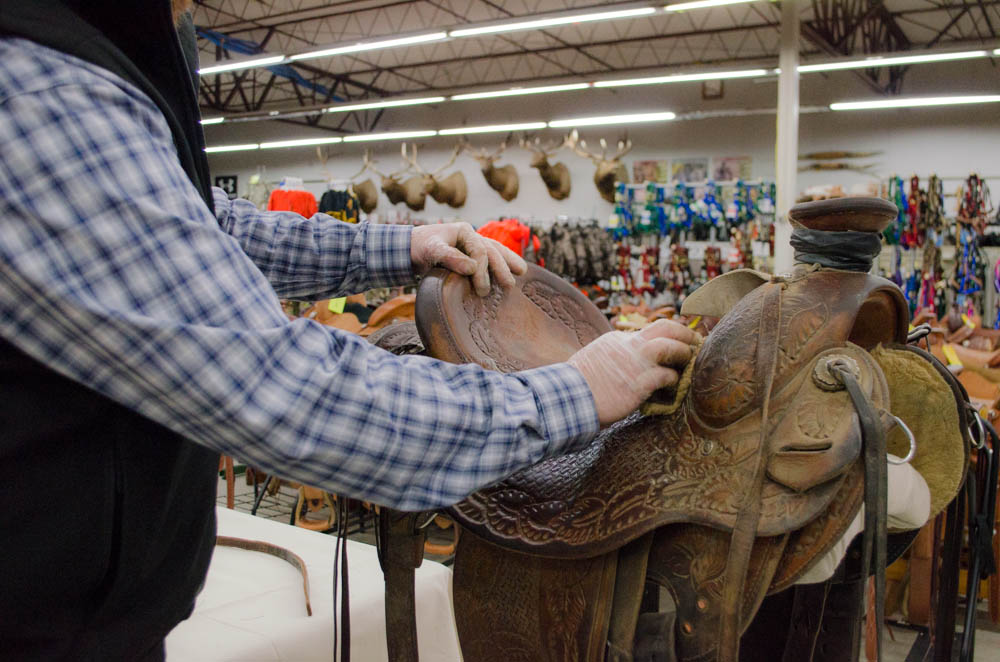
When you’ve put that much into a good Western saddle, you want to make sure your saddle stays clean and conditioned! Marty Thompson, our Western Saddlery guy, will take you through the most important parts of cleaning a saddle, whether you’re putting it away or taking it out in the spring.
Plus, if you have leather cowboy boots, scabbards, or headstalls that need a good cleaning, you can use these same steps to condition your leather.
How to Clean a Saddle Q & A
How to Clean a Western Saddle…. Before & After
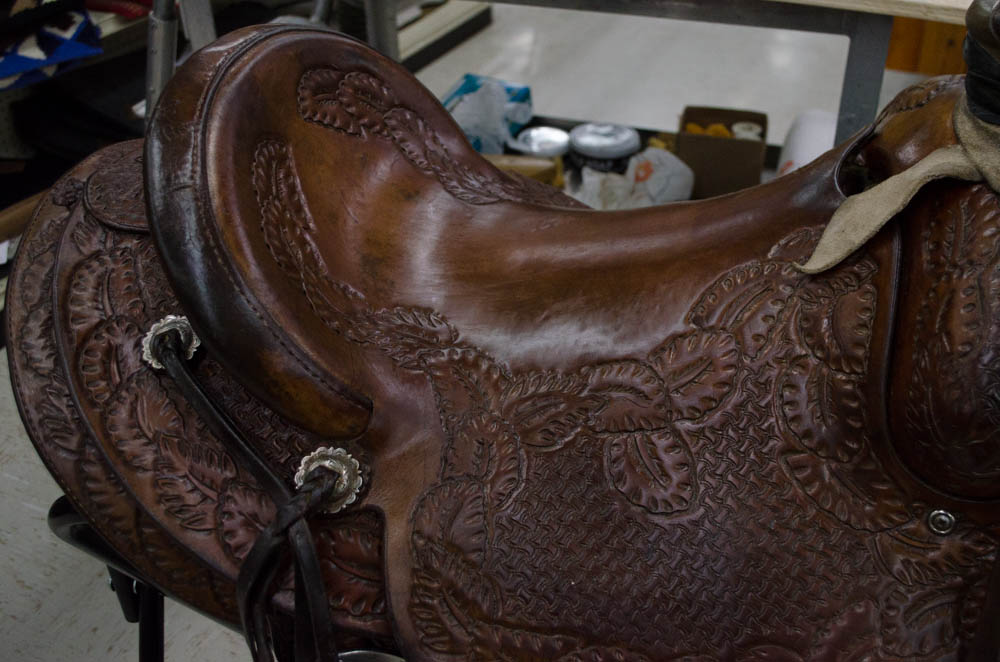
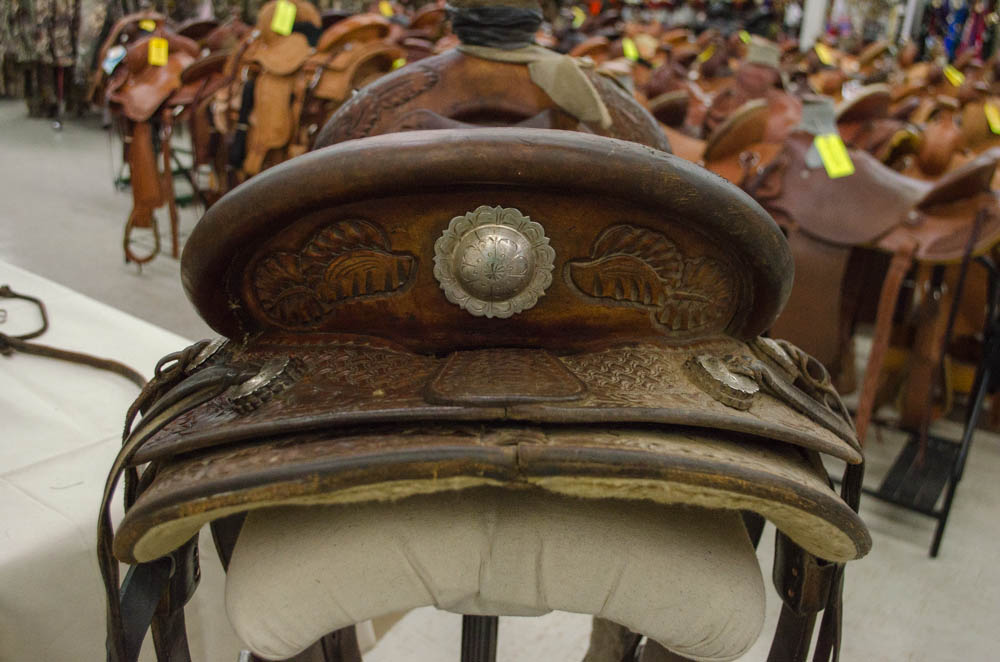
Here’s a customer’s saddle. For some reason they were happy to volunteer when we asked around who wanted their saddle cleaned for free!
This saddle has some beautiful tooling and design, but it’s been buried deep under dirt & muck. Here’s what it’s going to look like when we’re done:
Leather Care Products you want to use
Everyone has their own preferences. Marty’s not only sold tack for 20 years here at Smith & Edwards – he does leatherworking & builds saddles in his spare time. So here’s what he recommends, based on his experience.
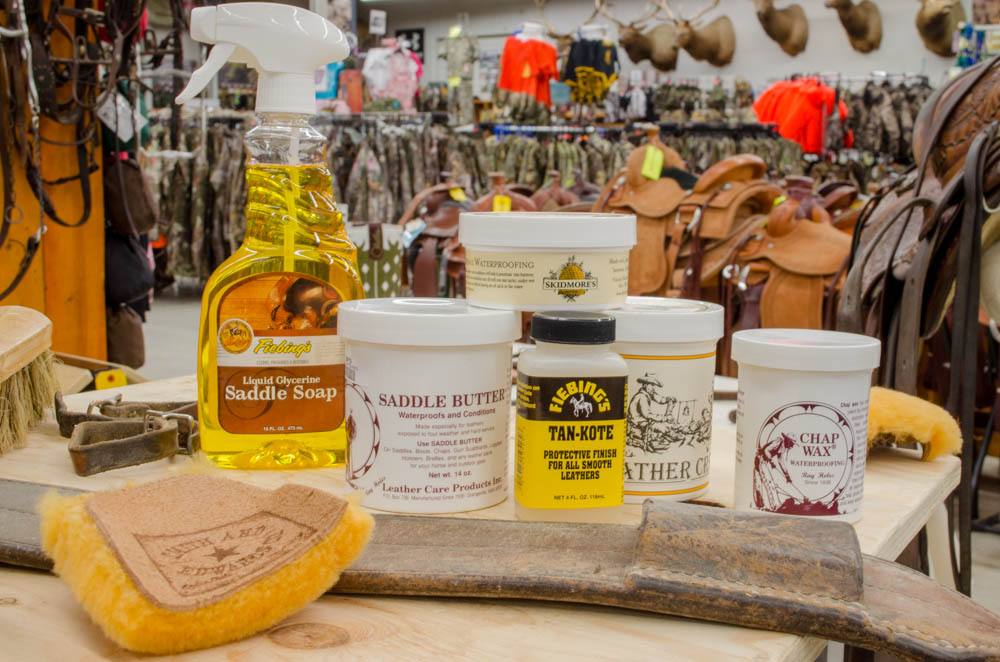
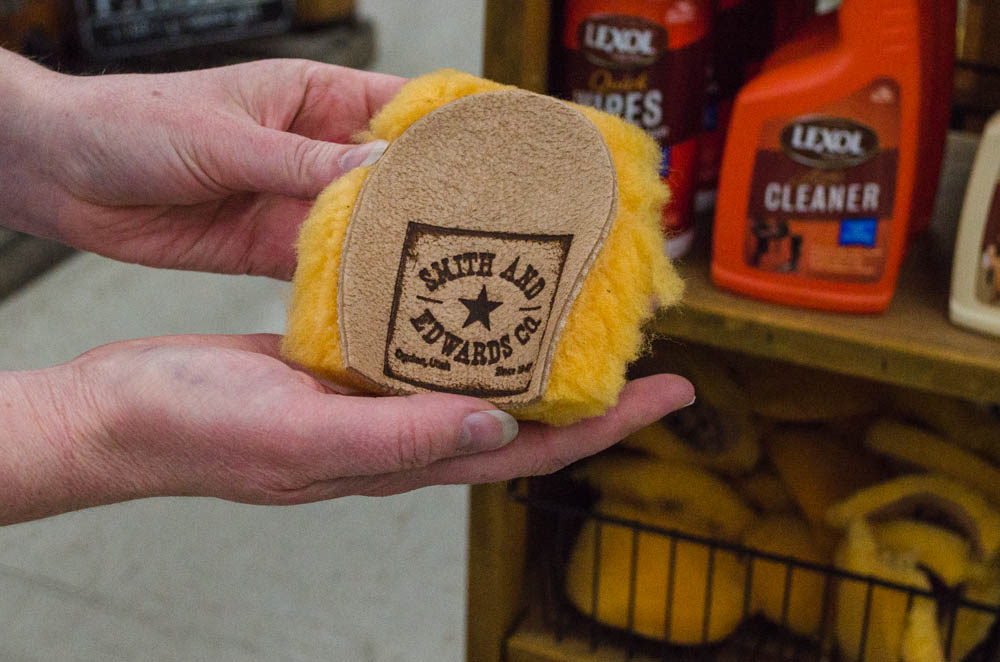
There are lots of products for cleaning your saddle, from Fiebing’s, Skidmore’s, and Ray Holes. A wool pad or scrap of sheepskin will help you gently rub the leather cleaner & conditioner into your saddle & gear without scratching.
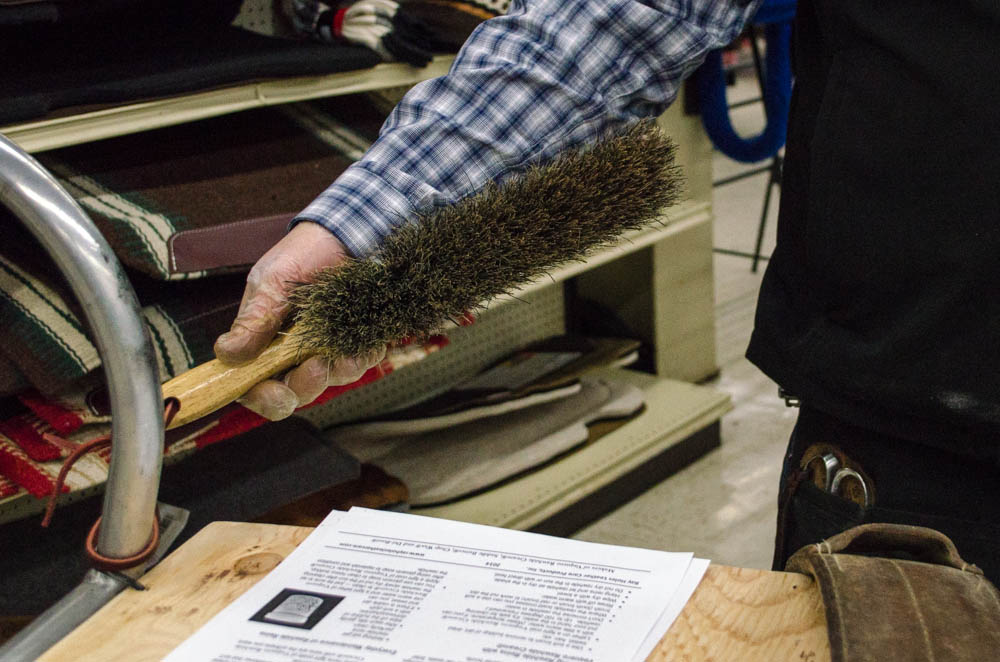
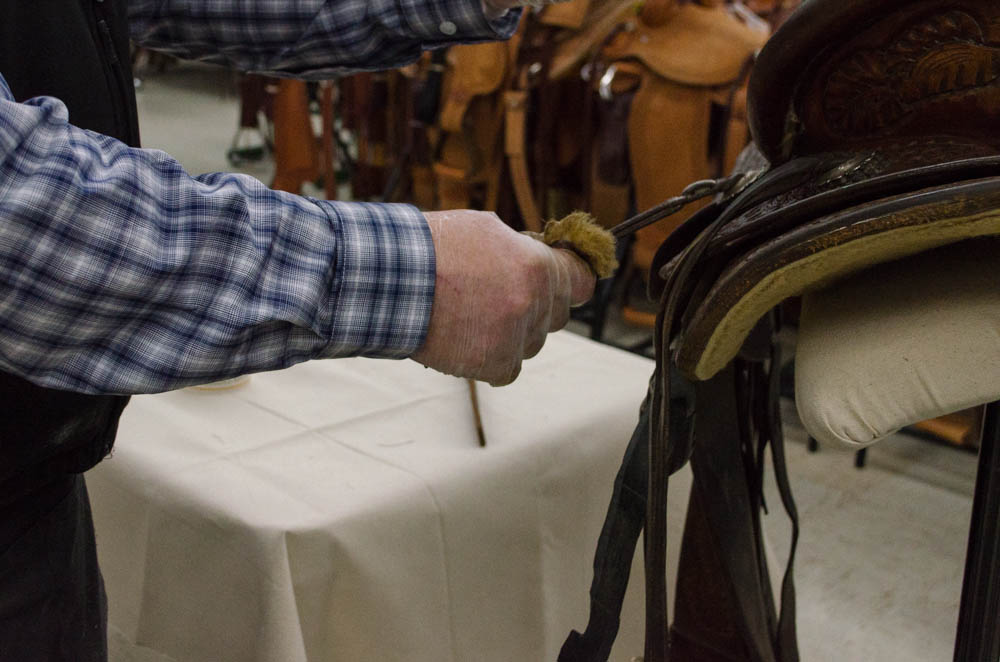
Before Marty started with products, he took a bristle brush to the saddle to get off most of the dirt before coming in with the liquid. An air compressor works good too, if you have one – especially under the skirts and jockeys!
If you have a REALLY dirty piece of leather, you can use some dish soap on it. Then, you need to come back and condition it afterwards.
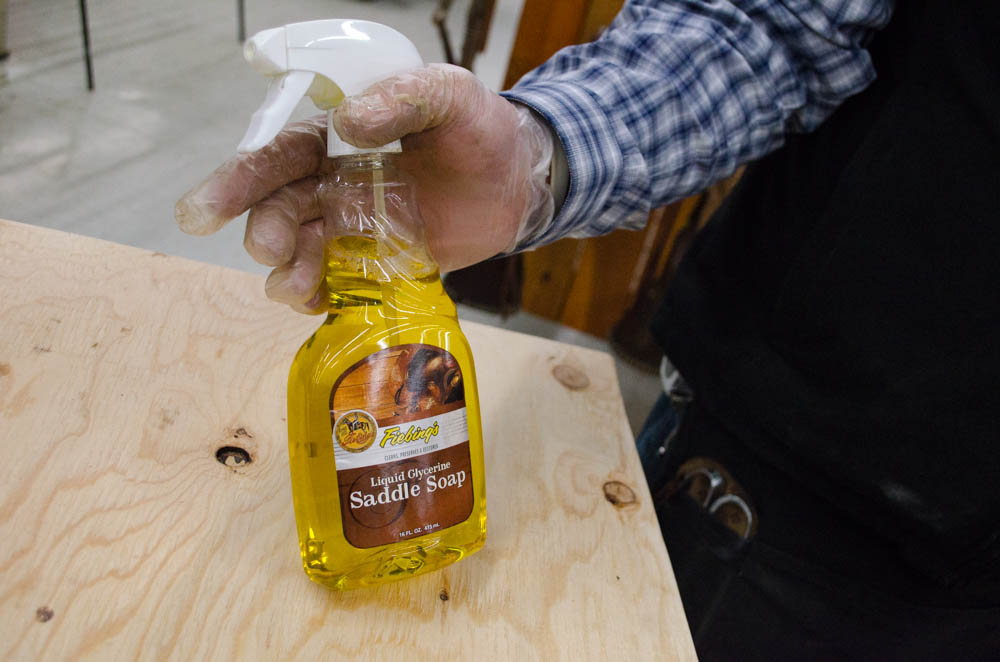
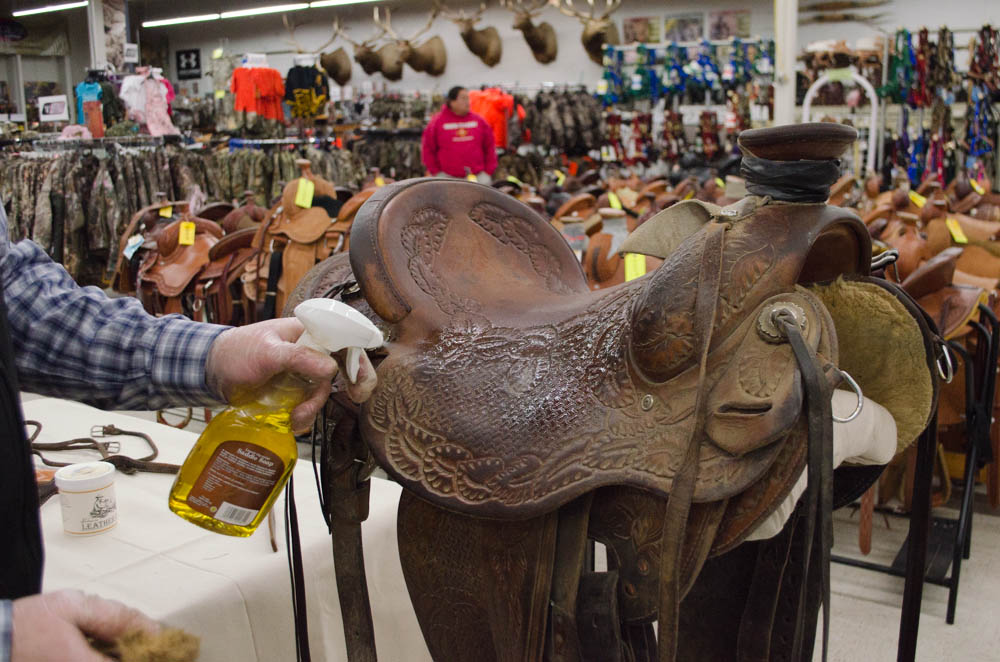
Marty likes using Fiebing’s Liquid Saddle Soap. This spray seems to cover better than paste, and you get less residue in the cracks of the leather. You can use a paste with a wet cloth, but if the paste gets too thick it might be hard to work out of your leather’s creases and details.
The Liquid Saddle Soap cleans it out really well, and it also lightly conditions it at the same time. Plus, it’s great to be able to spray in the spots you want.
That first spray on the dusty leather is pretty satisfying…
If a saddle has a lot drier feel to it after going over it with saddle soap, you could go over it with some neatsfoot oil to condition it deeper.
A soft cotton cloth is good to use for rubbing the liquid into the saddle. You can also use a soft sponge or a piece of sheepskin. You want something that is soft and won’t scratch the leather, and also holds the cleaner and conditioner well.
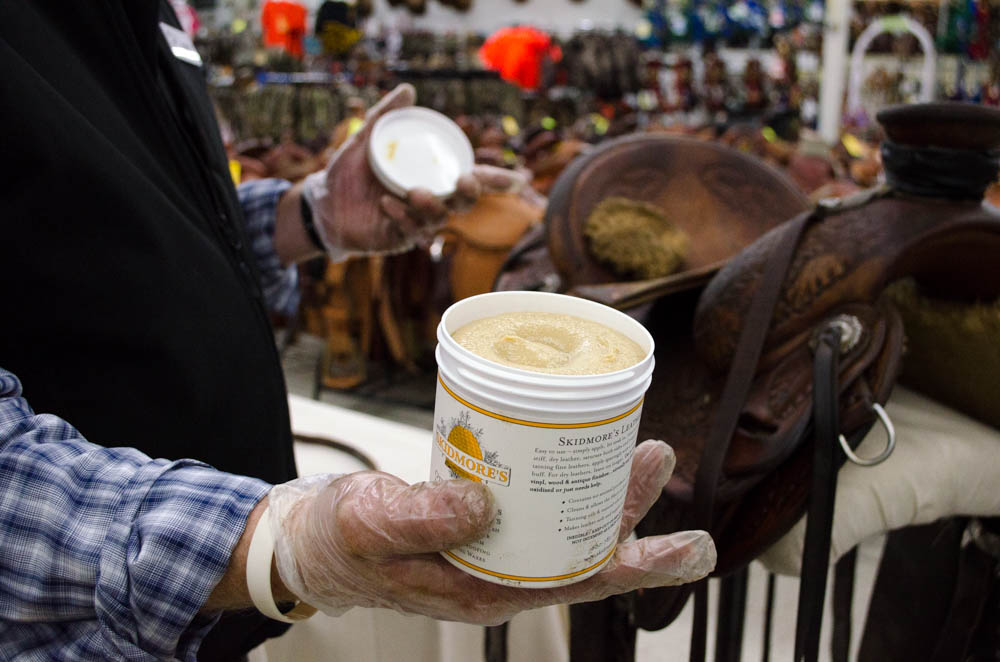
If you have an older saddle, or maybe a saddle that hasn’t seen enough care, the Skidmore’s Leather Cream is a great way to deeply condition your leather.
Skidmore’s Leather Cream
You don’t haveto wear gloves. Marty likes to wear gloves because that way he’s not running to the sink to get oil off his hands!
Parts of the Saddle to Clean
You want to clean your leather and get all the sand, dust, and dirt out of there. That helps your leather last longer and brings the beauty back into that leather.
It’s really important to do more than a surface clean when you care for you saddle.
When you’ve got sand and dust trapped in the fenders and parts of the saddle, it acts like sandpaper and wears out the leather.
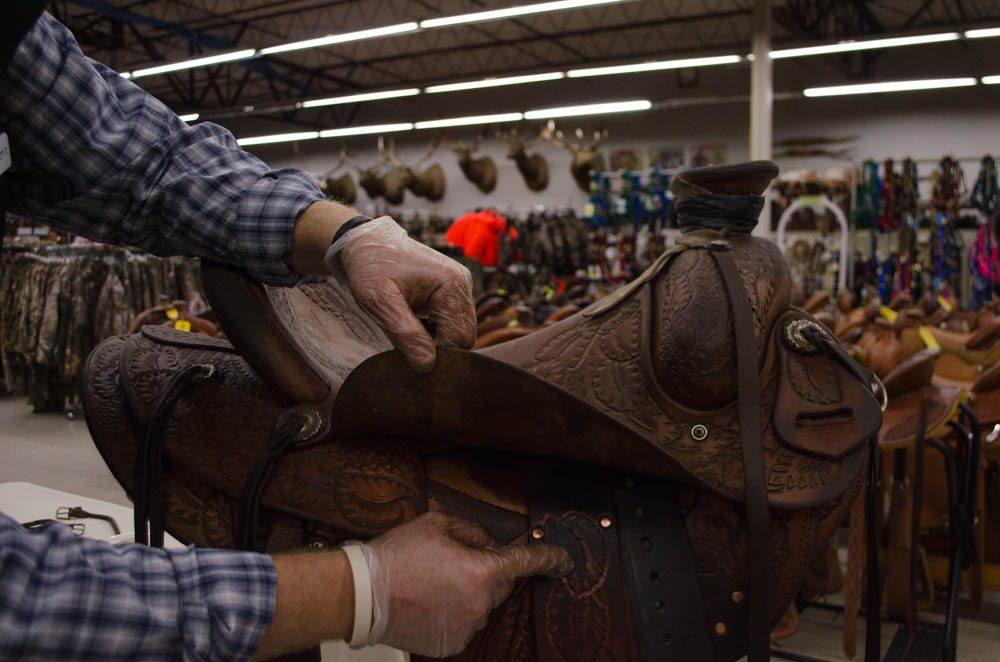
You want to get in the fenders, the saddle strings, stirrup leathers.
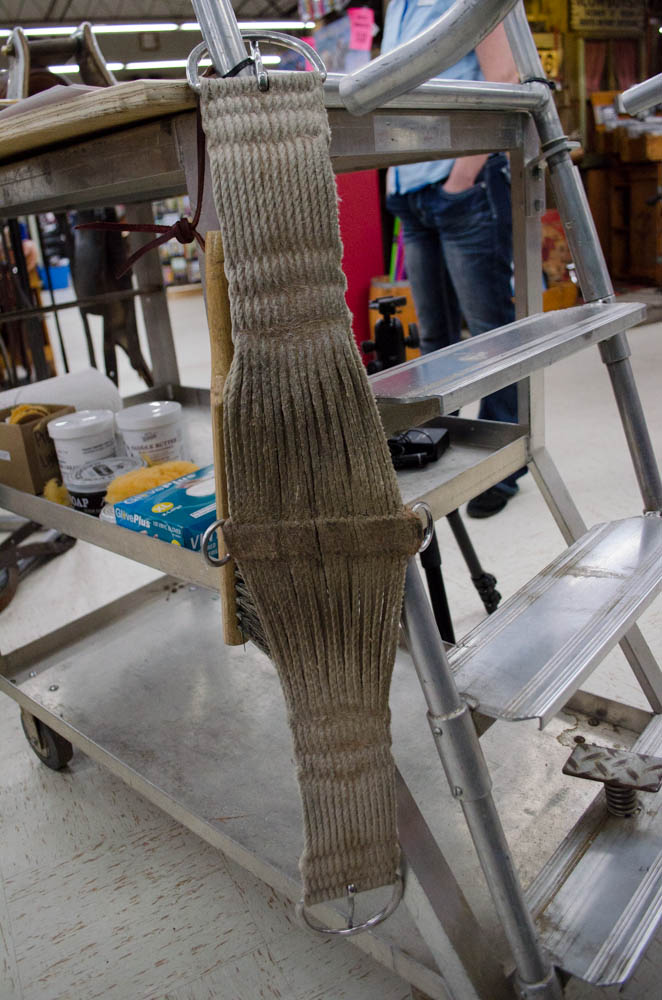
And the cinch and back billet are really going to want cleaning.
Make sure and finger-clean all the hair, sticks, and dirt out of your cinch.
Make sure and get your rosettes and conchos shined up while you’re at it!
Halfway through! Marty’s cleaned the left side of the saddle, and he’s only brushed the right side so far.
If your silver conchos are really tarnished, go ahead and take them off your saddle, then take some silver polish to them. That’s because some silver polishes can turn your leather white, so you want to be sure and take the silver off the leather before you introduce the chemicals.
A lot of dirt and hair will build up where the stirrup hangs, so scrape and break up the dirt. You can scrape off the mud with a pocketknife on your stirrup leathers, and then you’ll be able to get the conditioner in the leather.
You’re not digging into the leather with your blade – just prying off the caked dirt.
If you have a rough-out or suede seat, you’ll want to use Bickmore’s Bick 4 instead of an oily conditioner, so the oil doesn’t come out on the seat of your pants! This type of product is also good for leather couches and car seats.
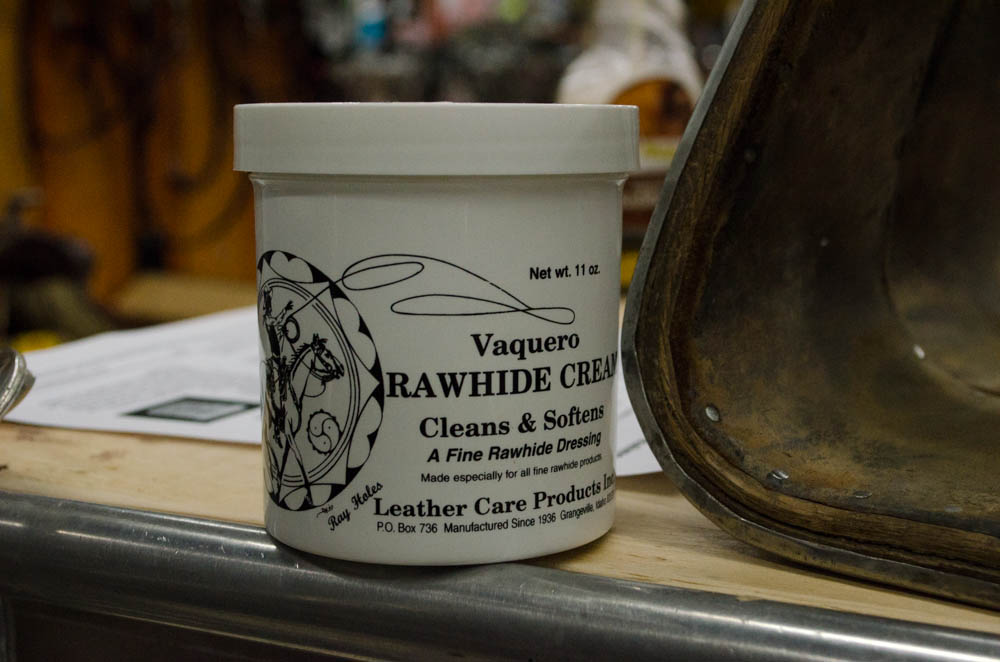
Same idea on cleaning rawhide: brush off any dust & dirt, then take a piece of sheepskin and work the rawhide cream into your gear.
Waterproofing Leather
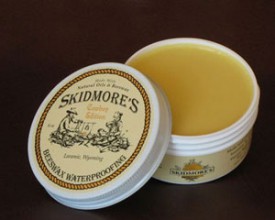
Skidmore’s Beeswax Waterproofing
Ray Holes’ Saddle Butter conditions the leather well, AND has a waterproofing component in it. Ray Holes also makes Chap Wax, which is specifically designed for waterproofing. Skidmore’s also makes a waterproofing from beeswax. Each of these penetrates into the leather well and helps the moisture bead up and roll off instead of soaking into your saddle!
How do you waterproof your leather? Same process: clean your leather off with a brush and then a conditioner. Then, put on a coat of waterproofing.
Make sure and let your saddle dry on its own, at room temperature – this may take a half hour.
Finishing touches
To finish your leather, put a coat of Tan-Kote on your gear.
Tan-Kote, by Fiebing’s, gives your leather a bit of shine and also helps repel dust and dirt. Plus, it’s a softer product with a water base, that won’t cause your leather to crack.
After
Beautiful!
Get more tips like this in your email!
Enter your email address & Marty will send you more tack tips plus let you know when he puts his Western tack & gear on sale.
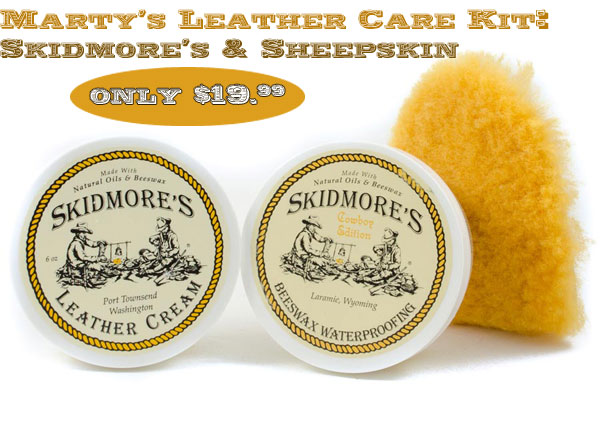
Get the Basics with this Leather Care Kit
Marty put this kit together so you can get everything you need in 1 place to clean and waterproof your leather. Skidmore’s leather products are made in the USA – which we love – and they’ll work great on your saddle & tack.
Plus, you save money by buying these products in the kit – AND you get a sheepskin piece to work it in! We don’t sell these sheepskin scraps on the website, so Marty’s kit is the only way for you to get your hands on one of these! Click here to check it out.
How do you care for YOUR saddle & gear? Let us know!
If you came in the store today, between 11:00-3:00, you could’ve gotten a great deal on Dyson Vacuums! We had special pricing on Dyson vacuums and you could even try out a Dyson yourself at our Dyson vacuum demo.
Want to hear about all our in-store demos and giveaway? LIKE us on Facebook, and sign up for In-Store Offers for our best deals at our store in Ogden, Utah!
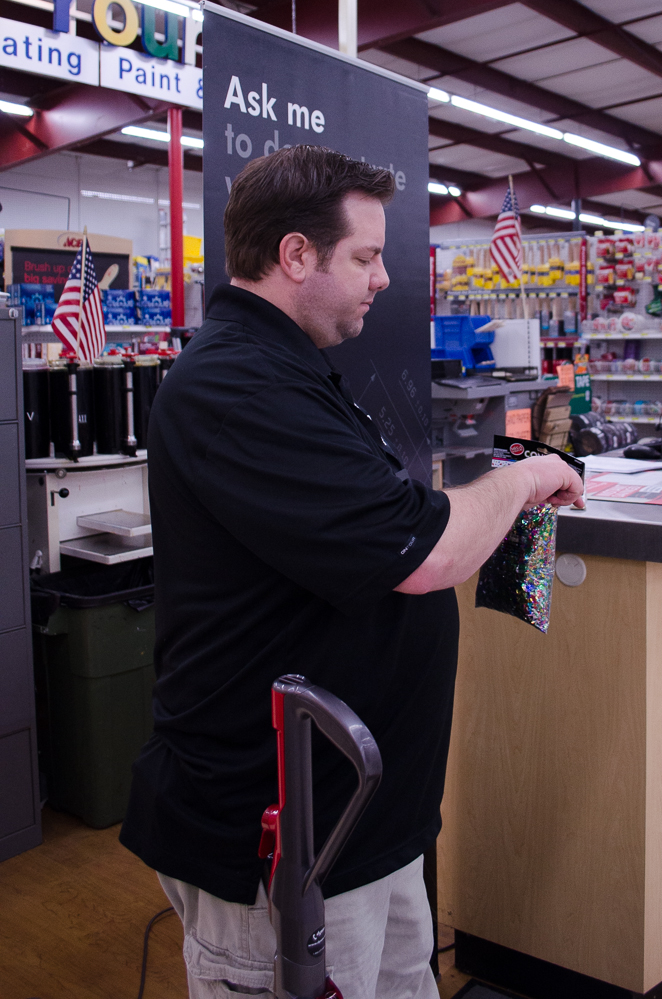
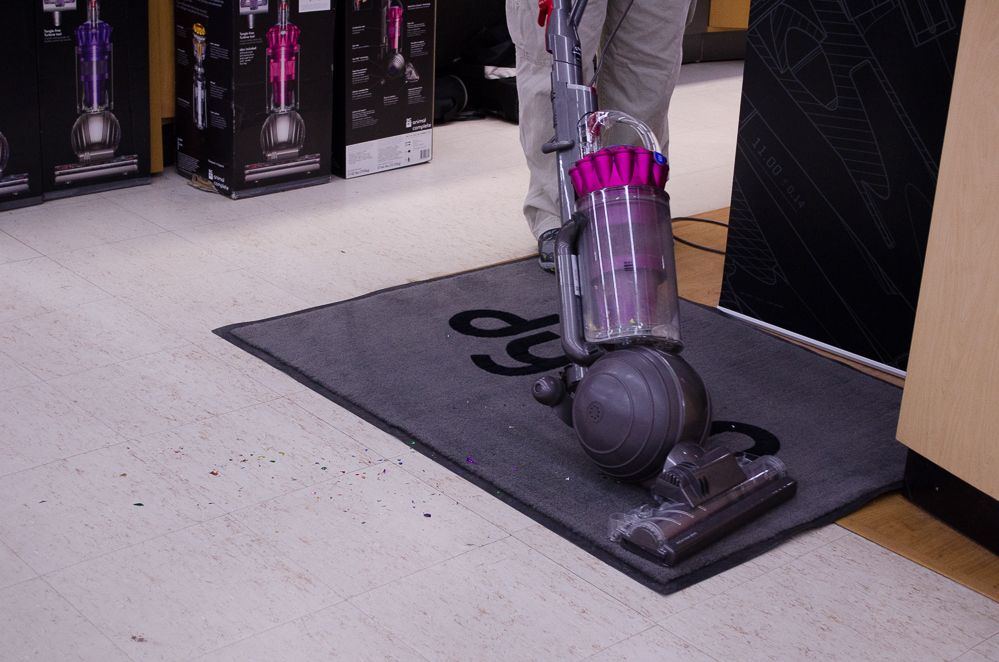
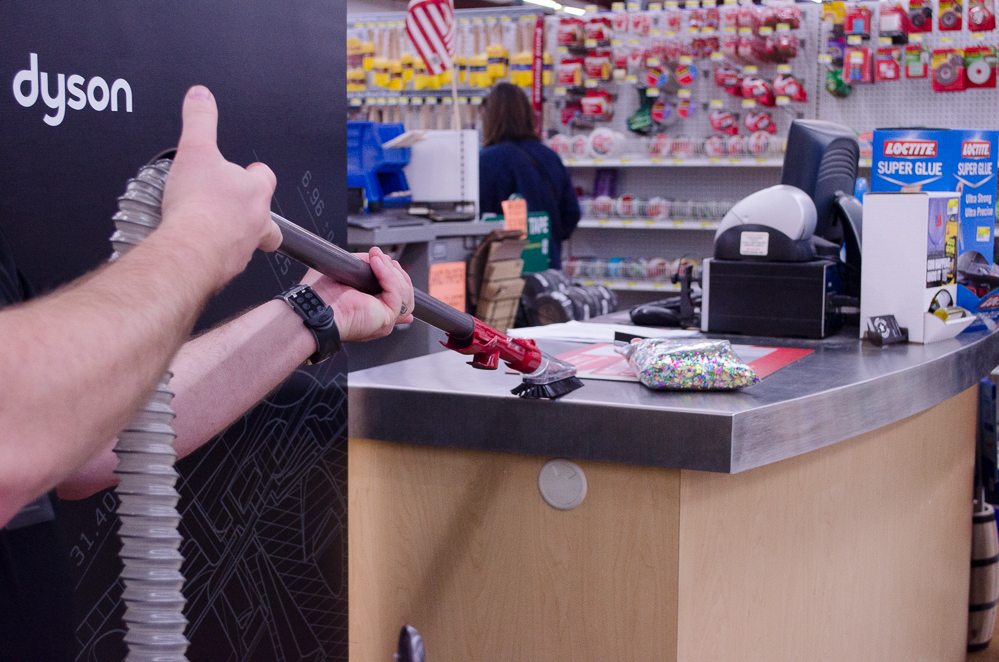
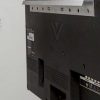
Today we had Mike and Eugene from Dyson drop by Smith & Edwards to demonstrate the DC41 Animal Complete vacuum. This is a beast!
Plus, not only could you try the vacuum out, vacuuming up confetti, metal shavings, dust, and fluff, but we also had great deals on Dysons during the demo – saving you $200 or more on certain models!
Dyson DC41 Animal Complete Vacuum available at Smith & Edwards
Dyson vacuums are amazing because they never lose suction! Just watch.
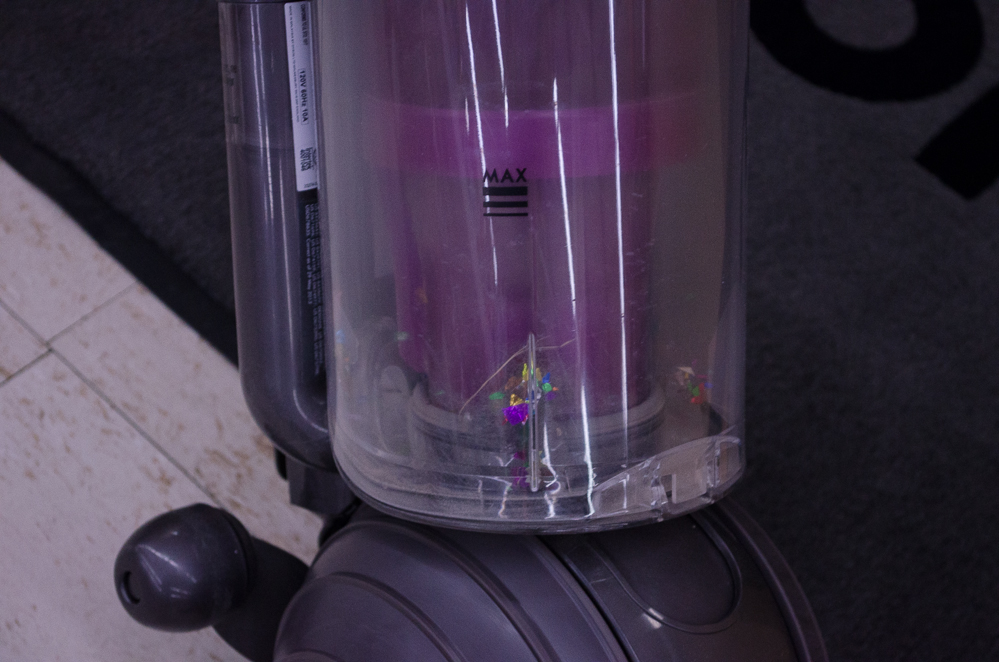
Uh oh….
Someone’s breaking out the confetti…!
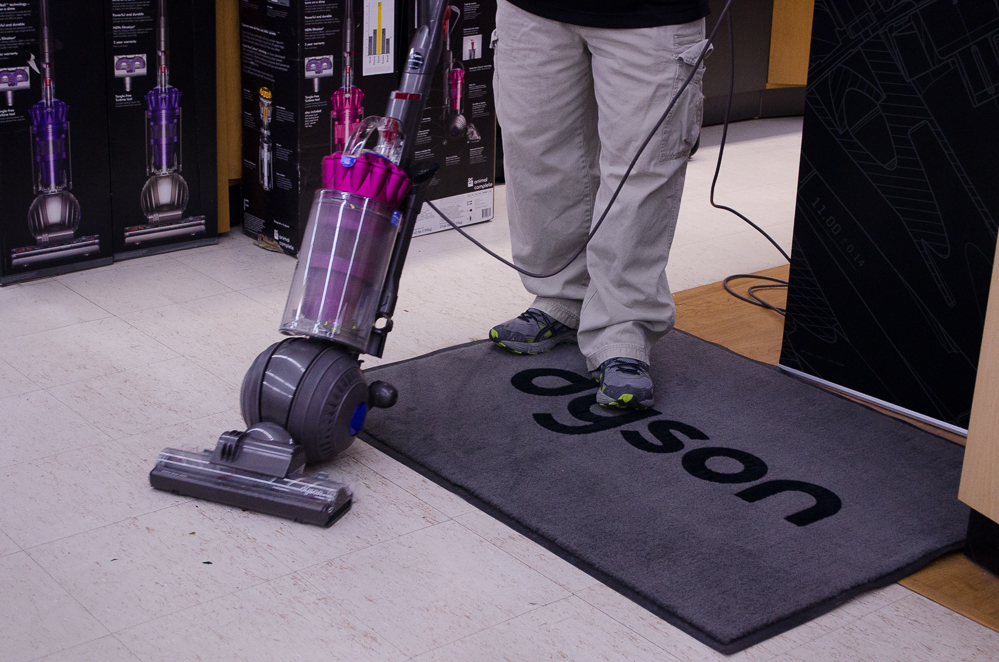
By the way, check out the angle Mike’s getting thanks to the Dyson ball –
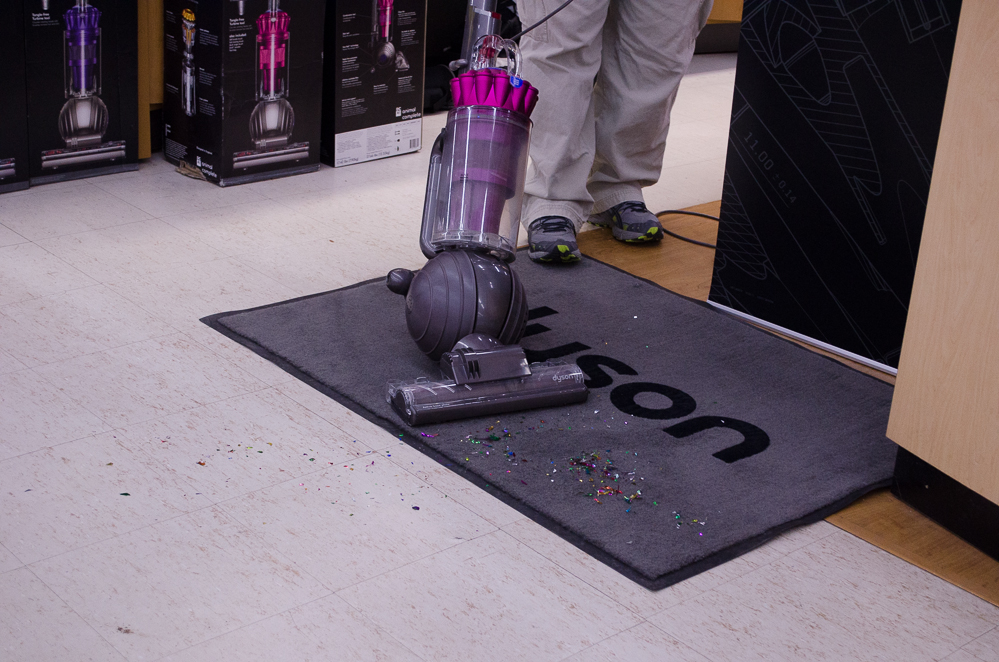
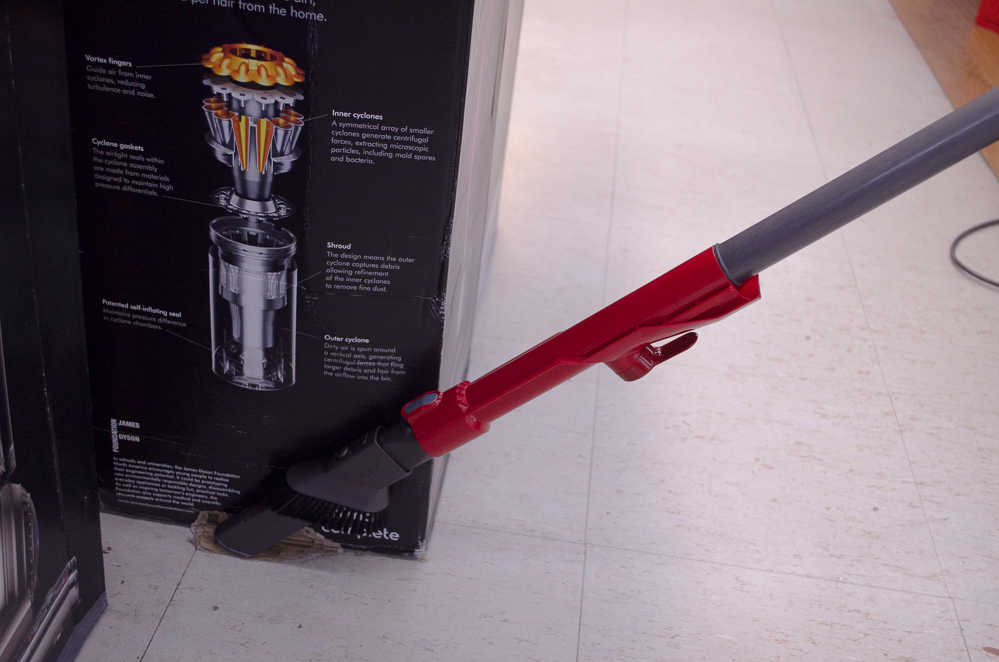
Works on carpet…
Then because of the unique Dyson active base plate, you can switch to vacuuming on hard surfaces like tile without losing suction.
The Dyson active base plate on this vacuum self-adjusts to carpet and hard surfaces, so you won’t lose suction as you vacuum across your home.
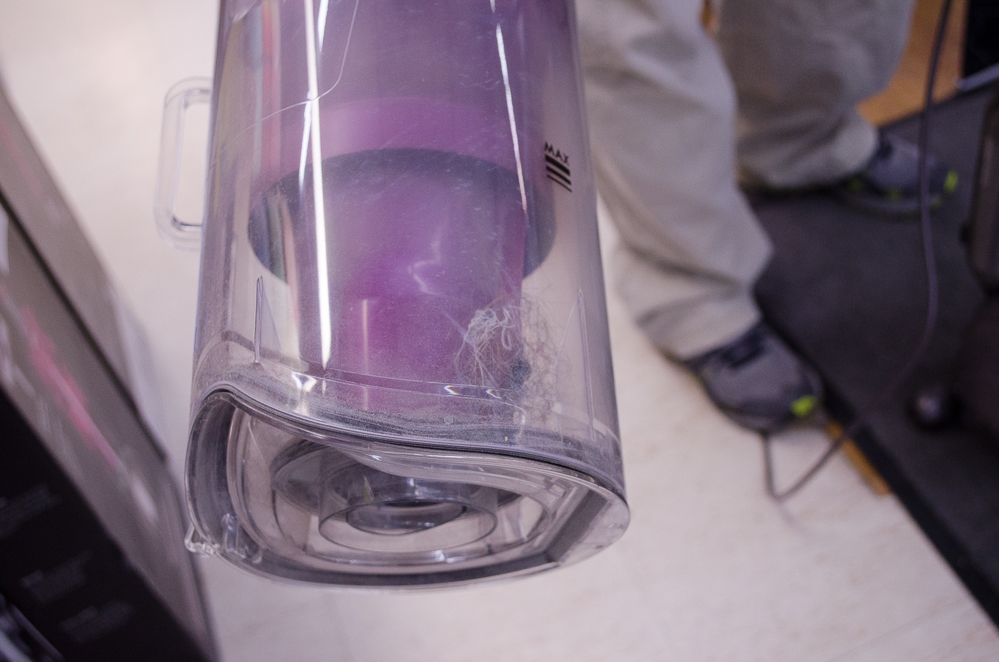
Confetti in the Dyson DC41 canister
Excellent for Allergies and Pets
The Dyson Animal Complete is simple – there are no bags or filters to replace, and you can empty the canister in just a push of a button.
And if someone in your family has allergies – or you just have a lot of pets to clean up after – you’ll love how many allergen particles, pollen, and dust Dyson vacuums can capture. Plus, your Dyson vacuum will retain the dust it sucks up too, instead of venting it back into your rooms!
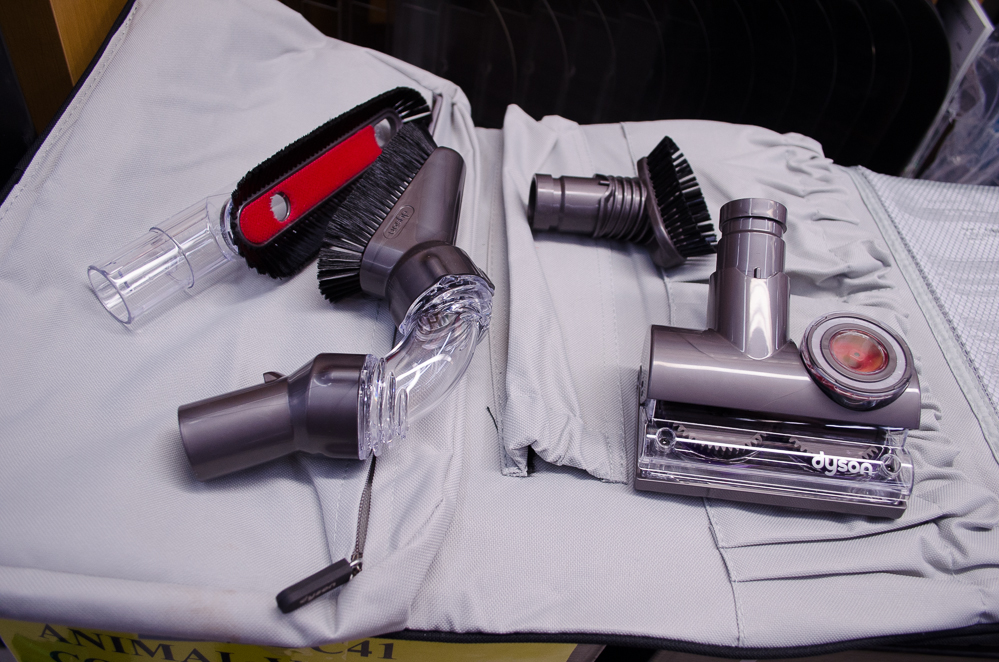
The Attachments Really Make this Vacuum Stand Out
The Animal Complete DC41, the model Mike demonstrated, comes with a bunch of cool attachments in a case.
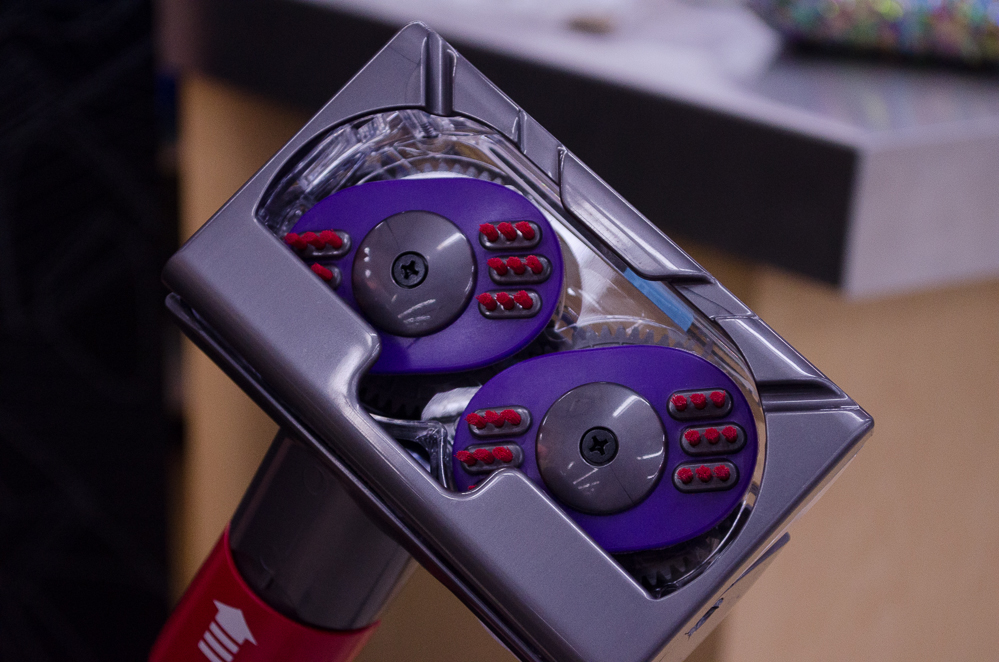
If you or your family have long hair (like me) or lots of pets, you know the chore of cutting hair & fur out of the vacuum base. But check out this extension – it won’t get clogged:
This tangle-free hair tool rotates in opposite directions, so instead of getting stuck, hair and string go…
…directly into the canister!
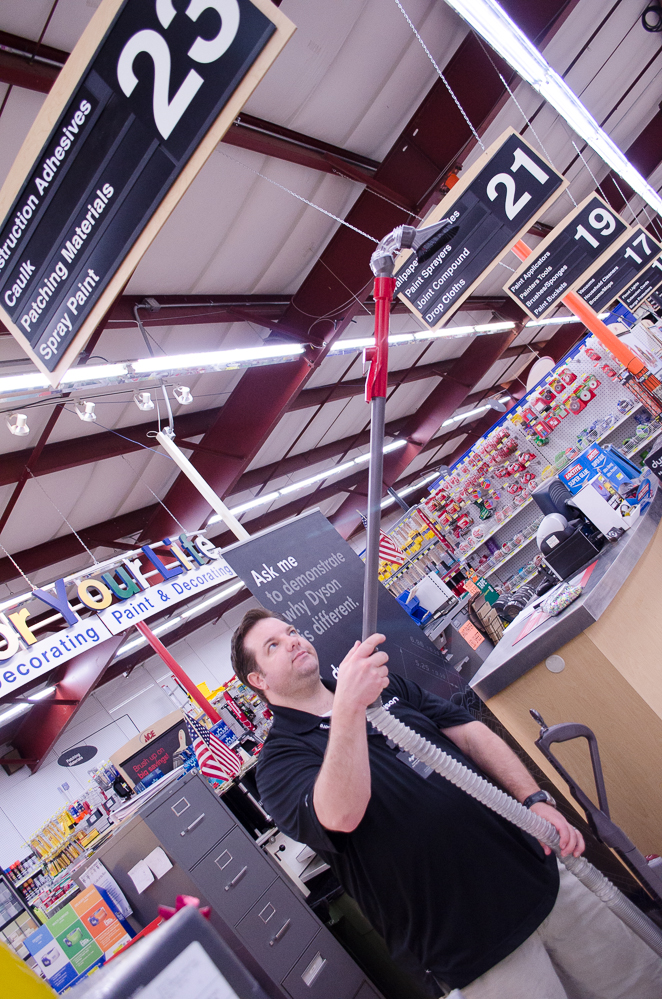
The wand extends to 16 feet, so you can clean your ceiling fans with your feet on the ground – no chairs or stools to climb on to dust your fans.
Use the angle brush to clean your ceiling fans!
Use this extension to dust surfaces.
Crevice Tool
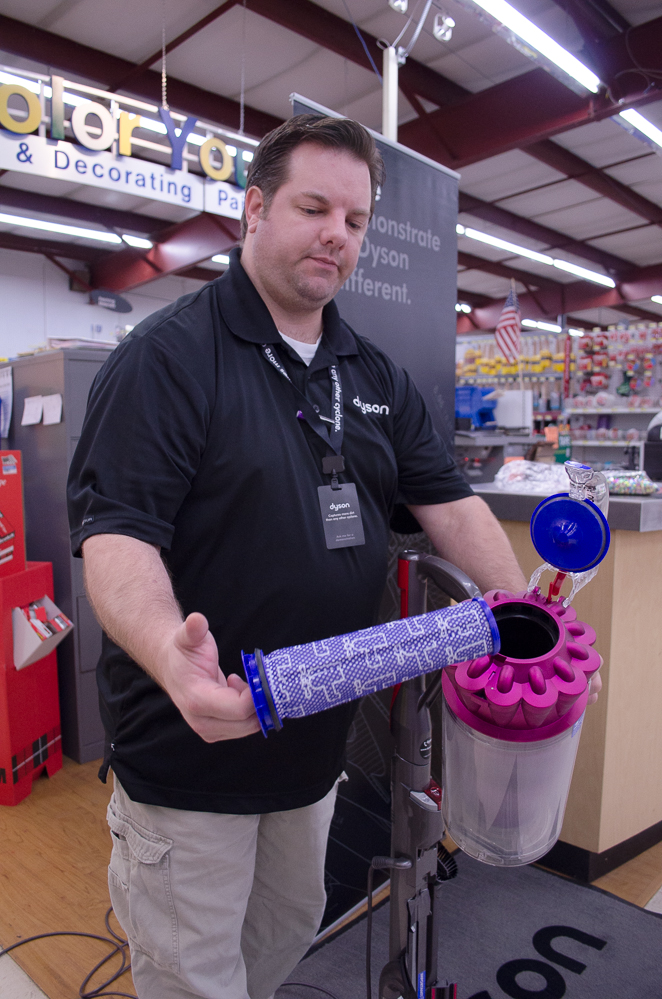
Great internal filter for lifetime use.
Like us, Dyson will give you great customer support
And one more thing about Dyson vacuums: They put a 1-800 number on the vacuum handle, and you can call about anything – whether your vacuum’s working great or needs some help. They’ll recommend the attachments you should use and how to best clean your home’s carpet and floors.
Plus, when you register your new vacuum, you can give them your email address and they’ll send you reminders on when to rinse your filter (the recommendation is to wash your filter every 3 months).
Dyson’s 1-800 help number is on the vaccum handle.
Thanks Mike and Eugene for coming by and showing us the Dyson Animal Complete DC41! We’ve got a great selection of Dyson vacuums here for you to check out at Smith & Edwards. Come on out and see us just off I-15 at exit 351 and take home a new vacuum today.