It’s time to turn our sights towards one of the most exciting “holidays” known in the Boy Scouting community. Having grown up in a family of Eagle Scouts, I heard about Klondike all my life, but for obvious reasons wasn’t allowed to attend. So, I teamed up with my dad, Scott Woodland, and Smith & Edwards employee Dennis Rasmussen to learn a little more about this exciting campout and how to prepare for it.
Klondike is the place where boys become men, or so we have been told, and prove their ability to survive through some of Mother Nature’s harshest conditions. We wanted to take a minute to talk about the basic essentials that your youth are going to need for Klondike this year, and to be better prepared for the years to come.
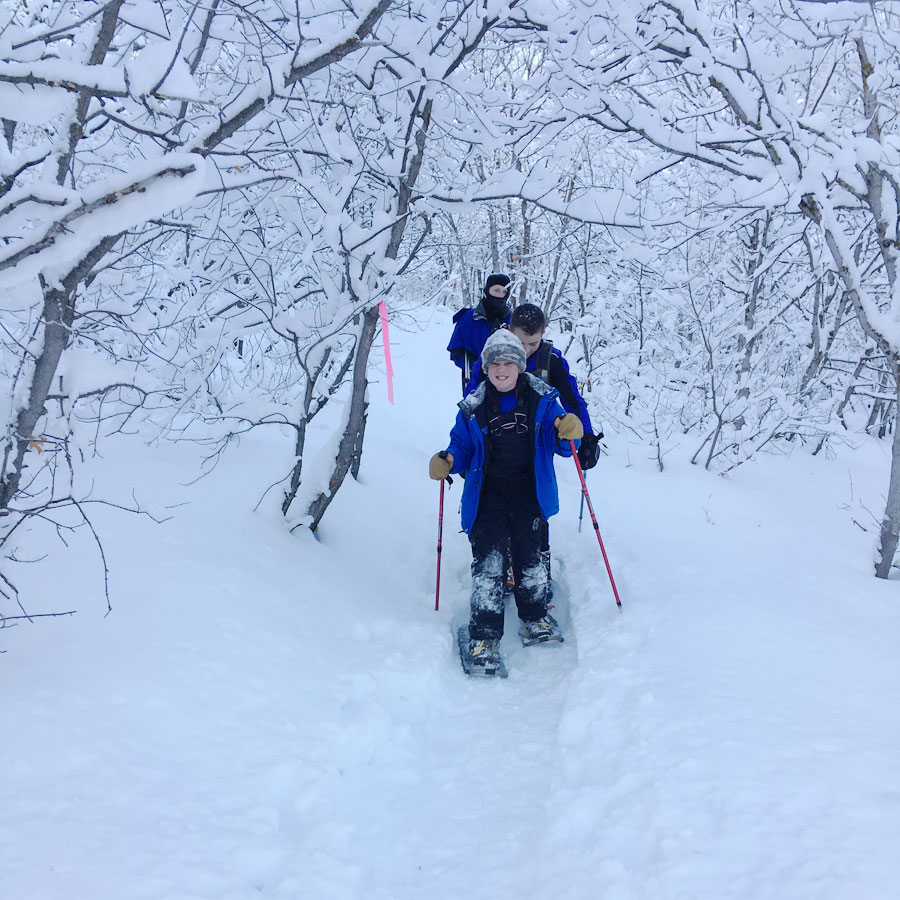
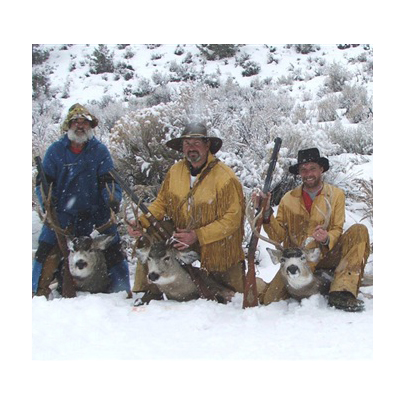
Scouts of Troop #494 snowshoeing at Klondike. Photo courtesy Richard Broadbent
Warm Clothing for Klondike
The clothing that your boys will need to take on this adventure will make or break their excursion. From bottom to top, it’s important to be covered properly. Dennis Rasmussen was extremely helpful in this area of expertise.
Socks
It’s important to wear two layers of socks while hiking and camping. Look for boot sock liners that are made of either polypropylene or polyester. These fabrics wick moisture and sweat away from the body, keeping you dry and warm. This will also help prevent against blisters on your feet.
Wool is the best material for your boot socks. If your feet do end up getting wet, wool will still hold your body heat and keep you warm, unlike other materials that can actually pull heat away from your body.
Take a look at the men’s merino wool hiking socks here!
Footwear
You will need to invest in a good pair of waterproof hiking boots. If you can keep your feet dry and warm, you will have a greater chance of keeping your body warm too.
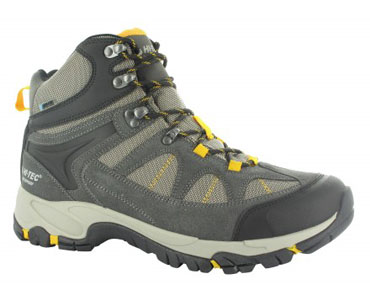
The men’s Hi-Tec boot styles, Altitude Lite i (52103), and the Skamania (52122 regular and 52122W wide) are excellent waterproof choices.
(Hi-Tec’s women’s Hi-Tec boot styles, 9022 and 22040 are excellent equivalents for women in winter)
Editor’s Note: The shoe styles listed above may be discontinued in the future. If the links above do not work then we invite you to see the active styles of men’s and women’s hiking boots on our retail site.
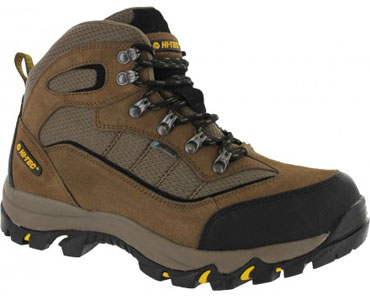
These Troop #494 scouts are warm in hats, snow pants, coats, and snow boots while they break for food! – photo courtesy Richard Broadbent
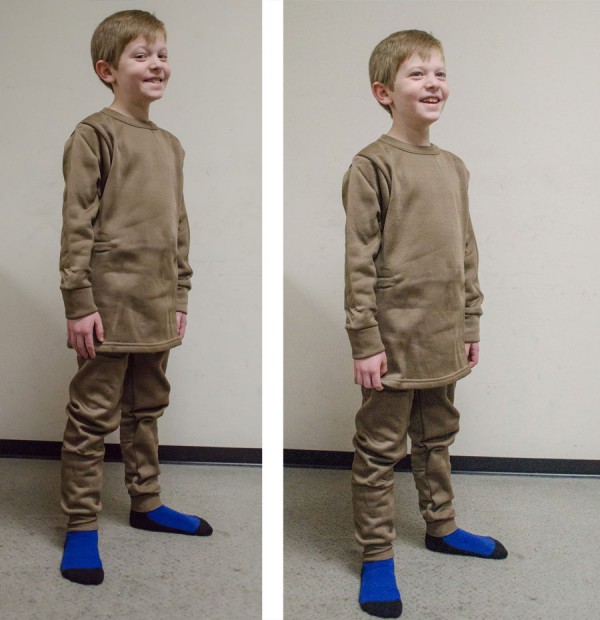
Base Layers
It’s essential to choose the right material. Look for “long johns” made out of polypropylene or polyester. DO NOT wear cotton fabrics as a base-layer. Unlike polyester or polypropylene, cotton absorbs moisture and holds it close to your skin. This will lower your temperature and increase your risk of hypothermia. Thermax is also another perfect material to use as an insulating layer.
Take a look at our Carhartt, Columbia, and Under Armour men’s thermals and women’s thermals! These youth thermals in our army surplus department are great too, for smaller children.
Shirts & Pants
Clothing items are best when made out of synthetic materials, unless you have wool. Synthetic fabrics dry quicker and are not as heavy as wool or cotton when wet. They will also continue to wick moisture away from your body. Dennis strongly suggested materials other than cotton, but said, “cotton can be worn, but should be kept at least two layers away from your skin.”
Coats & Outerwear
Have a lightweight and warm insulator level. Fleece is a great choice because it is not heavy and it retains body heat really well. Look for thin fleece jackets to keep bulk to a minimum under your winter coat and rain gear. Be sure to have a waterproof exterior layer to protect against rain and snow. If you can stay dry, then you’ll stay warm easier.
Hats & Gloves
Keep your head and hands warm and protected. Look for water-resistant and insulated gloves to keep your hands dry and warm. Any kind of polyester/wool blend is perfect because it will wick moisture away and still keep you warm if you do get wet.
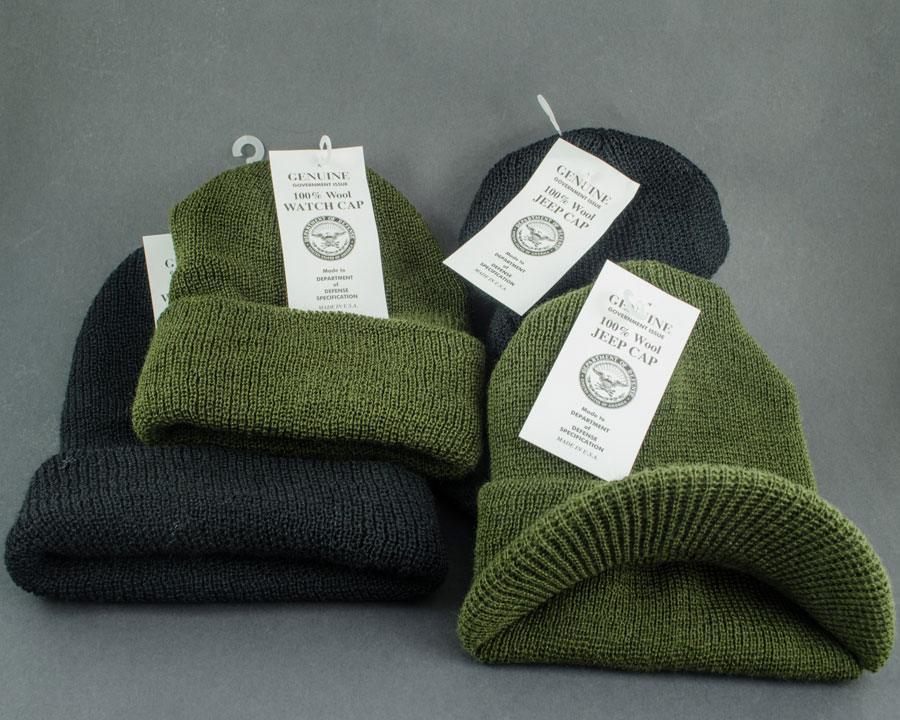
Come in to our store to check out the wool and polyester hats in our surplus department and the variety of winter gloves we carry. Or see a small variety of balaclavas and winter hats on our website.
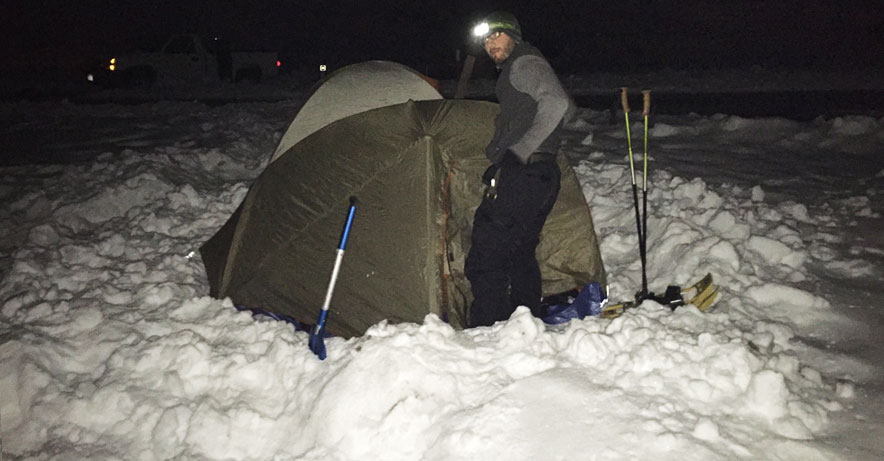
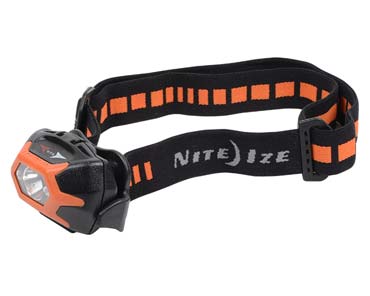
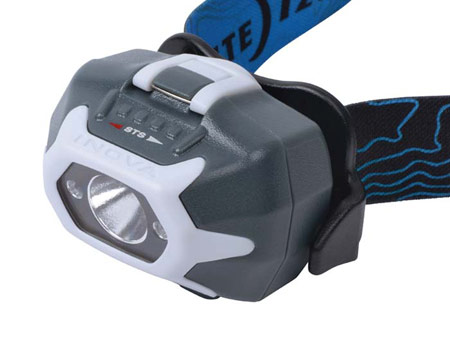
Scoutmasters need gear for Klondike, too! A headlamp will let you work with your hands while you light the path. Photo courtesy Chris Ward.
Gear & Essentials for Klondike
In order to best live by the Scout Motto, “Be Prepared”, you need to have the proper clothing and gear. Some of our favorite gear that would work great for your Klondike experience and other outdoor camping and hiking trips include headlamps, survival kits, and backpacks.

Scott Woodland, former Trek Director at K-M High Adventure Base in Montana, put together a gear list with additional guidance and commentary. Download the Klondike Gear Guide here! (55kb PDF)
Keep in mind that each Klondike has a theme and there may be additional equipment you need. Mr. Woodland simply went over your essentials and wanted to remind everyone, “Don’t forget your survival guide!”
Prepare well and know how to use your equipment properly. If you do these things then you will never find yourself ill-prepared for Mother Nature’s harshest conditions. Good luck and happy camping!
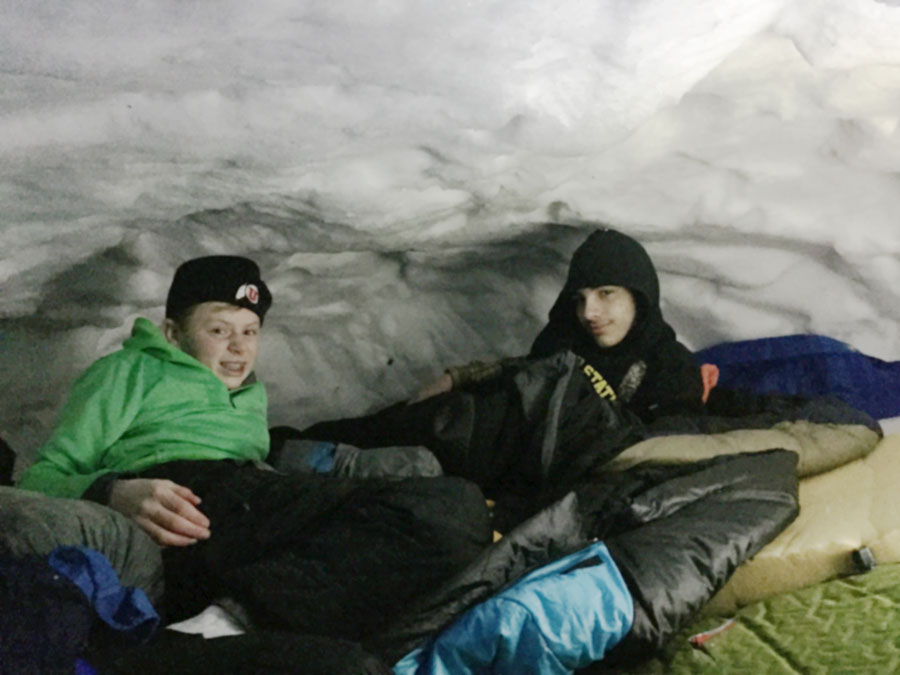
Scouts of troop #494 in their ice cave at Klondike – photo courtesy Richard Broadbent


 e calls for.