
Lauren Clark's summer 2016 adventure

Lauren’s Summer Adventure: Exploring Oregon

- posted by Rose Marion

Lauren Clark wrote in with her Summer Adventure:

Adventure is in the eye of the beholder. There are many adventures around every corner. An adventure can be as simple as a picnic with the family, to something more complex, such as a vacation or a new living location. We can choose whether what we are going through is an “adventure” or something else.

This summer, my adventure included spending time with my family while in Oregon USA. We were able to go on a family trip for the first time in 3 or 4 years. It was great to reminisce about old times and build new memories together. We were able to see some beautiful sights and enjoy the surroundings of nature.

We were able to go zip lining.
Ziplining in Oregon - Lauren's Summer Adventure
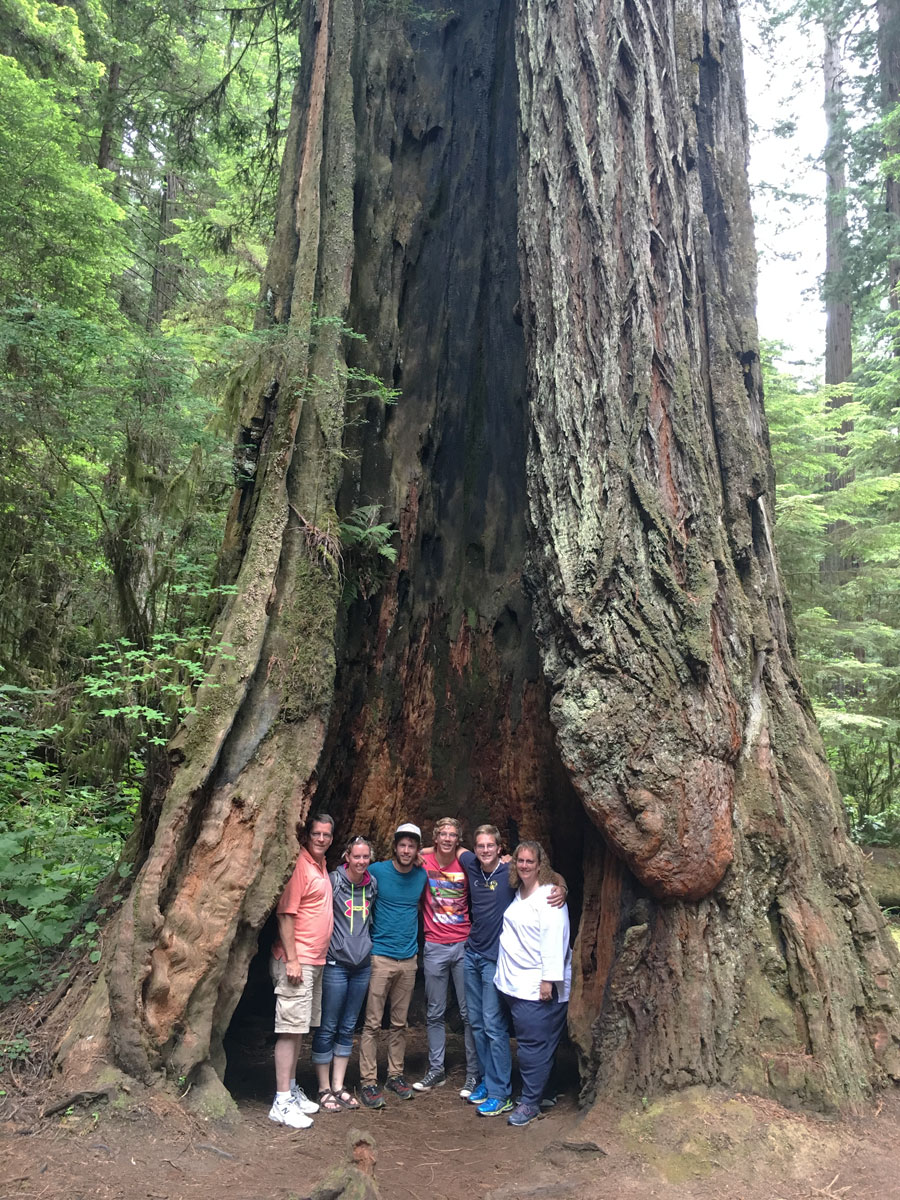
I loved walking along the beach for miles and miles. It was amazing to see the vibrant green color, and the enormous size of the Redwood Trees.
Lauren's family in the Redwoods

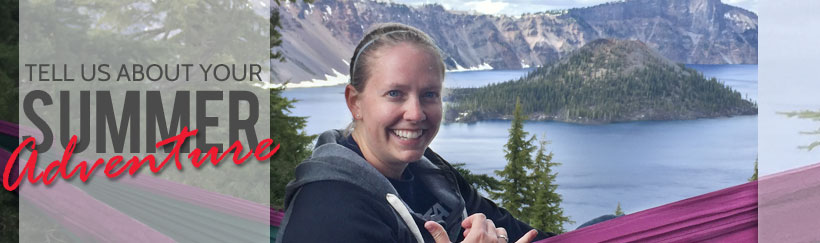
The highlight of this adventure was finally being able to see Crater Lake. It was a beautiful sight that will not soon be forgotten.
Lauren at Crater Lake

Everything from seeing these beautiful sights, to having our car overheat and the AC not work, made this trip the perfect Summer Adventure.

This Oregon adventure was a well timed event, because just as life seemed to be getting settled, it threw us another adventure.

No matter where life takes us, we have to embrace the adventure. I am so happy that I got this time with my family and was able to make those memories that will last a lifetime.

How to freeze cherries

How to Freeze Cherries

- posted by Rose Marion

Here in northern Utah we’re lucky to get large yields of cherries in late June & early July! While there’s no end to what you can do with fresh cherries – cobbler being my favorite! – freezing cherries is a wonderful use for these short-seasoned juicy treats!

Freezing cherries will let you taste that sweetness even in January. Plus, you can use these for your shakes & smoothies.

Vickie, our Housewares manager, and Jean from Pettingill’s Fruit Farm, got together to show me how to freeze my own cherries. Take a look!

You’ll need:

Directions: How to Freeze Cherries

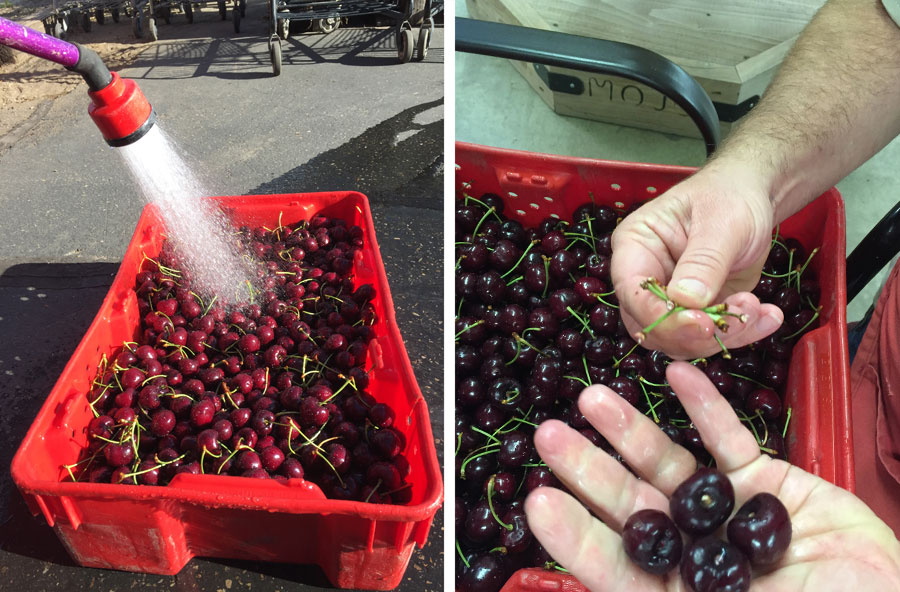
  1. Wash the cherries and remove their stems. Tip: use a colander!
    Washing cherries and removing the stems
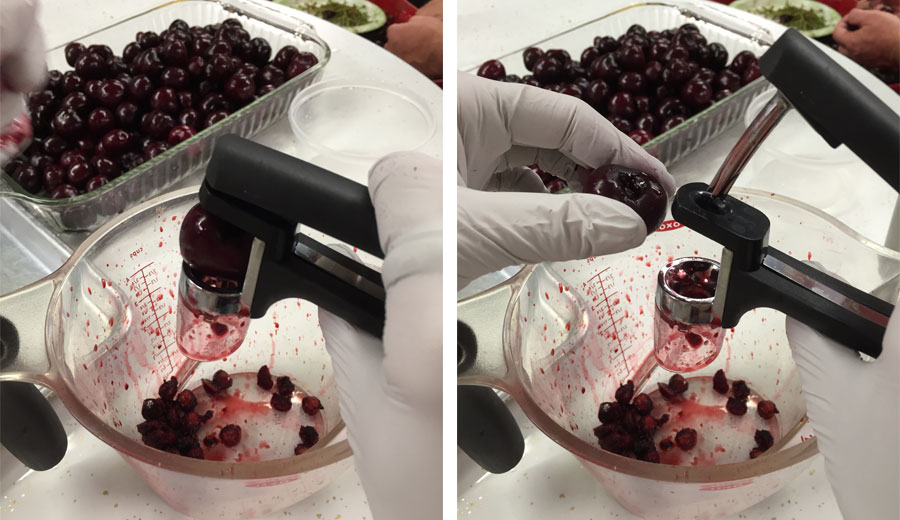
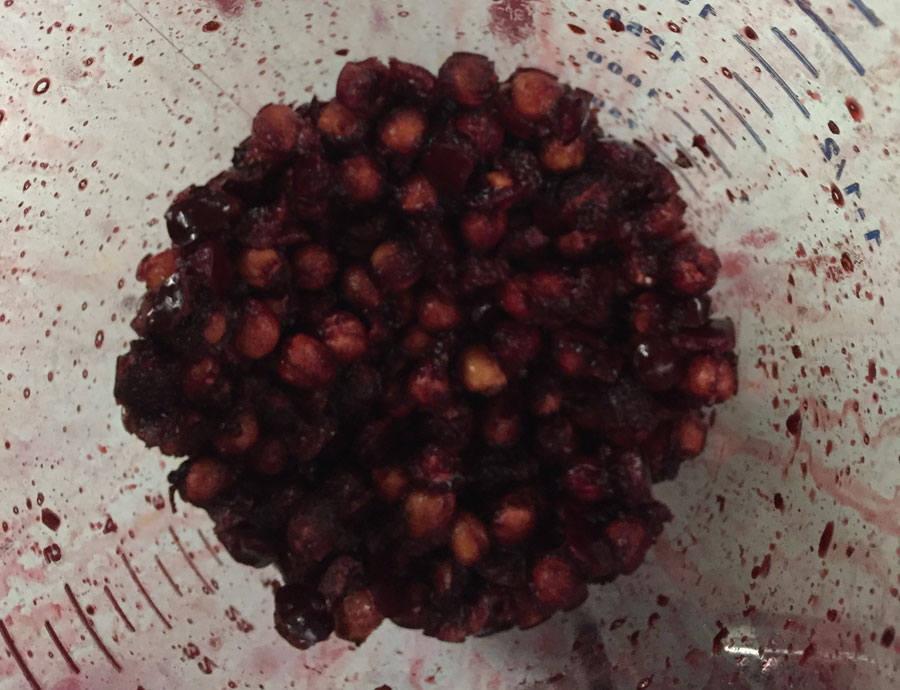
  2. Pit the cherries. Jean & Vickie like using a handheld cherry pitter and collecting the pits in an extra jar or measuring cup.
    Pitting cherries with a cherry pitter - and GLOVES!
    Cherry pits go in an extra jar!
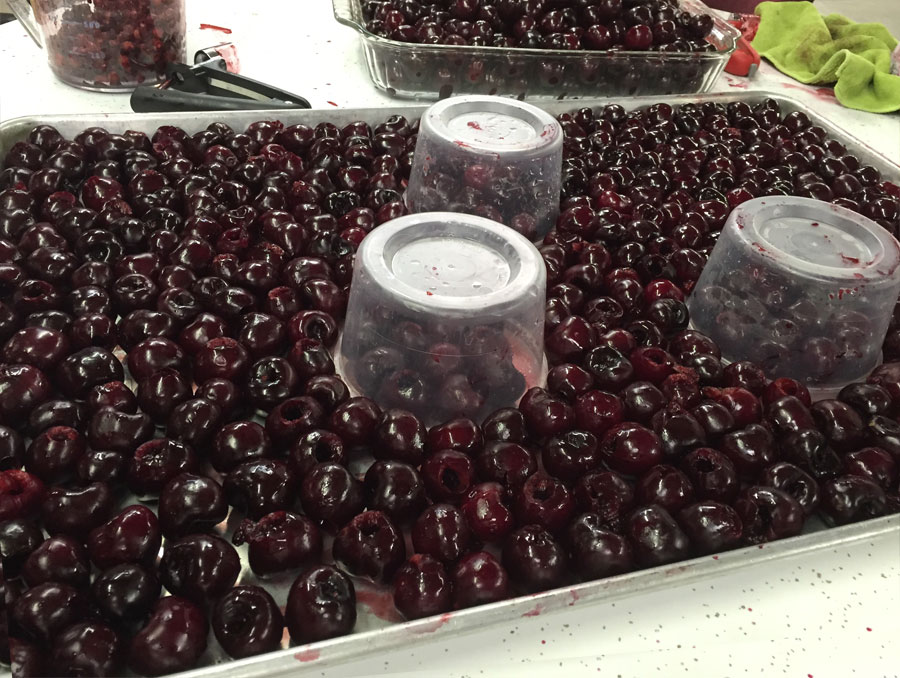
  3. Place the pitted cherries on the cookie sheet.
    Cherries on the cookie sheet, ready to freeze
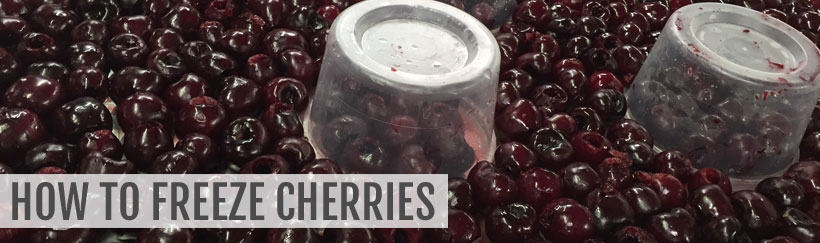
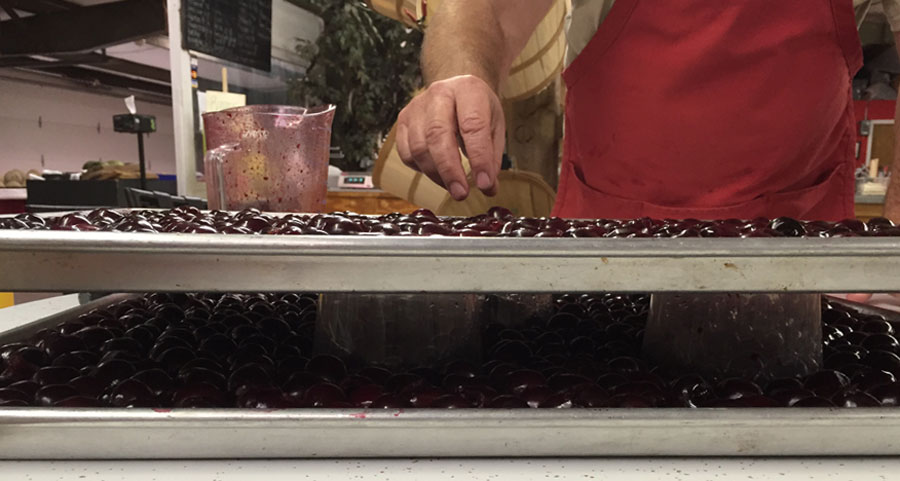
  4. Secret Tip: Double decker your cherries! Place short drink cups or tupperware on the cookie sheet and place it in the freezer. Then, fill another cookie sheet with cherries and place it on top of the cups to freeze twice as many cherries!
    getting-ready-to-freeze-cherries freezing-cherries-in-layers
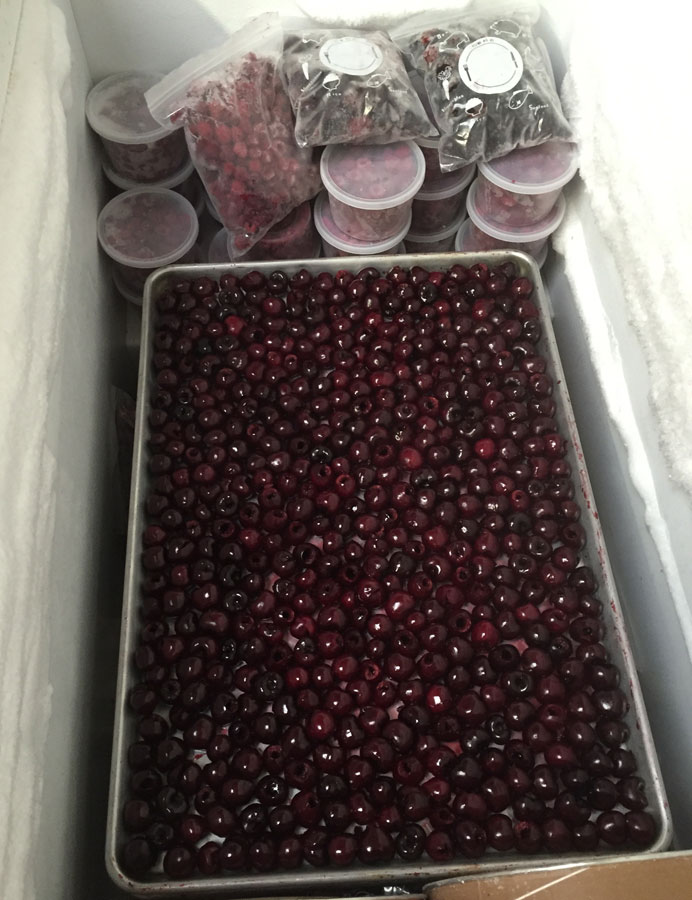
  5. Let the cherries freeze overnight.

    Freezing cherries in a chest freezer

    A chest freezer is GREAT for freezing cherries…

  6. The next day, take a spatula and release the bottoms of the cherries from the cookie sheet.
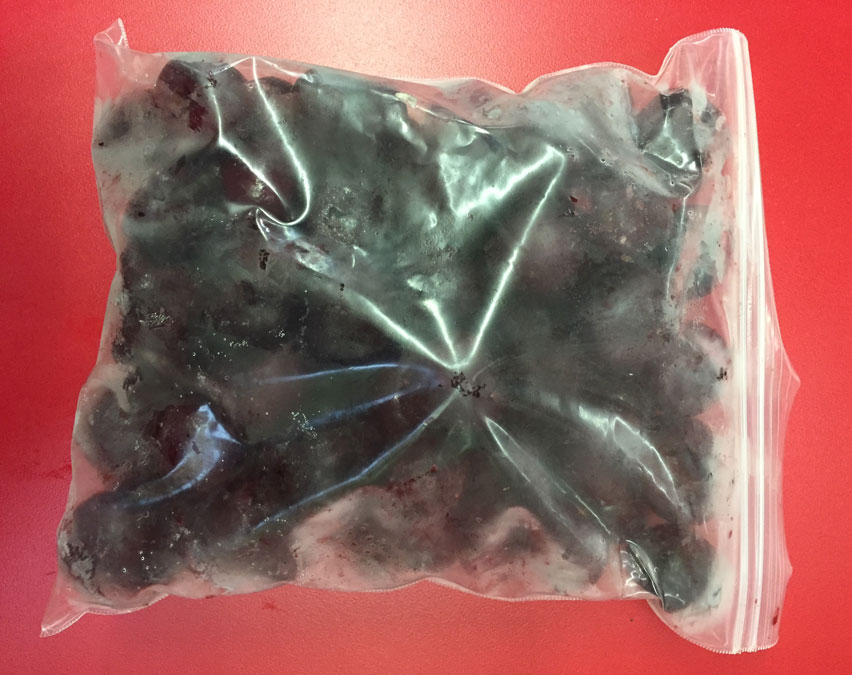
  7. Gather the cherries and place them in freezer Ziploc bags. Quart, gallon – your choice!
    Frozen & bagged cherries

Questions we get asked about Freezing Cherries

Q: Is it messy?

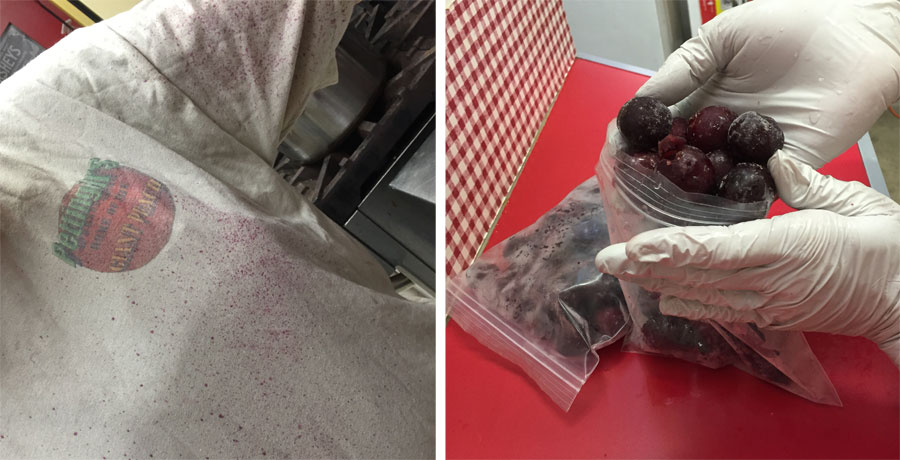
YES! Wear surgical gloves so it doesn’t stain your hands, and wear a work shirt.

Cherry pitting stains & gloves

Pitting cherries is messy business! Wear gloves.

Q: Why not freeze them in bags from the get-go?

By freezing them individually first, they don’t get stuck to each other. Then after you put them in the bag, they break apart easily.

Q: What can you do with frozen cherries?

Vickie LOVES to make smoothies with frozen cherries. YUM!

Eat these fresh-picked as a treat when the snow’s flying in January, just like you were eating it fresh in July!!

Do you have more questions for us? Leave a comment & let us know!


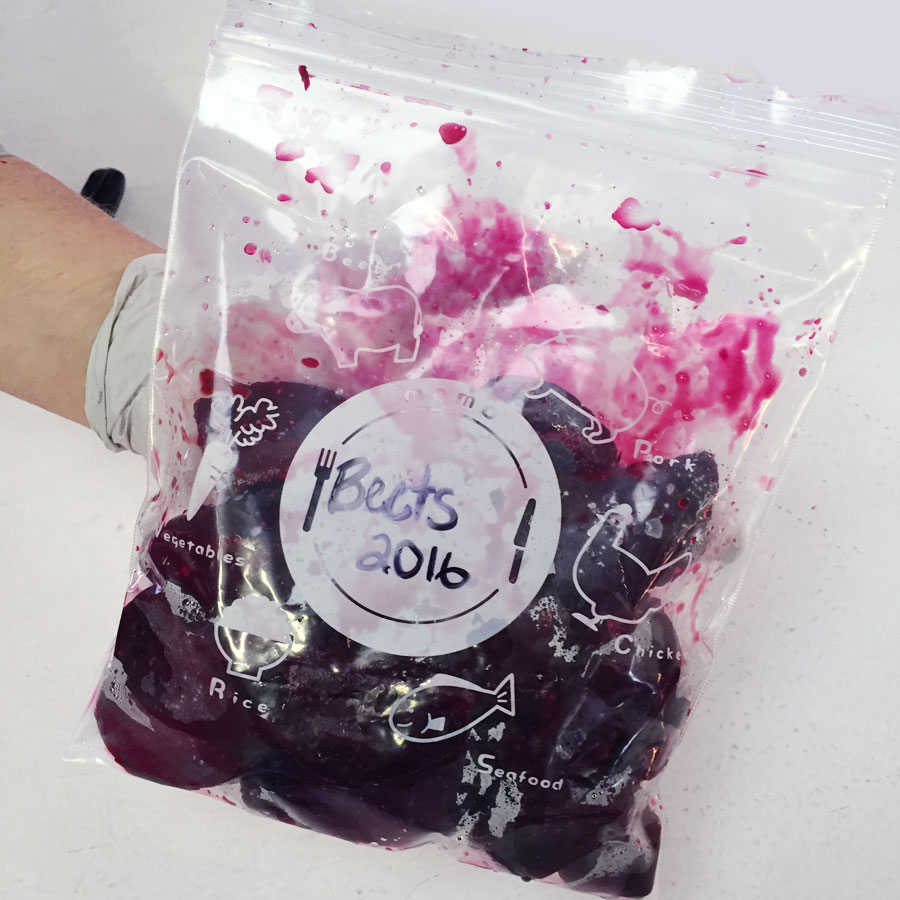
If you liked this, you will LOVE our other frozen food storage tips! Make sure you check out How to Freeze Beets and How to Freeze Corn.
Looking for more food preserving, dehydrating, or canning supplies? Shop our canning supplies on the online store!

John's leaf blower tips for spring troubleshooting

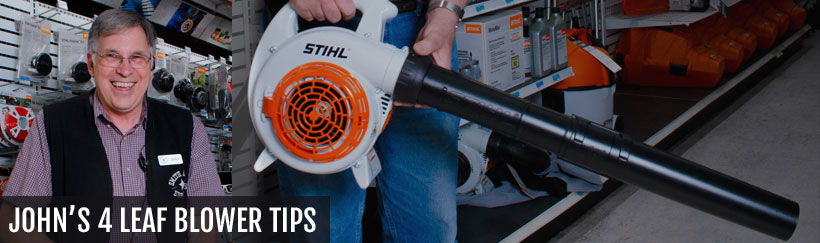
John’s 4 Stihl Leaf Blower Tips

- posted by Jerica Parker

After a long, cold winter, it’s time to clean up. Planting new flowers, mowing the lawn – all the little things to make your yard beautiful again. It’s the time of year to break out all our lawn care equipment again.

As people are preparing for the summer, we often get questions about troubles getting all the tools tools to start up after long, cold winter storage.

Tool Troubleshooting: 4 Leaf Blower Tips

Many people are ready to use their gas powered leaf blowers, but it can be hard to get them started after winter. John, part of our team in the Lawn & Garden department, has thought of 4 possible solutions for this:

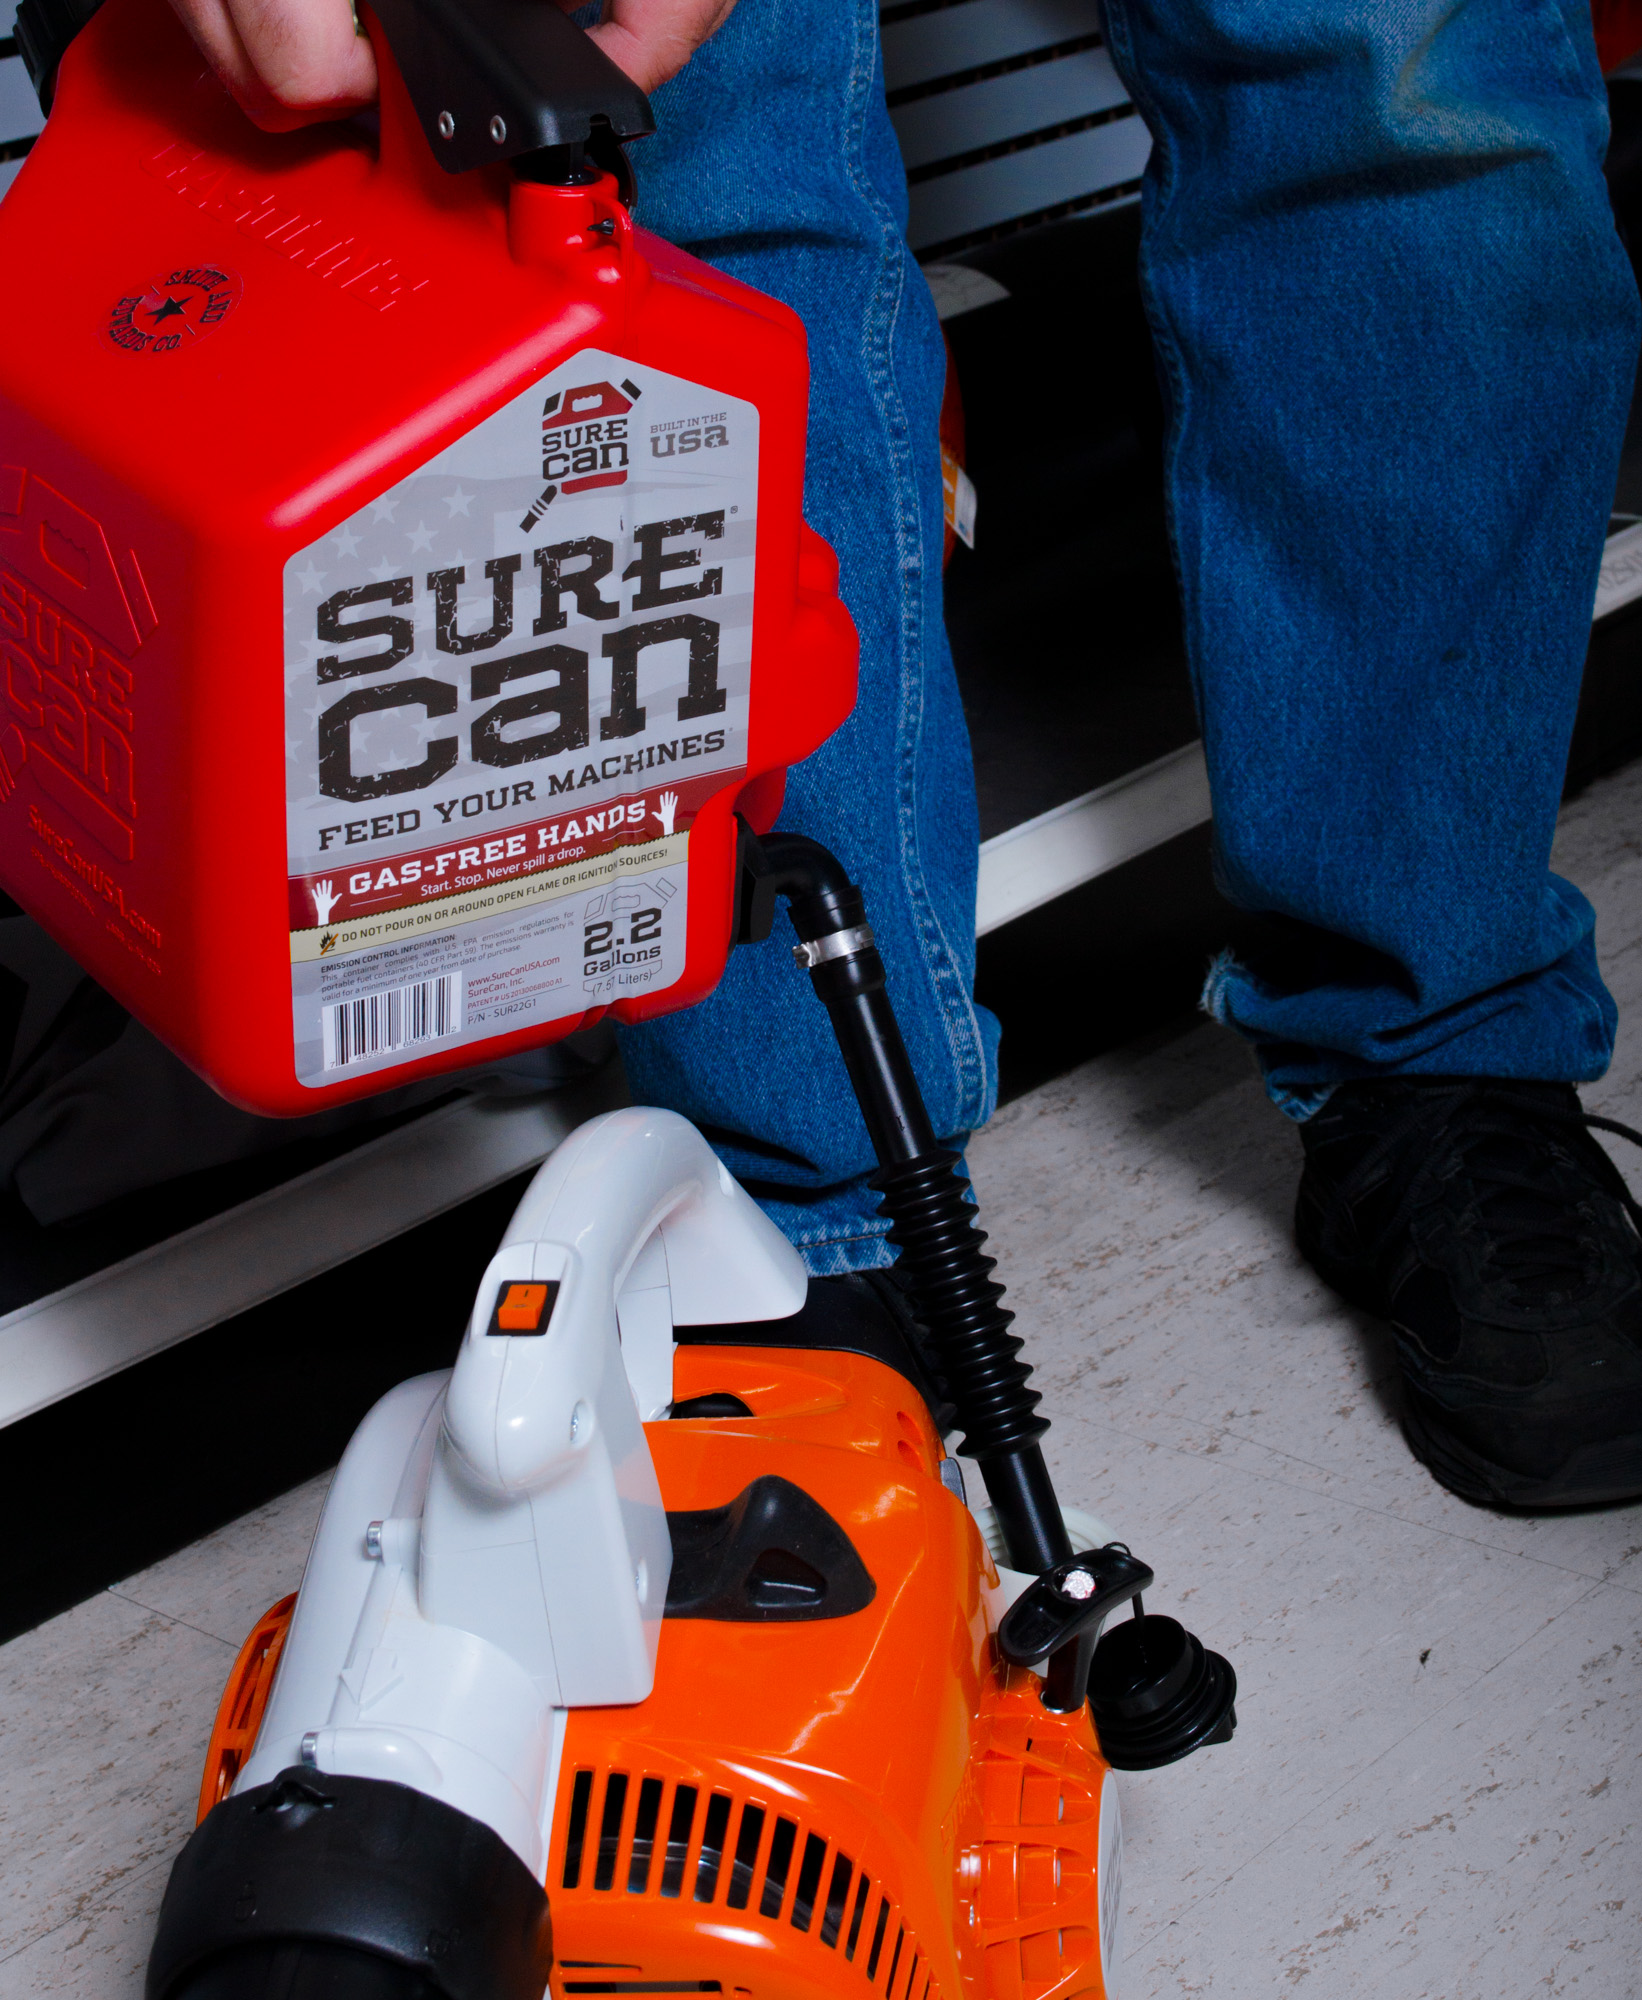
  1. Stale fuel. Fuel doesn’t last forever. If it doesn’t get used, it can get old and stop functioning how it’s supposed to. Try refilling with clean, fresh fuel. Check out the best EPA-compliant fuel cans we’ve found.
    Try adding fresh fuel to your blower!
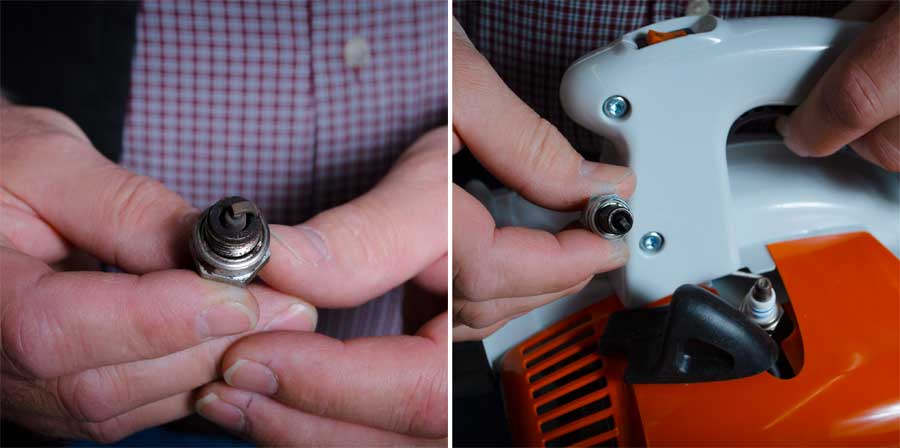
  2. Spark plugs. This is a very common solution for blowers not starting. Check your spark plugs, and if any of them have build-up, it’s time for a replacement.
    Check your spark plugs on your leaf blower!
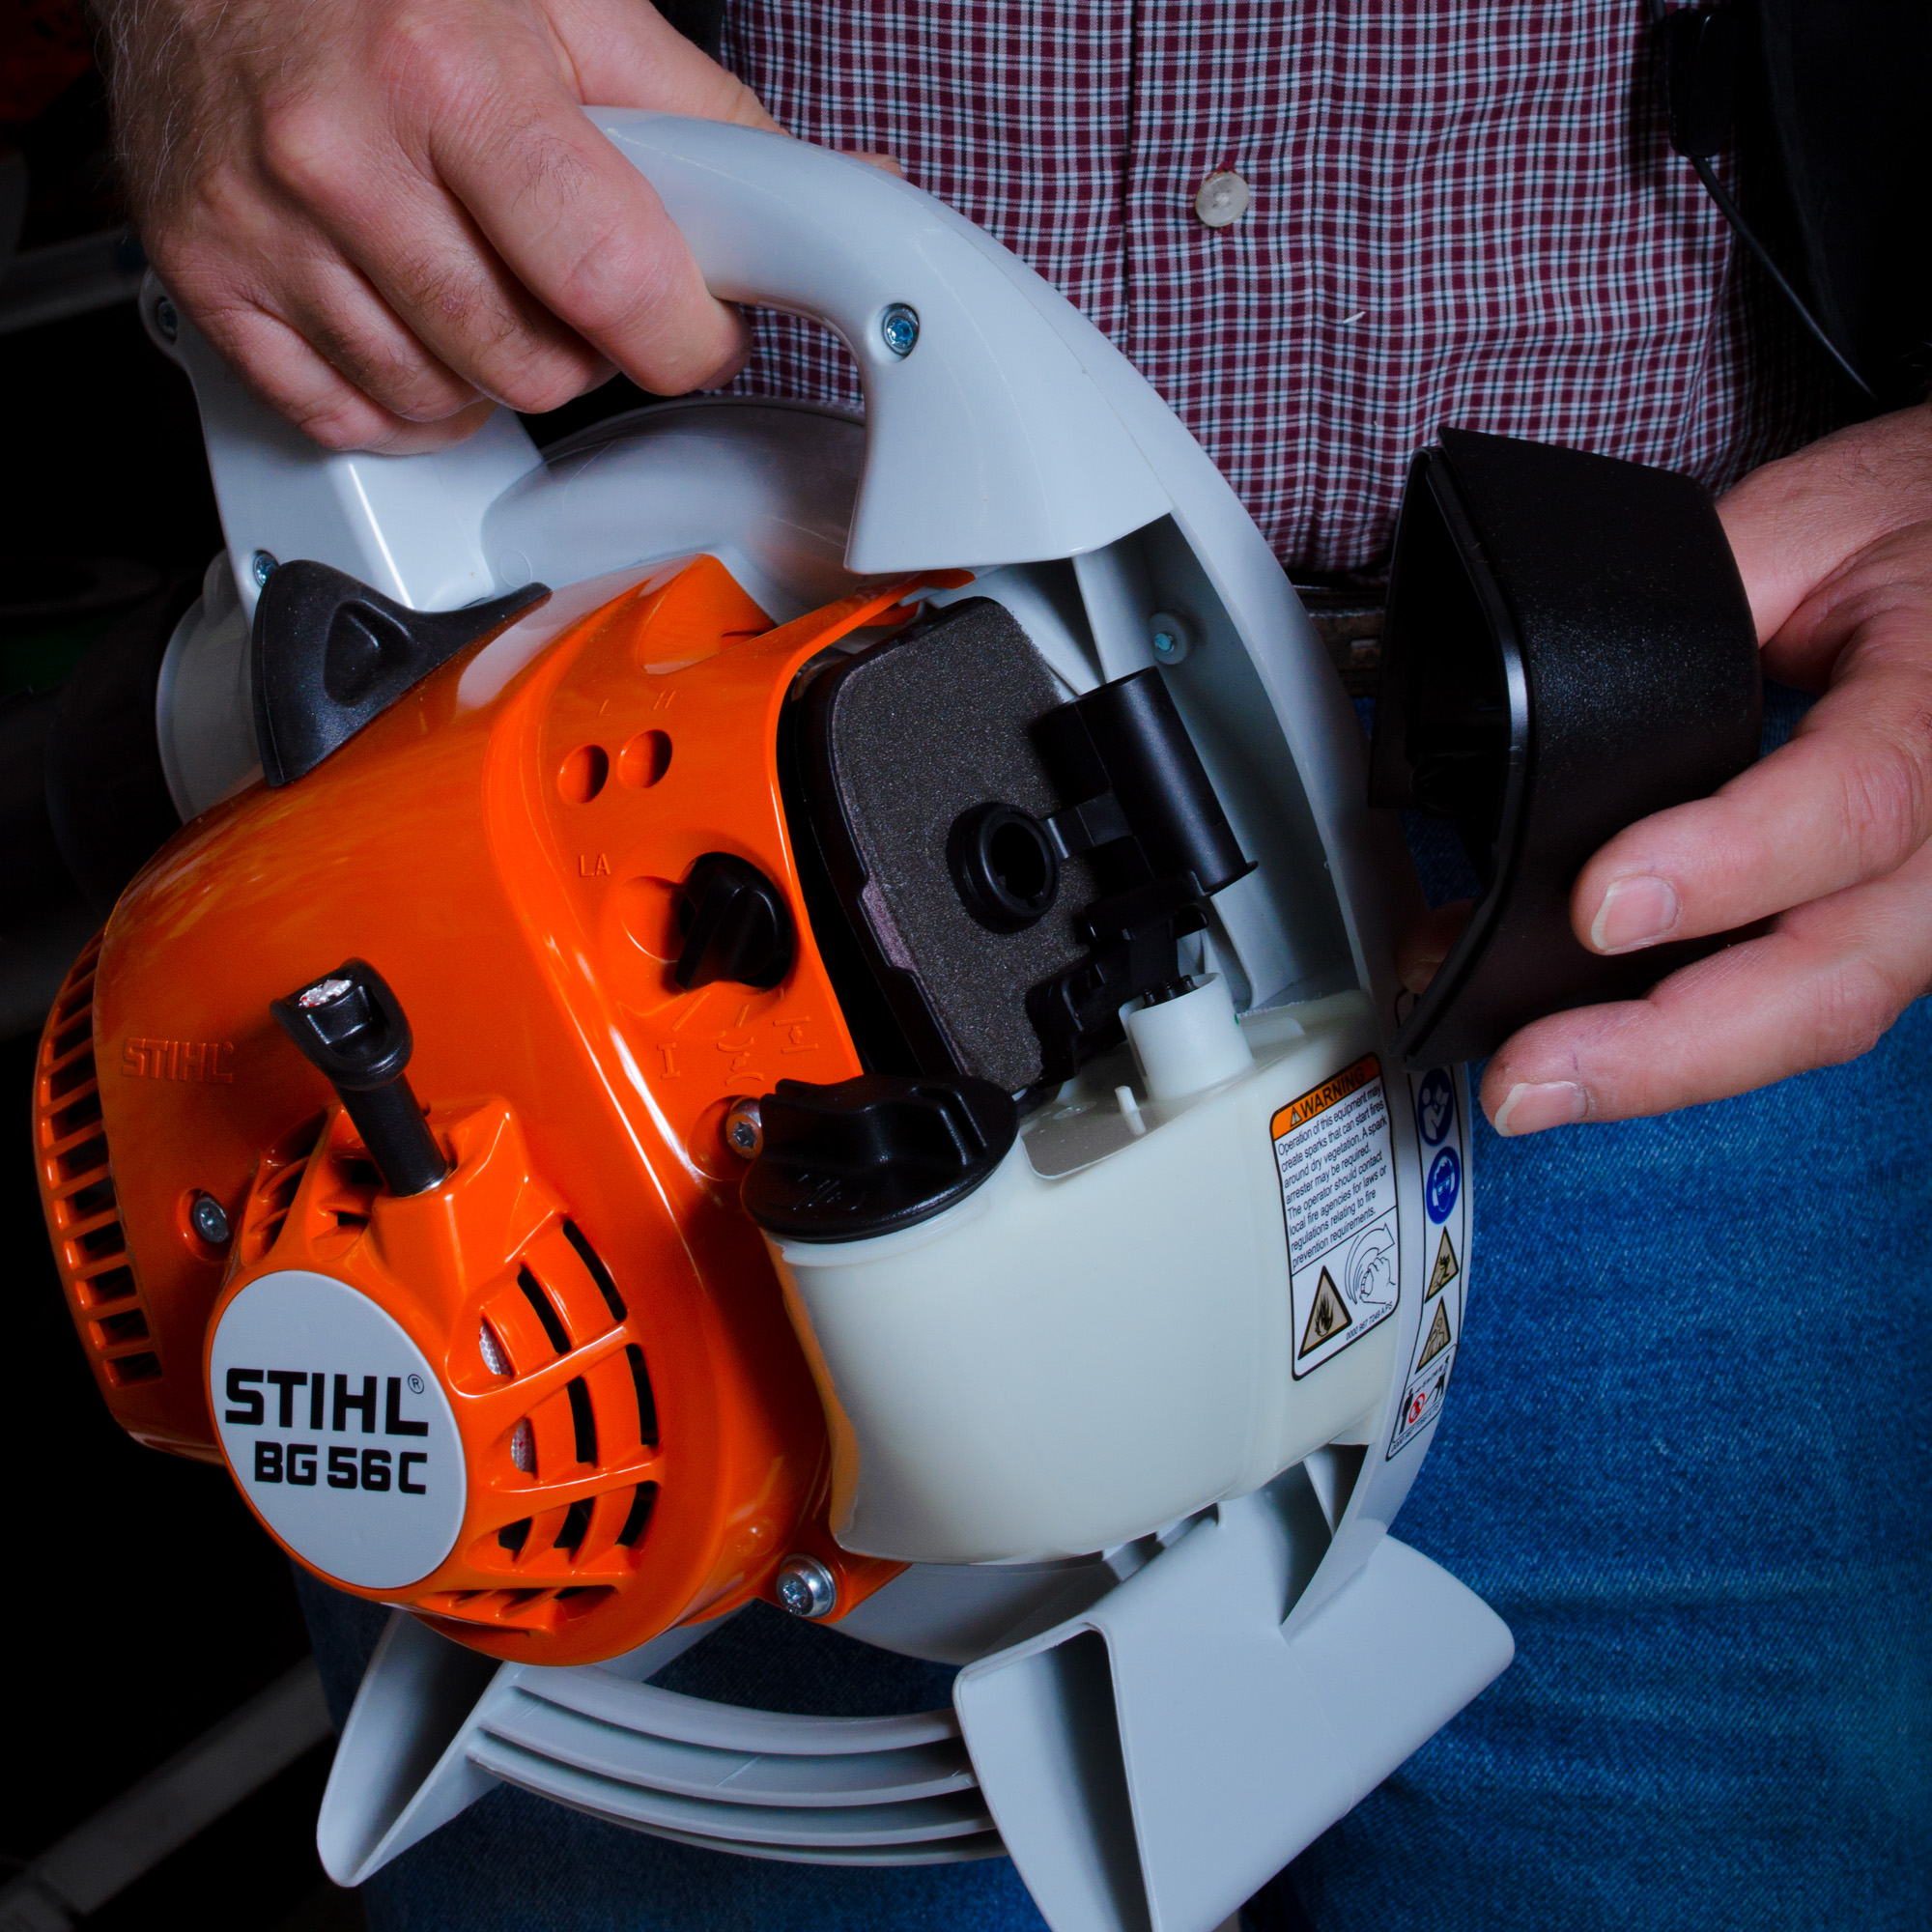
  3. Air filter. Check that your air filter is clean and not plugged up. If not, you know it’s time for a change.
    Check your leaf blower's air filter
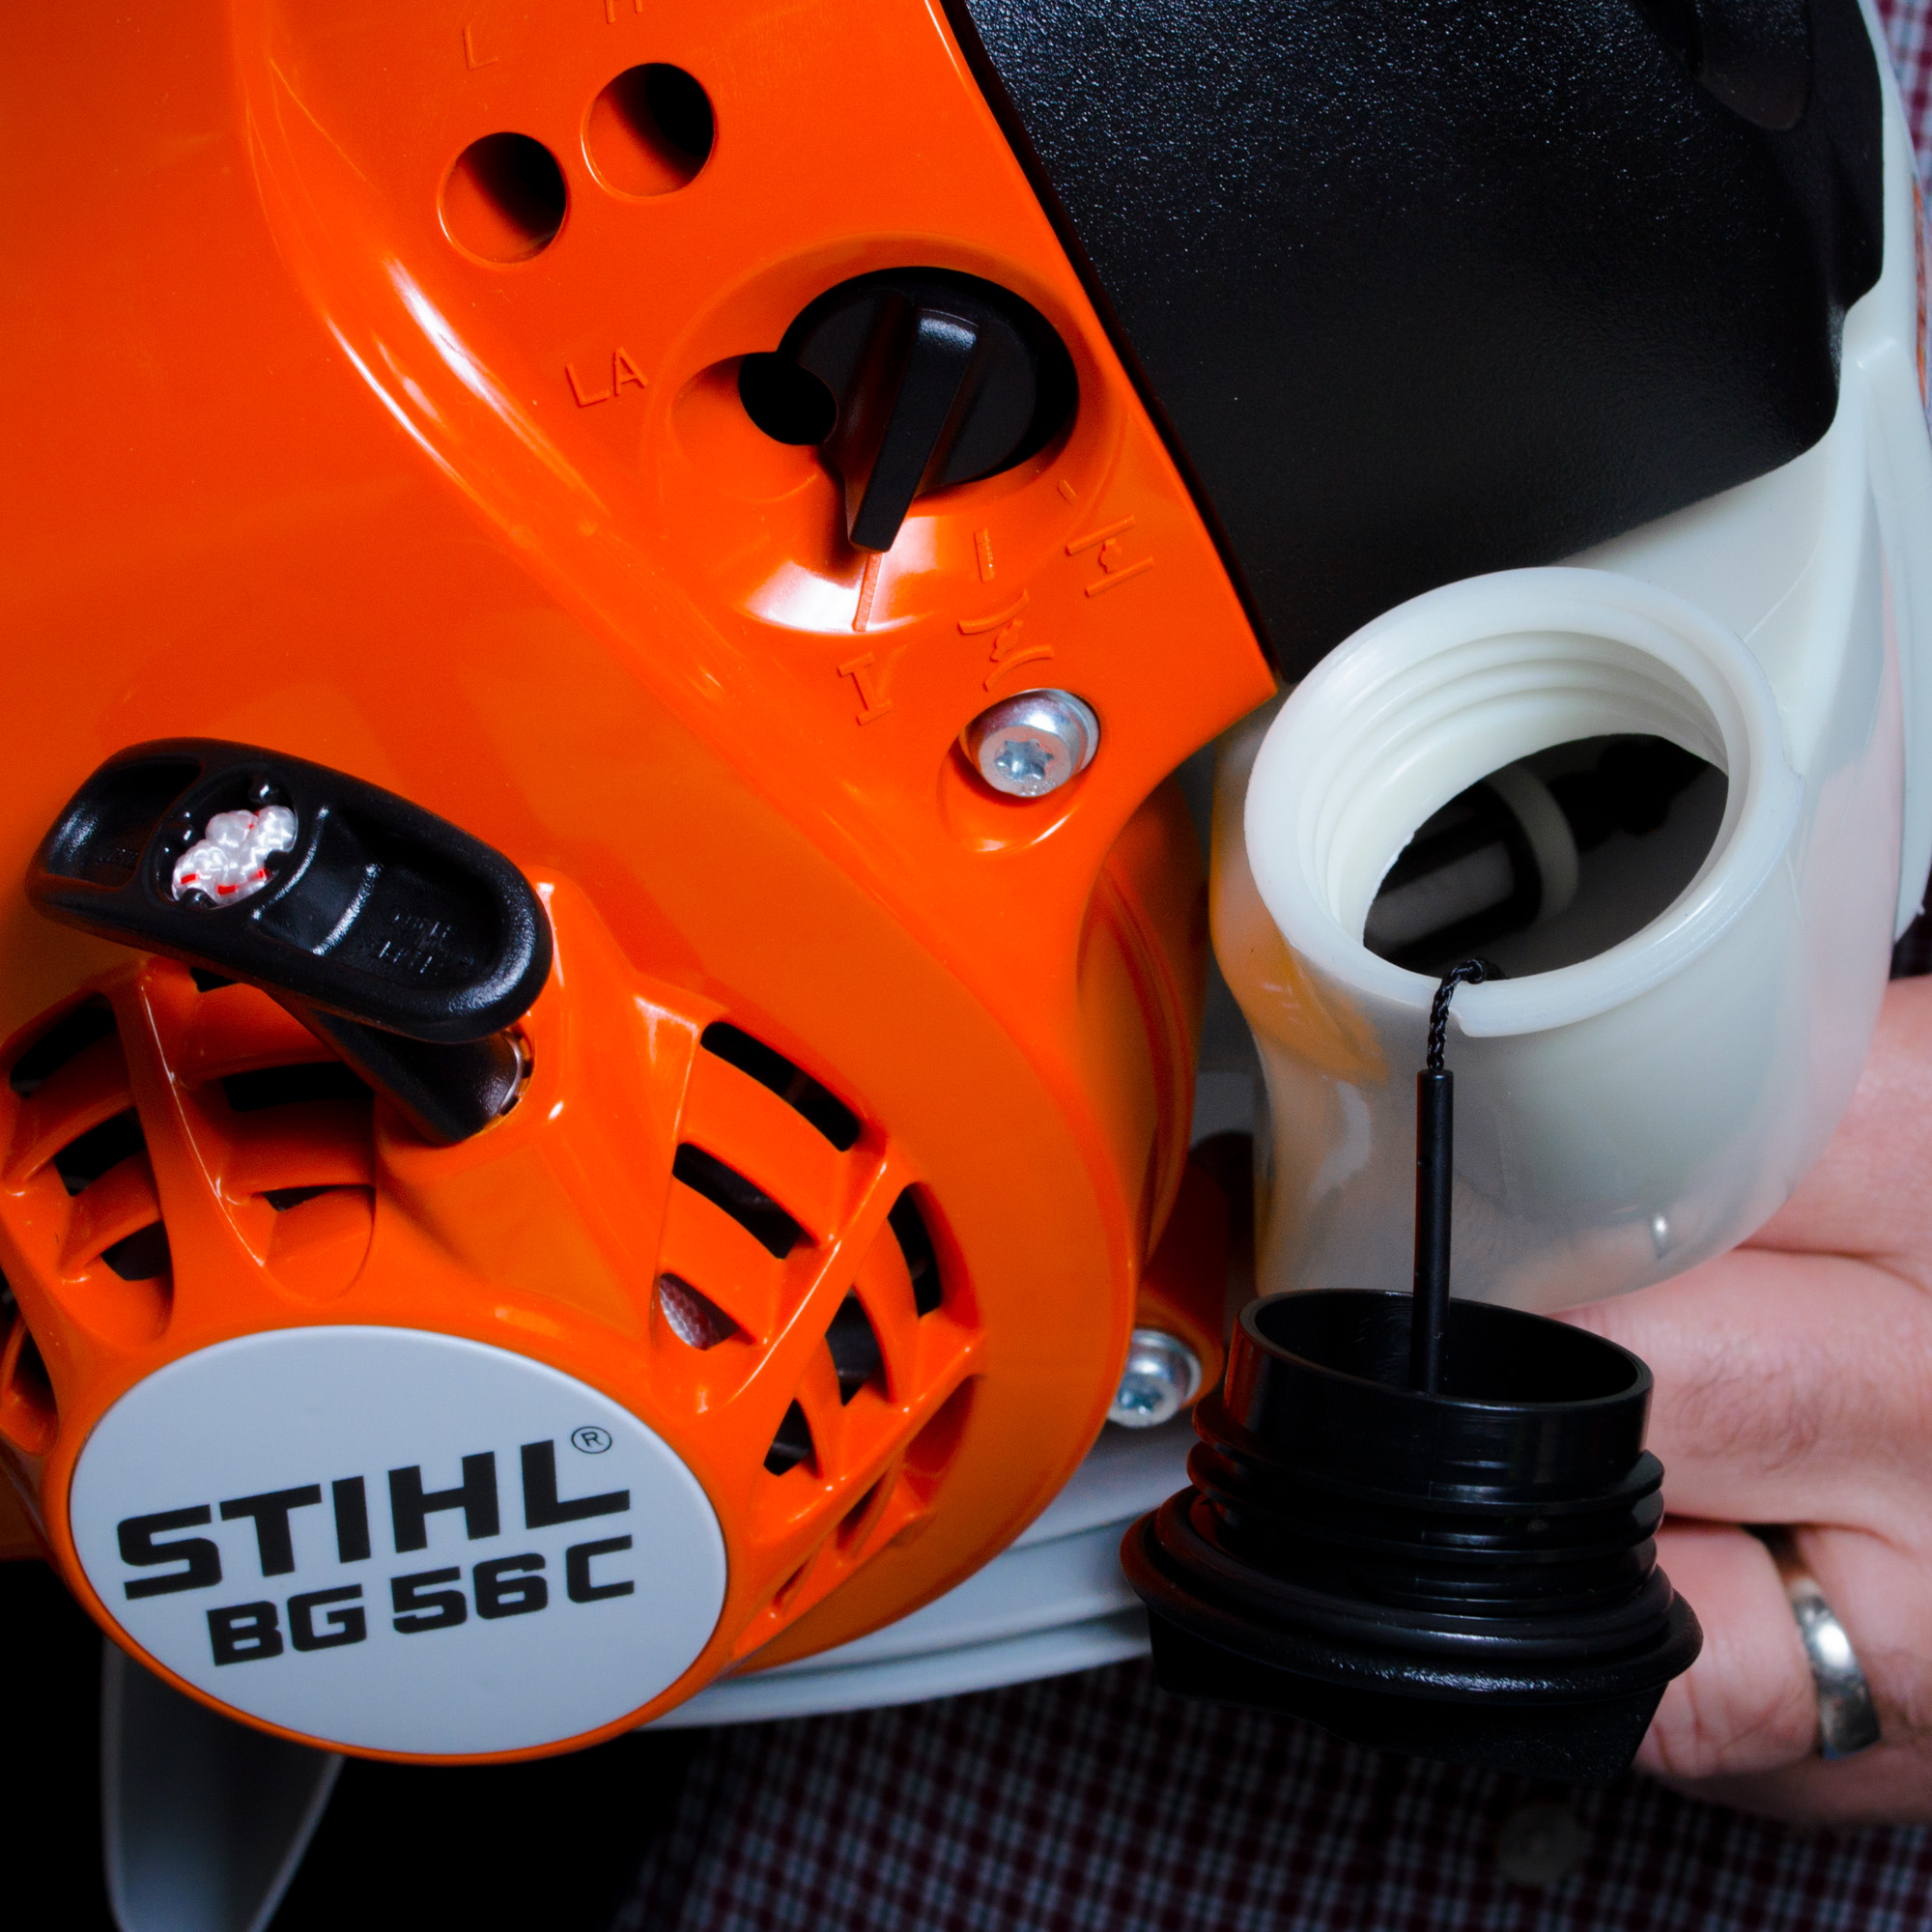
  4. Fuel filter. Not as common, but equally a potential solution. Check that your fuel filter isn’t clogged up. If that’s the case, replace it with a new filter.
    Check that your leaf blower's fuel filter isn't clogged!

Note: Not all models of Stihl Gas Powered Leaf Blowers are the same. Check for your Stihl® model manual here.

John and the Stihl leaf blowers at Smith & Edwards

Thanks for the leaf blower tips, John!

Thanks John! These are his best tips, and if these don’t work, you can consult your blower model’s manual for more advice here at stihlusa.com.

Photos by Rose Marion.

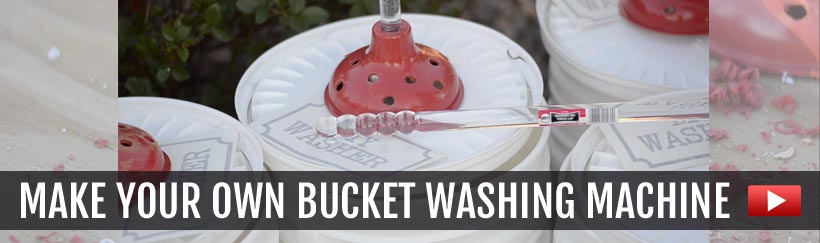
Make your own DIY Bucket Washing Machine with Smith & Edwards - watch Melissa's video!

How to Make your own Laundry Bucket Washer (video)

- posted by Rose Marion

Muck-covered overalls? Horse leg wraps? Greasy shop rags? There’s no way those are going in the nice front-loading washing machine.

Here’s a neat way to turn 5-gallon buckets into a shop washing machine that keeps the mucky things out of the clothing laundry. We saw this on Pinterest and HAD to try it out!

Plus, you can also keep this on hand for emergencies: the Zombie Apocalypse or when the power goes out.

Thanks to Melissa in our Housewares department for showing us how to do it, and Marty for cleaning the leg boots!

Tip: Did you just buy a new pair of dark-wash denim jeans? Add a cup of vinegar and don’t add soap. Then, add your new jeans and let them sit overnight. This will help set the dye, and you won’t get as much indigo rub-off on the rest of your laundry!

Make your own DIY Laundry Bucket at Home

You’ll need these supplies:

Directions:

  1. Drill holes in one of the buckets, both the bottom and 1/3 to 1/2 of the way up the sides.
  2. Drill a hole in the lid with a 2″ hole saw. Then, insert the bushing.
  3. Now drill 1/2″ holes in the rubber plunger.
  4. You’re done!
Smith & Edwards answers your questions! Q&A with S&E

Q&A: Why use a Gun Vise?

- posted by Rose Marion

You’ve got questions, we’ve got answers! Send us your question to help@smithandedwards.com. We’ve got good advice, bad advice, & years of experience with all kinds of crazy outdoors activities. Send us your question, you just might get something fun or helpful back!

Question:

I saw your post on how to clean a rifle. I’ve never used a Gun Vise to clean my rifle… does it make any real difference? -Major Paul

Answer:

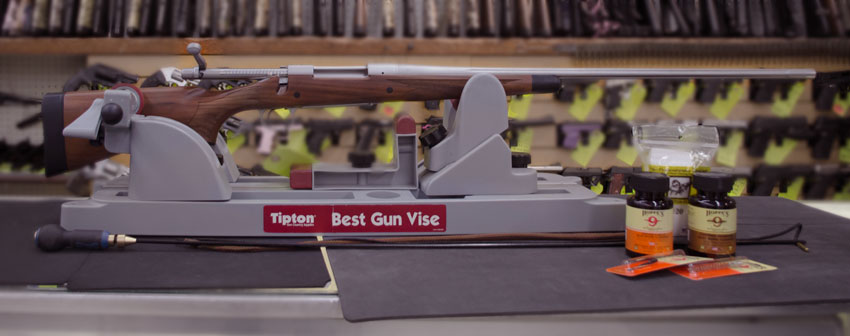
You don’t have to use a gun vise to clean your rifle. But it’s a good idea to have one, or a bipod, so your rifle is secured and the stroke of the cleaning rod is consistent with the plane of your bore.

How to clean your rifle - Smith and Edwards Demo

A lot of people also use a bore guide so that when you clean from breech to muzzle, you don’t scrape your crown on the muzzle end. You don’t really want the cleaning rod to contact the crown. A vise will help you clean consistently without scraping the sides. Also, that keeps the mess in one area.

Mike Vause, Smith & EdwardsThanks for asking!
– Mike Vause

Smith & Edwards Gun Counter

About Cox Honeyland found at Smith and Edwards

Brand Spotlight: Cox Honeyland – Why We LOVE Honey

- posted by Jerica Parker

The Cox family has been in the honey business for over 100 years.

Henderson and Marion Cox started in the bee industry in St. George, Utah. Since then, the family has carried the tradition of bee keeping and honey production, and in 1989, Cox Honeyland opened for business. Now, the fourth generation of family is running the business in Logan, Utah, with more things than just honey, including lotions and other food items.

Here at Smith & Edwards, we have proudly carried Cox Honeyland for the past 20 years.

Honey has so many benefits!

Besides being all natural, healthy, yummy and sweet, it makes a great food storage item!

On top of that, there are other cosmetic uses that not many know about.

What’s even better? Finding honey that is harvested locally!

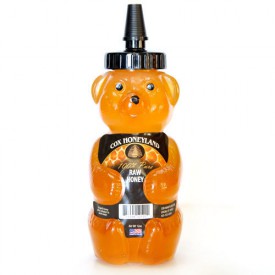
Cox Honeyland 12-ounce Honey Bear

Why is local honey better?

We love the local Cache County honey from Cox Honeyland.

Have you ever had honey that tastes or looks a little different than other jars? Honey bees fly as much as 55,000 miles within a 5 mile radius, all the while collecting nectar from flowers. The nectar gathered from a specific region will give the honey produced a slightly different taste and color. Cox Honeyland honey has three different honey varieties: Clover-alfalfa (lighter color and mild taste), Cache Valley (darker with more flavor), and Mountain Snowberry (mountain wildflower flavor).

So wherever you get your honey from, it will be slightly different than honey from another place.

Fight those allergies!

A benefit of getting local honey is that it is said to help boost immunity for seasonal allergies. Naturally made, honey is healthy for you.

Tip: Have a sore throat? Mix honey with a spoonful of lemon juice in a mug filled with steaming hot water to soothe your throat and relieve congestion.

Pure and Healthy

You can tell honey is pure when it crystalizes. That means that there are no preservatives added to the honey. The great thing is that honey never expires! (Which makes it great as a food storage item!) When it does crystalize, simply place the jar in a pan of warmed water and it will soften back to its smooth texture.

What else?

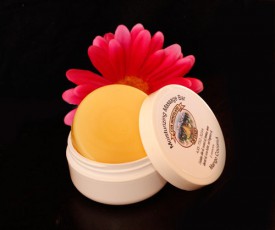
Honey is great for various different uses, some can be surprising! As a natural sweetener, honey makes a great substitute in recipes for sugar. Using this replacement in some recipes reduces up to half of the sugar a recipHoney massage bars made by Cox Honeyville e calls for.

Cox Honeyland has recipes using honey – View them here!

Honey also has cosmetic benefits. “My dad would have us wash our faces with crystalized honey as kids. When honey crystalizes, it makes a great natural exfoliator”, Maleesa with Cox Honeyland told me. You can also use the beeswax to make your own lip balms, lotions, massage bars, and more.

Now that you know why we love honey so much, it’s time to get your own! Whether it’s for your food storage, cosmetic benefits, or just to enjoy now, local honey is the best!

Shop Local Honey on SmithandEdwards.com

Bug Out Bag & 72-hour Kit tips from Smith & Edwards

Prepare with 72-Hour Kits & Bug Out Bags

- posted by Rose Marion

It’s that time of year to check your preparedness gear, make sure you have a communication/meetup plan for your family, & rotate your food storage.

One important piece of your preparedness plan is having a bag with all your necessities. Some people recommend a bug-out bag, but here in Utah a 72-hour kit is the most recommended pack to have.

What’s the difference? Mike Vause from our Sporting Goods department asked Ryan Seager, our Surplus manager, and Jean Dimick, our Preparedness manager, and here’s what he found.

What Ryan suggests for a Bug-Out Bag

A bug out bag, or go-bag, is a small bag designed to get your from Point A to Point B. Point B should have more supplies, such as your 72-hour kit or your food storage.

You might keep your bug-out bag in your car or truck, or in your desk at work; some place you can get to it easily and go.

So it’s a minimalist kit that has just the necessities to survive. You can buy a pre-made bug out bag, or create your own based on your needs & preferences:

  • 1 quart water, a container, & water purification method
  • Food (preferably a high-calorie bar)
  • Bivvy or compact sleeping bag
  • Poncho
  • Paracord
  • First aid kit
  • Multitool with a good blade
  • Lighting: headlamp or area lighting
  • Gloves, hat, scarf, light jacket, and spare clothes (if possible)
  • Fire starter
  • Personal defense

Jean’s picks for a 72-Hour Kit:

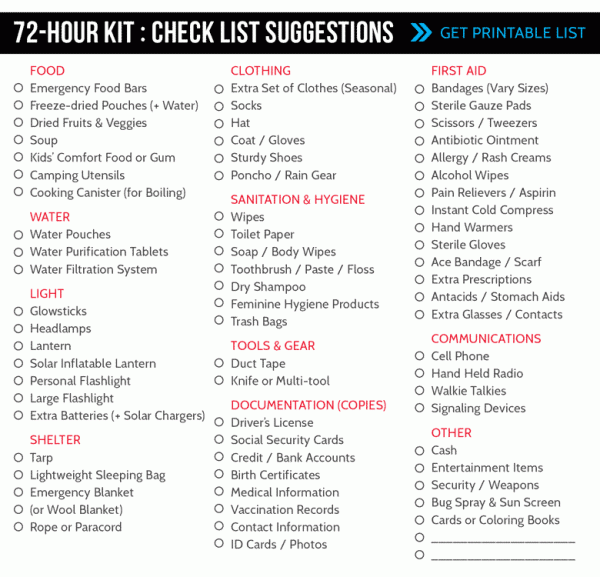
A 72-hour kit has the supplies you need to survive for 3 days. You’ll store more food and supplies than a bug-out bag, and for this you should consider a large backpack from the camping department, rather than a slim tactical pack. See Hiking & Camping packs here.

You can download a list of suggested items for your family’s 72-hour kits Get a printable ID card and 72-hour kit ideas from Smith & Edwards, as well as ID cards for your children:

Get your 72-hour kit list!

Did you know?

Save the Children has excellent resources for teachers, parents, and caretakers. Check them out here! You can also make your own ID cards for your children on the Child Safe Kit®’s website.

Getting hiking gear for Utah Trails at Smith & Edwards

We’re getting Cabin Fever… are you?

- posted by Rose Marion

When I’m not at Smith & Edwards, taking photos is a huge hobby of mine.

I’ve been in Utah for 6 years, and while I’ve loved wandering backroads for barn photos and along the river parkways for macros and mushrooms, I’ve never ventured up the trails for some stunning shots.

Til now!

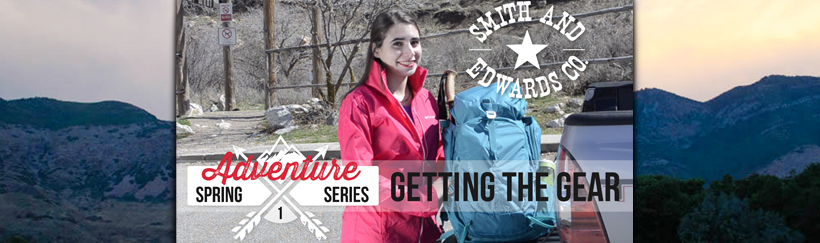
I’ve got Cabin Fever and I bet you do, too. Come explore the hikes & trails of Weber county with me! Mike Vause has picked out some gear for me, and I want to see if you can keep up!

I’m wearing the Columbia Switchback II Jacket (in “rose” color), Columbia gray Anytime Outdoor Long shorts, and Merrell waterproof high top hiking boots. In-store, I’m wearing Ariat Real Riding Eclipse jeans. Yep, I got all that gear at Smith & Edwards!

Visit Camping & Hiking to get the best gear.

Check out our Camping and Hiking gear here!

And check out the Men’s and Women’s boot departments for Columbia, Merrell, and Danner hiking boots and trail running shoes.

You’ll find even more gear in-store at Smith & Edwards, off exit 351 just north of Ogden. Have fun out there!

Tips on team roping from our Dummy Ropin' champions!

How to Rope (Video): Team Ropin’ Tips

- posted by Rose Marion

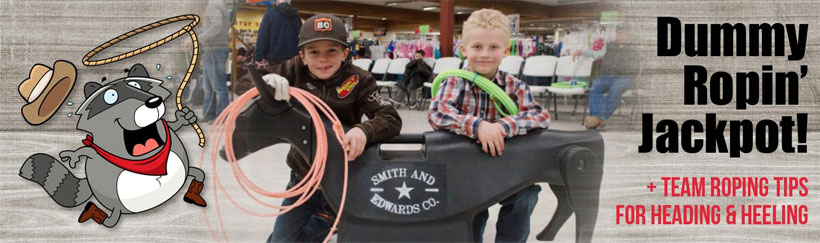
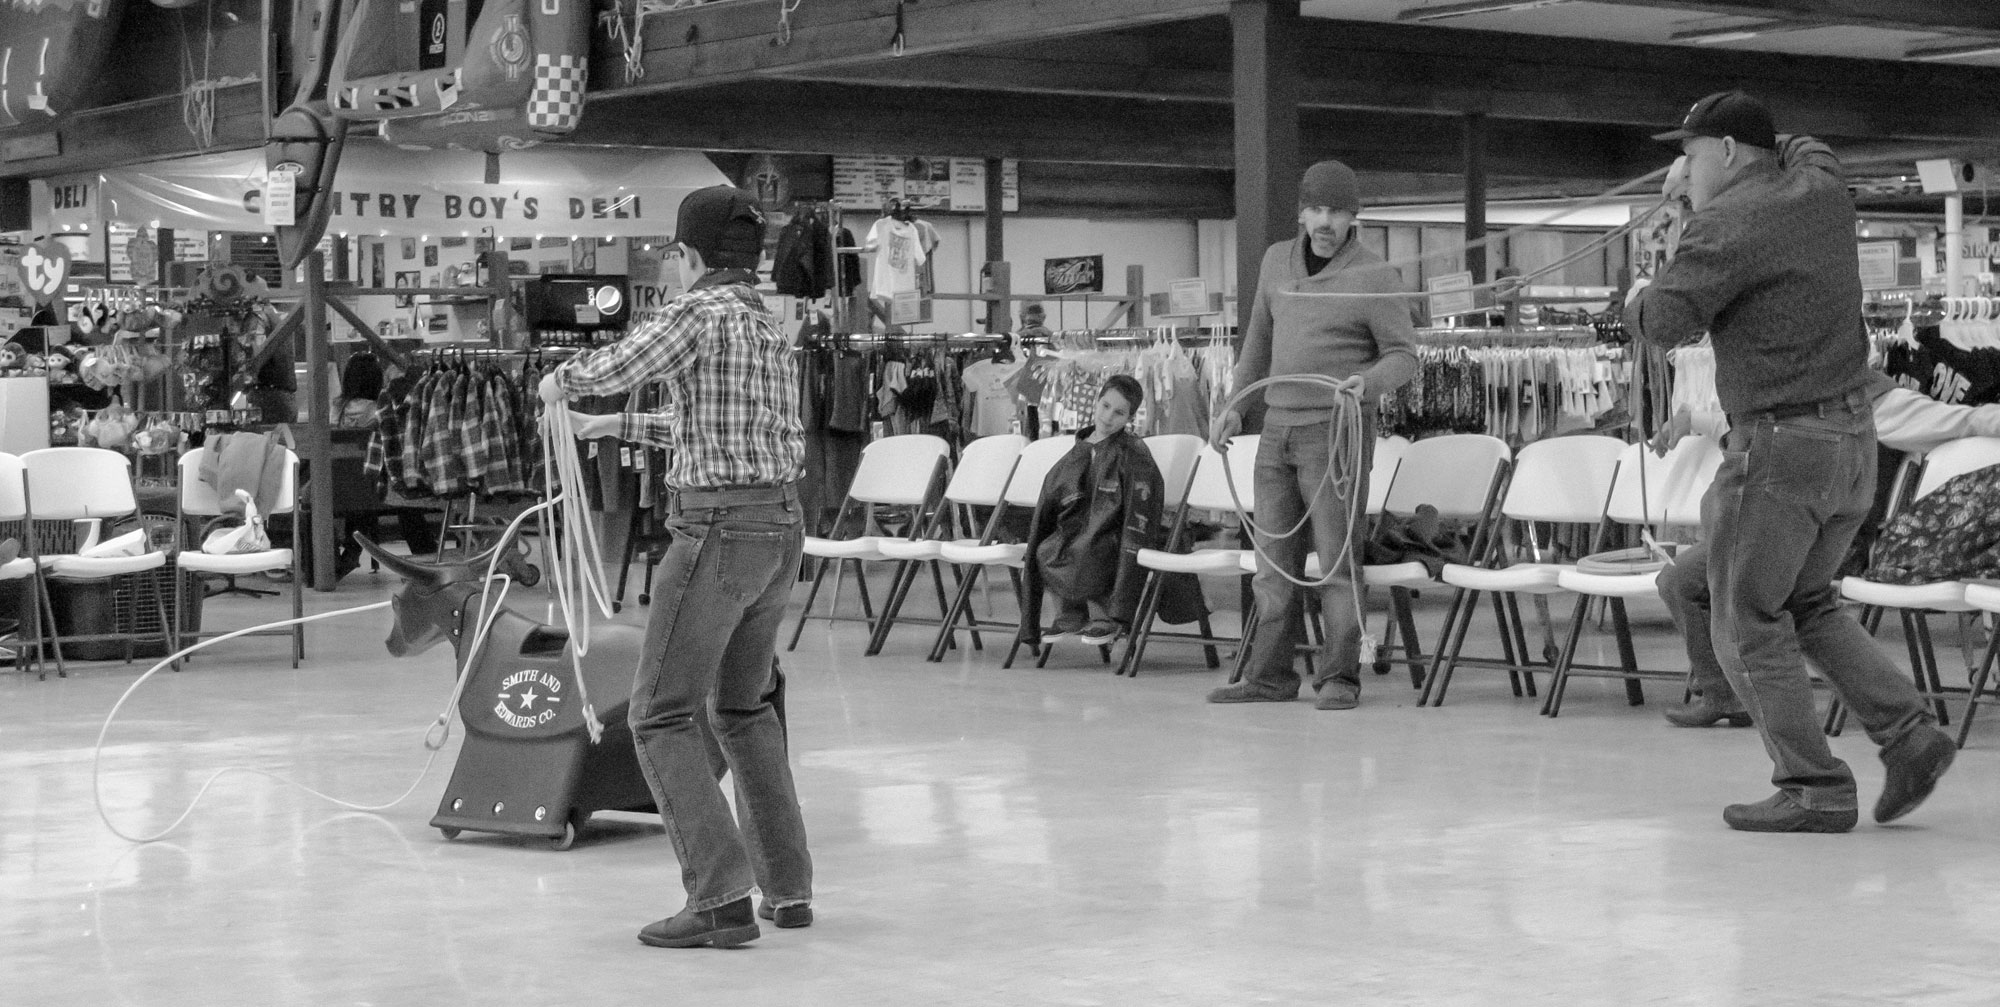
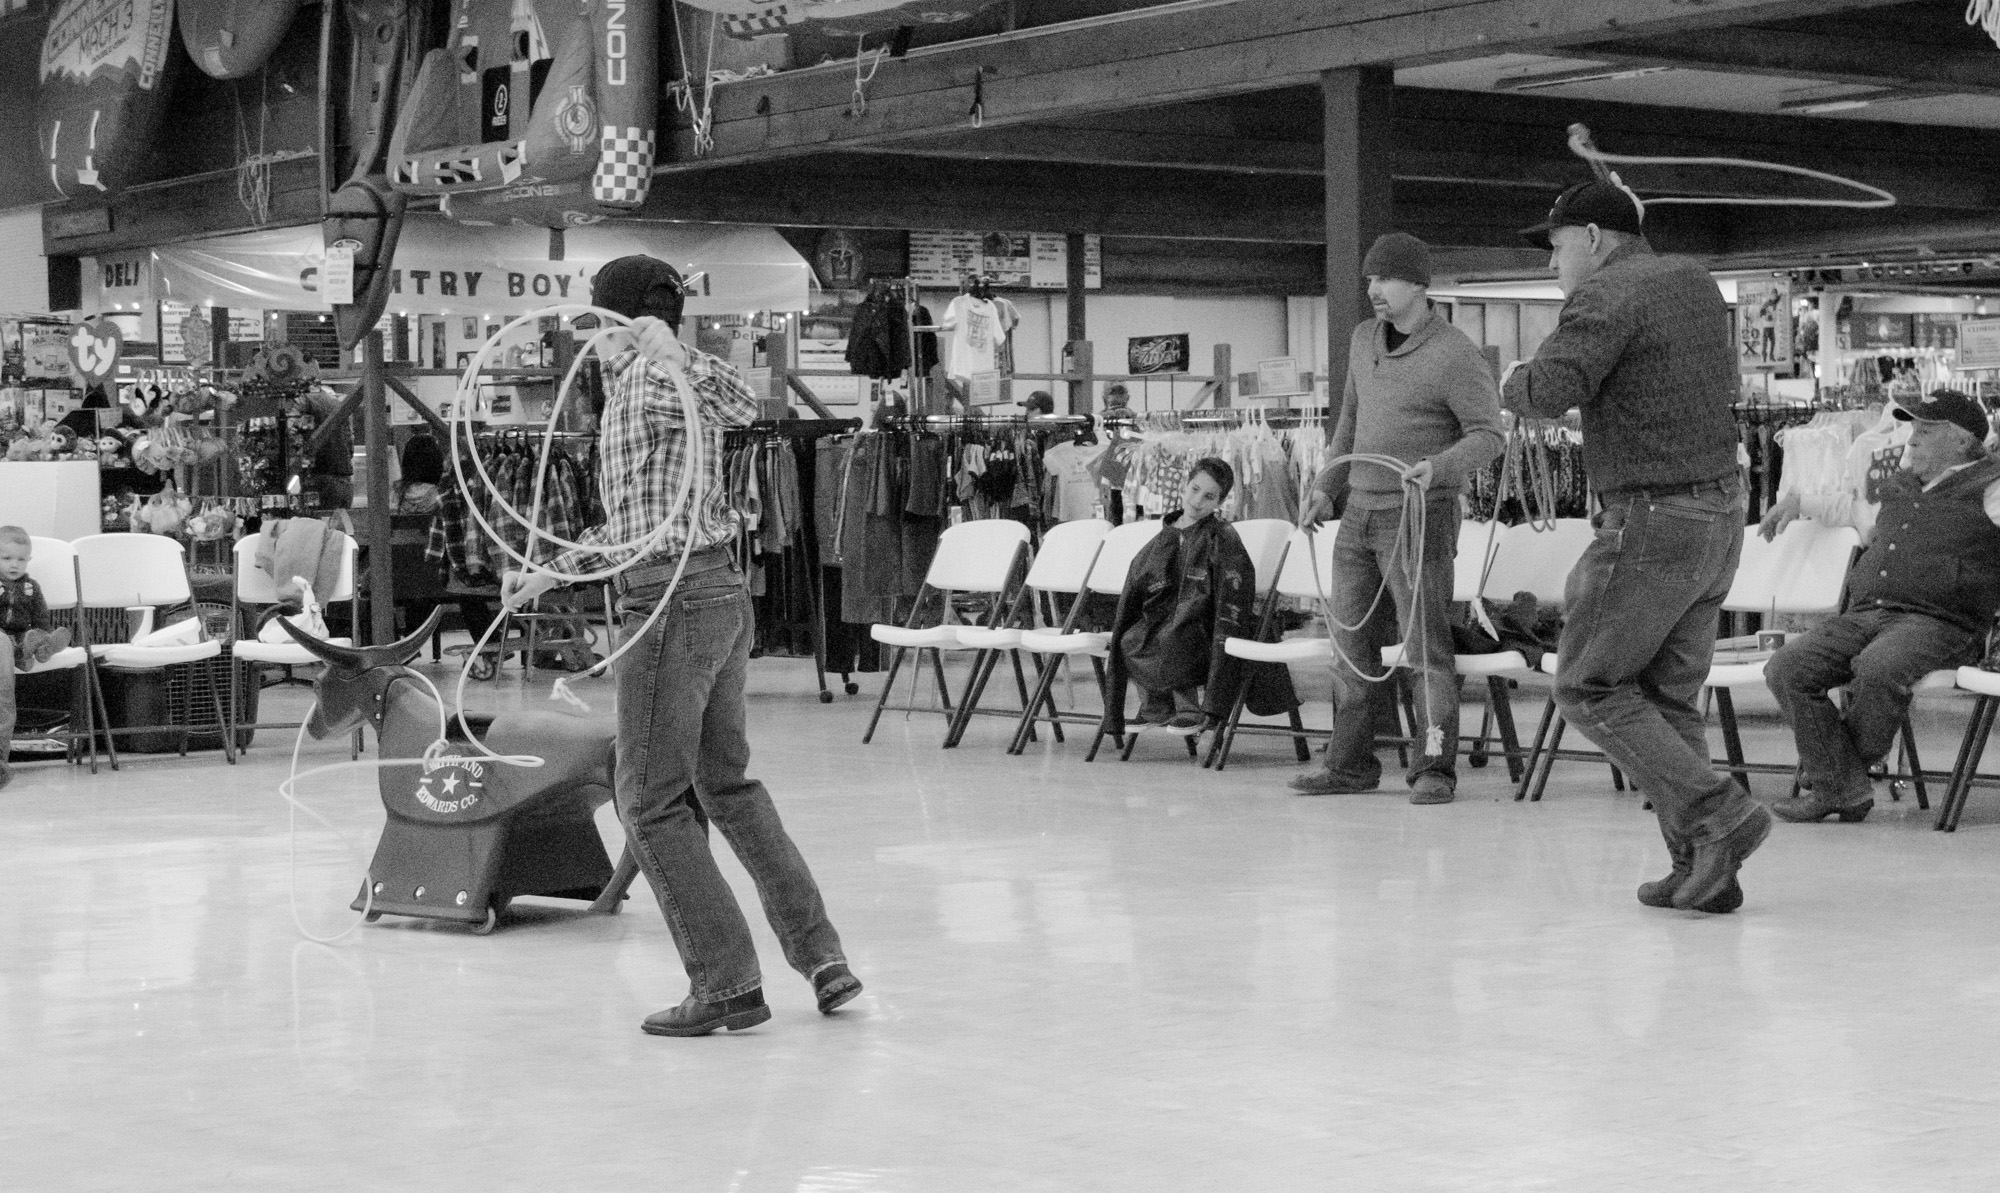
Kwade Kosoff and Pace & Wells Thompson stayed after the 2nd Annual Dummy Ropin’ here at Smith & Edwards to show us some dummy ropin’ runs and give tips on how to head & heel rope.

Head & Heel Ropin’ Tips from Kwade & Kyle Kosoff

Dummy ropin’ is a ton of fun, whether you’re a team roper or a backyard roper. Kyle provided commentary on tips & what to watch for.

dummy-ropin-kyle-kwade-kosoff
dummy-ropin-kyle-kwade-kosoff (1)

Start practicing after school or work and you’ll be a pro roper in no time. Then you can come show us your stuff in our next dummy ropin’ tournament!

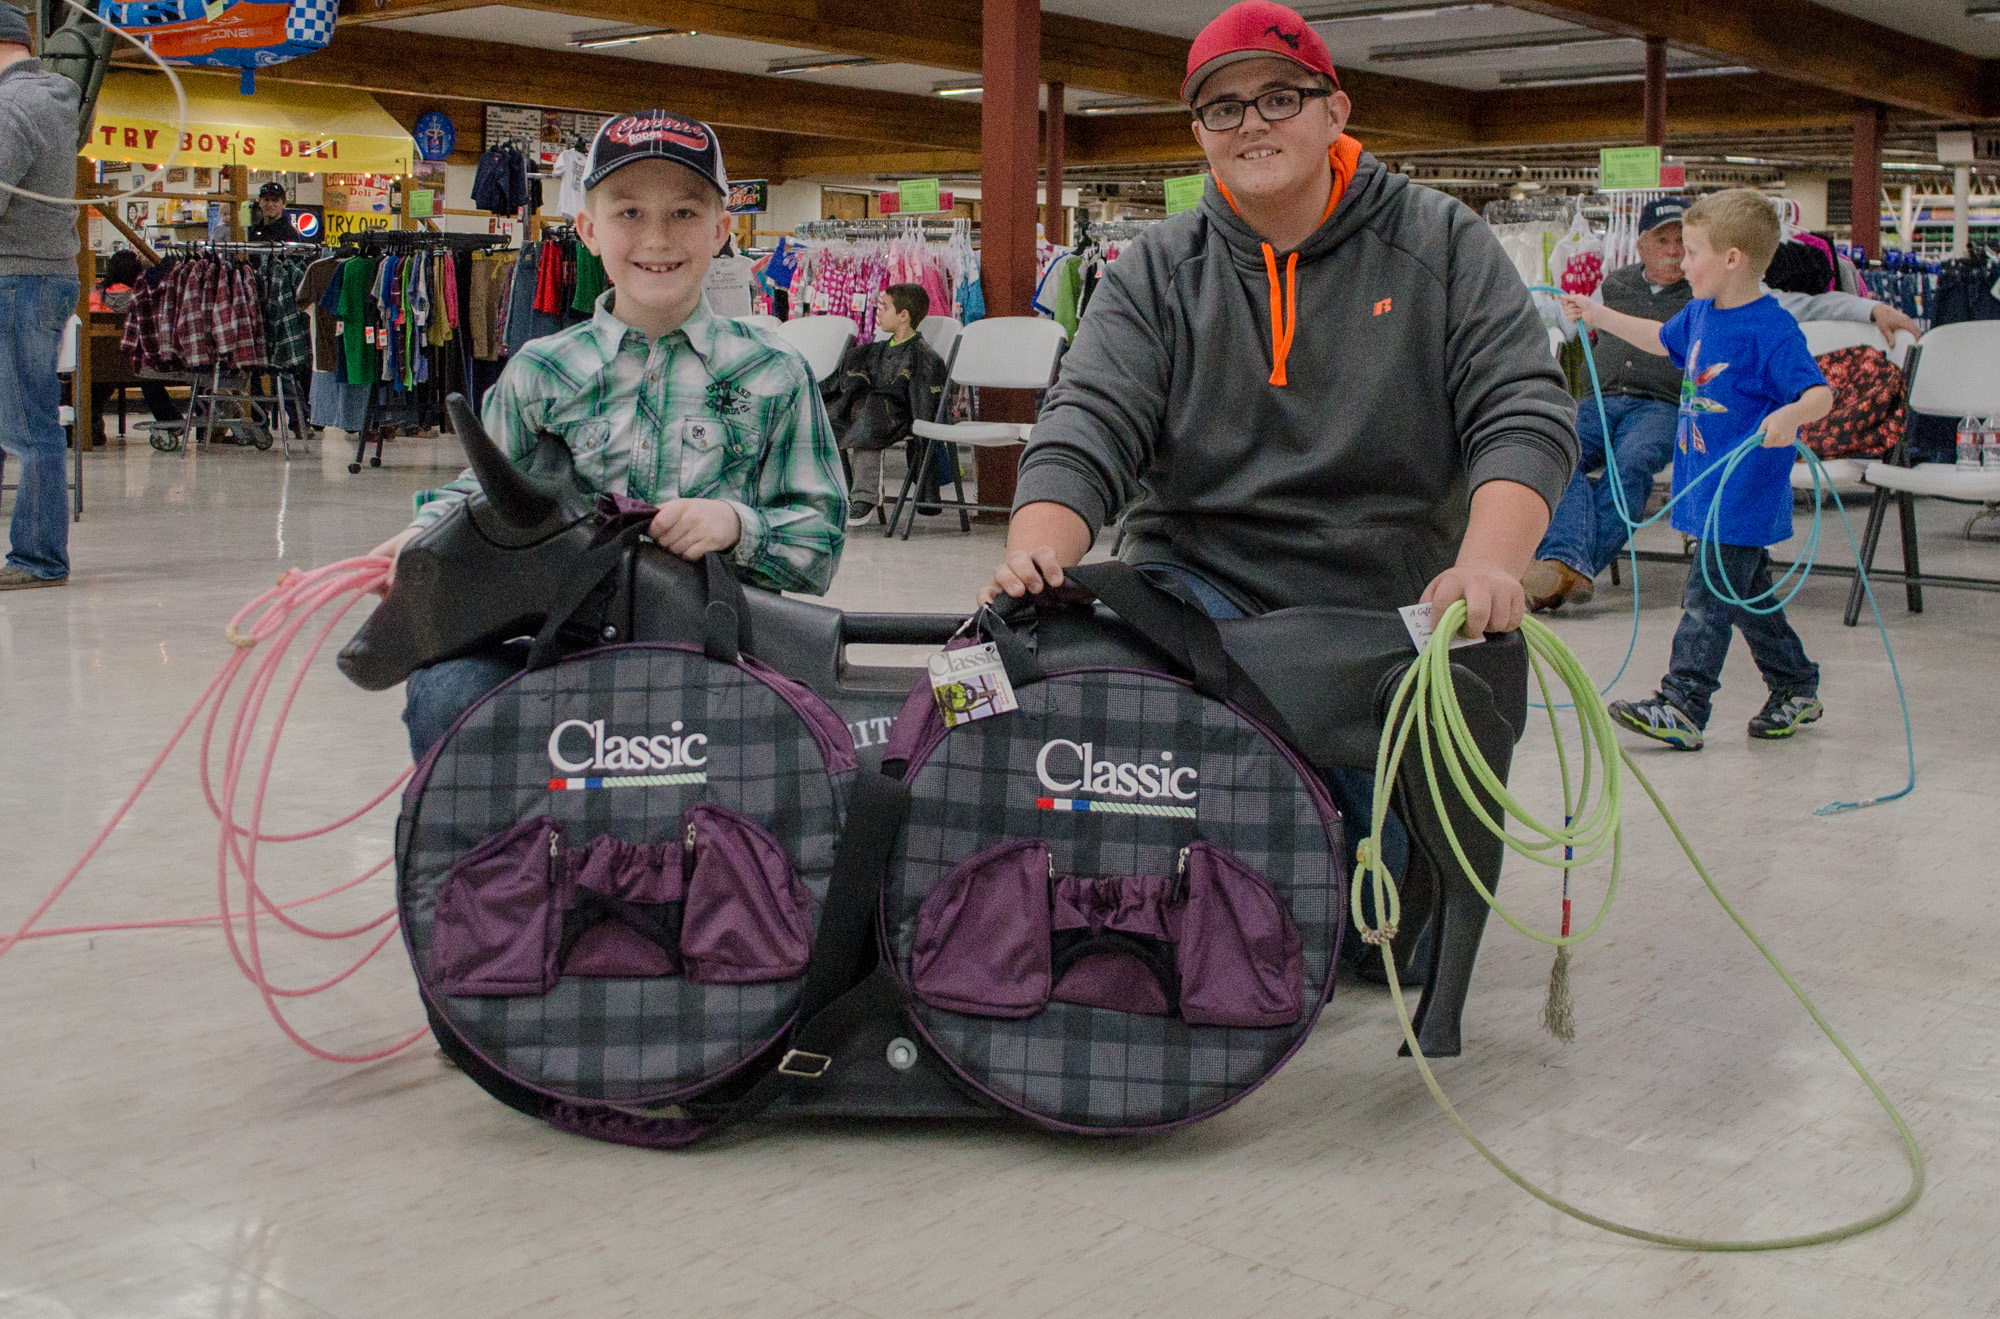
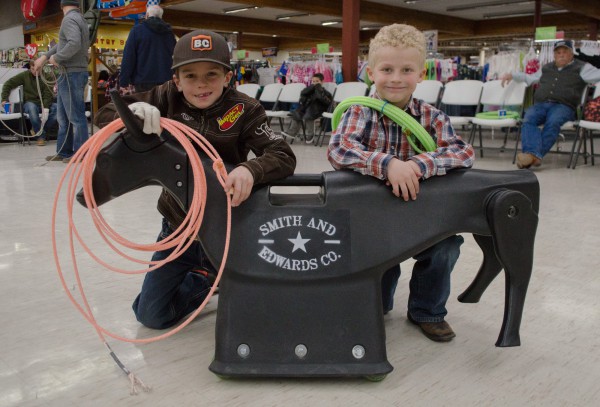
These champions walked away with a Classic rope bag from Equibrand. Thanks to Equibrand, Cactus Ropes, & Lonestar Ropes for providing ropes & prizes!

Dummy Ropin' first round winners!

Pace and Braxton, Round I dummy ropin’ winners!

Dummy Ropin' second round winners

Cinch and Stone, Round II winners!

What you need to know to Start Ropin’

Roping Terms & What they Mean

Spoke:
The amount of rope in your loop from the honda to your grip on the rope.
Slack:
The loose part of the rope. You have to pull the slack to pull the rope tight.
Dally:
Securing the rope to your saddlehorn, in Team Roping when riding a horse. If you’re not on a horse, still practice pulling your slack and pulling your hands up!
Tip:
Part of the loop, the point of the rope, furthest away from your hand.
Heading:
One player catching the calf dummy around the horns or the neck. Kyle’s Tip: Aim at the left horn when you rope the head.
Heeling:
The second player catching the calf dummy around the rear ankles. Kyle’s Tip: Aim at the left hock (ankle).
Honda:
The bit of rope that loops & knots to allow for a loop in your rope. Learn how to tie a honda from Tom. See Marty show how to put on a plastic speedburner.
Lay:
How stiff or soft your rope is. Heelers want a stiffer rope that will hold open longer (to get under the hooves). Heading ropes are softer.
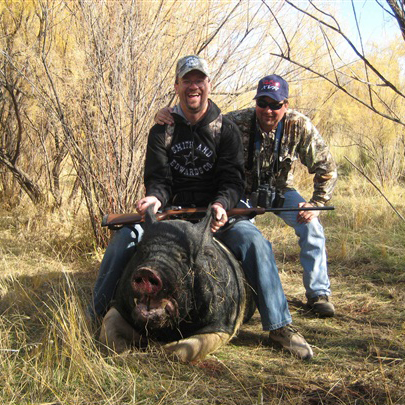
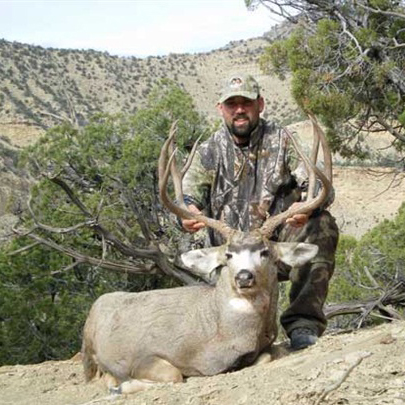
How we Dummy Rope at Smith & Edwards – & you can in your backyard!

You need 3 people: a header, a heeler, and someone to push the dummy.
The header checks in with his heeler, and nods to the person pushing the dummy when he’s ready.

The header runs after the dummy and catches the horns or neck. Then, the header pulls the dummy straight, to the left, giving the heeler a good opportunity to get the rope under and around the dummy’s back legs. Pull the rope tight (dally the slack), and you’ve got it!

How to Score

We timed each run, from the moment the dummy moves forward, with a stopwatch. We stop the timer when the dummy is both headed & heeled.

It has to be a legal head catch: both horns, half a head (1 horn), or around the neck. We added a 5 second penalty if only caught one heel.

Come Give it a Try!

Ready to rope, too? Come in to our Western department and pick up your rope & dallies. Or, click over to Shop for Roping Supplies on our website. We’ll get you what you need!

Check out Roping gear on our website!

Stay warm in the country with wool clothing, heaters, and horse hoof pads!

Keeping your Horse Warm this Winter

- posted by Rose Marion

Now that we’re in the thick of winter, the fishermen are excitedly measuring how thick the ice is on their favorite lakes and reservoirs. (view ice fishing tips here!)

If you’ve got horses or livestock, and you don’t have heaters, it’s a tough time of year! Make sure you have the best winter you can with these tips to stay warm no matter how rural your road.

Keep the Horse Warm

Water

If you don’t have any equipment at all, you’ll be going out each morning to break the ice with a pitchfork. But you have kids to do the work for you, right?

Well, the kids will thank you for investing in a heater or de-icing system. Get a bucket heater from Smith & Edwards here – you can even get yours delivered!

Frozen horse trough

Horse Blankets

There are all kinds of horse blankets out there, and we like the Equibrand especially. Keep your horse warm and dry from the snow and rain with a blanket that moves with them. This makes for less cleanup work for you, too!

Equibrand 10K Cross Trainer Blanket

If you’re venturing into the snow-filled hills on horseback, make sure and ask your farrier about ways to protect your horse. When you’re shoeing your horse, you have several options that prevent snow buildup under the horse’s hooves. See available hoof pads and boots here.

Snow buildup is extremely cold for your horse – plus, kt makes each tread slippery, instead of sure. Plus, the compacted snow adds pressure on the frog, so there are a few styles of hoof pads to keep your horse snow-free.

The Mustad no-snow tube-style hoof pads compresses, and pops back, which prevents the snow from building up on the hoof.

Horse Snow Hoof Pads
The other style, the Snowball black plastic hoof pad, presses a bubble down into the snow, keeping it away from the hoof and giving your horse a surer step.

Keep Yourself Warm

Many vests & coats are designed to stand up to windstorms and blizzards that would make your eyes tear. Look for wool vests and jackets that will give you years of use and provide maximum natural warming.

We love the Wyoming Traders line of wild rags. These 100% silk wild rags will keep you warm without weighing you down. We just got some new Aztec patterns in, and we’ve got both youth sizes and adult sizes in polka dots, solids, paisley, and more.

Silk is warmer than wool, it gets softer with wear, and naturally wicks moisture away.

Breaking ice in the trough - Wells is wearing a Stormy Kromer hat, and both boys are staying warm with wild rags!

Breaking ice in the trough – Wells is wearing a Stormy Kromer hat, and both boys are staying warm with wild rags!

If you don’t have a felt hat, look at a good Stormy Kromer hat. We carry these hats in store and they are so popular! Made in a wool/nylon blend with 100% cotton flannel, these hats are made in USA and are called “an icon of the great American outdoors.” This hat’s been around for more than 100 years, and it’s still made of six hand-stitched panels.

Don’t let your fingers freeze! Draw on your foam-lined Yellowstone gloves – an old favorite for standing up to barbed wire, these elkskin and deerskin gloves have a foam-lined option for winter.