How to Plant a Garden

- posted by Rose Marion

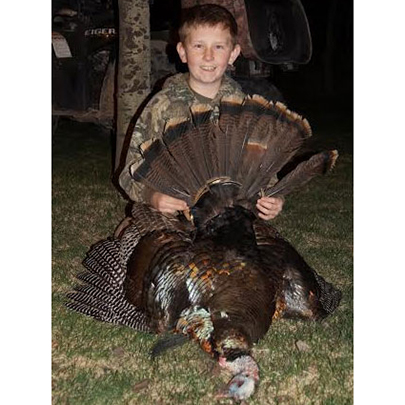
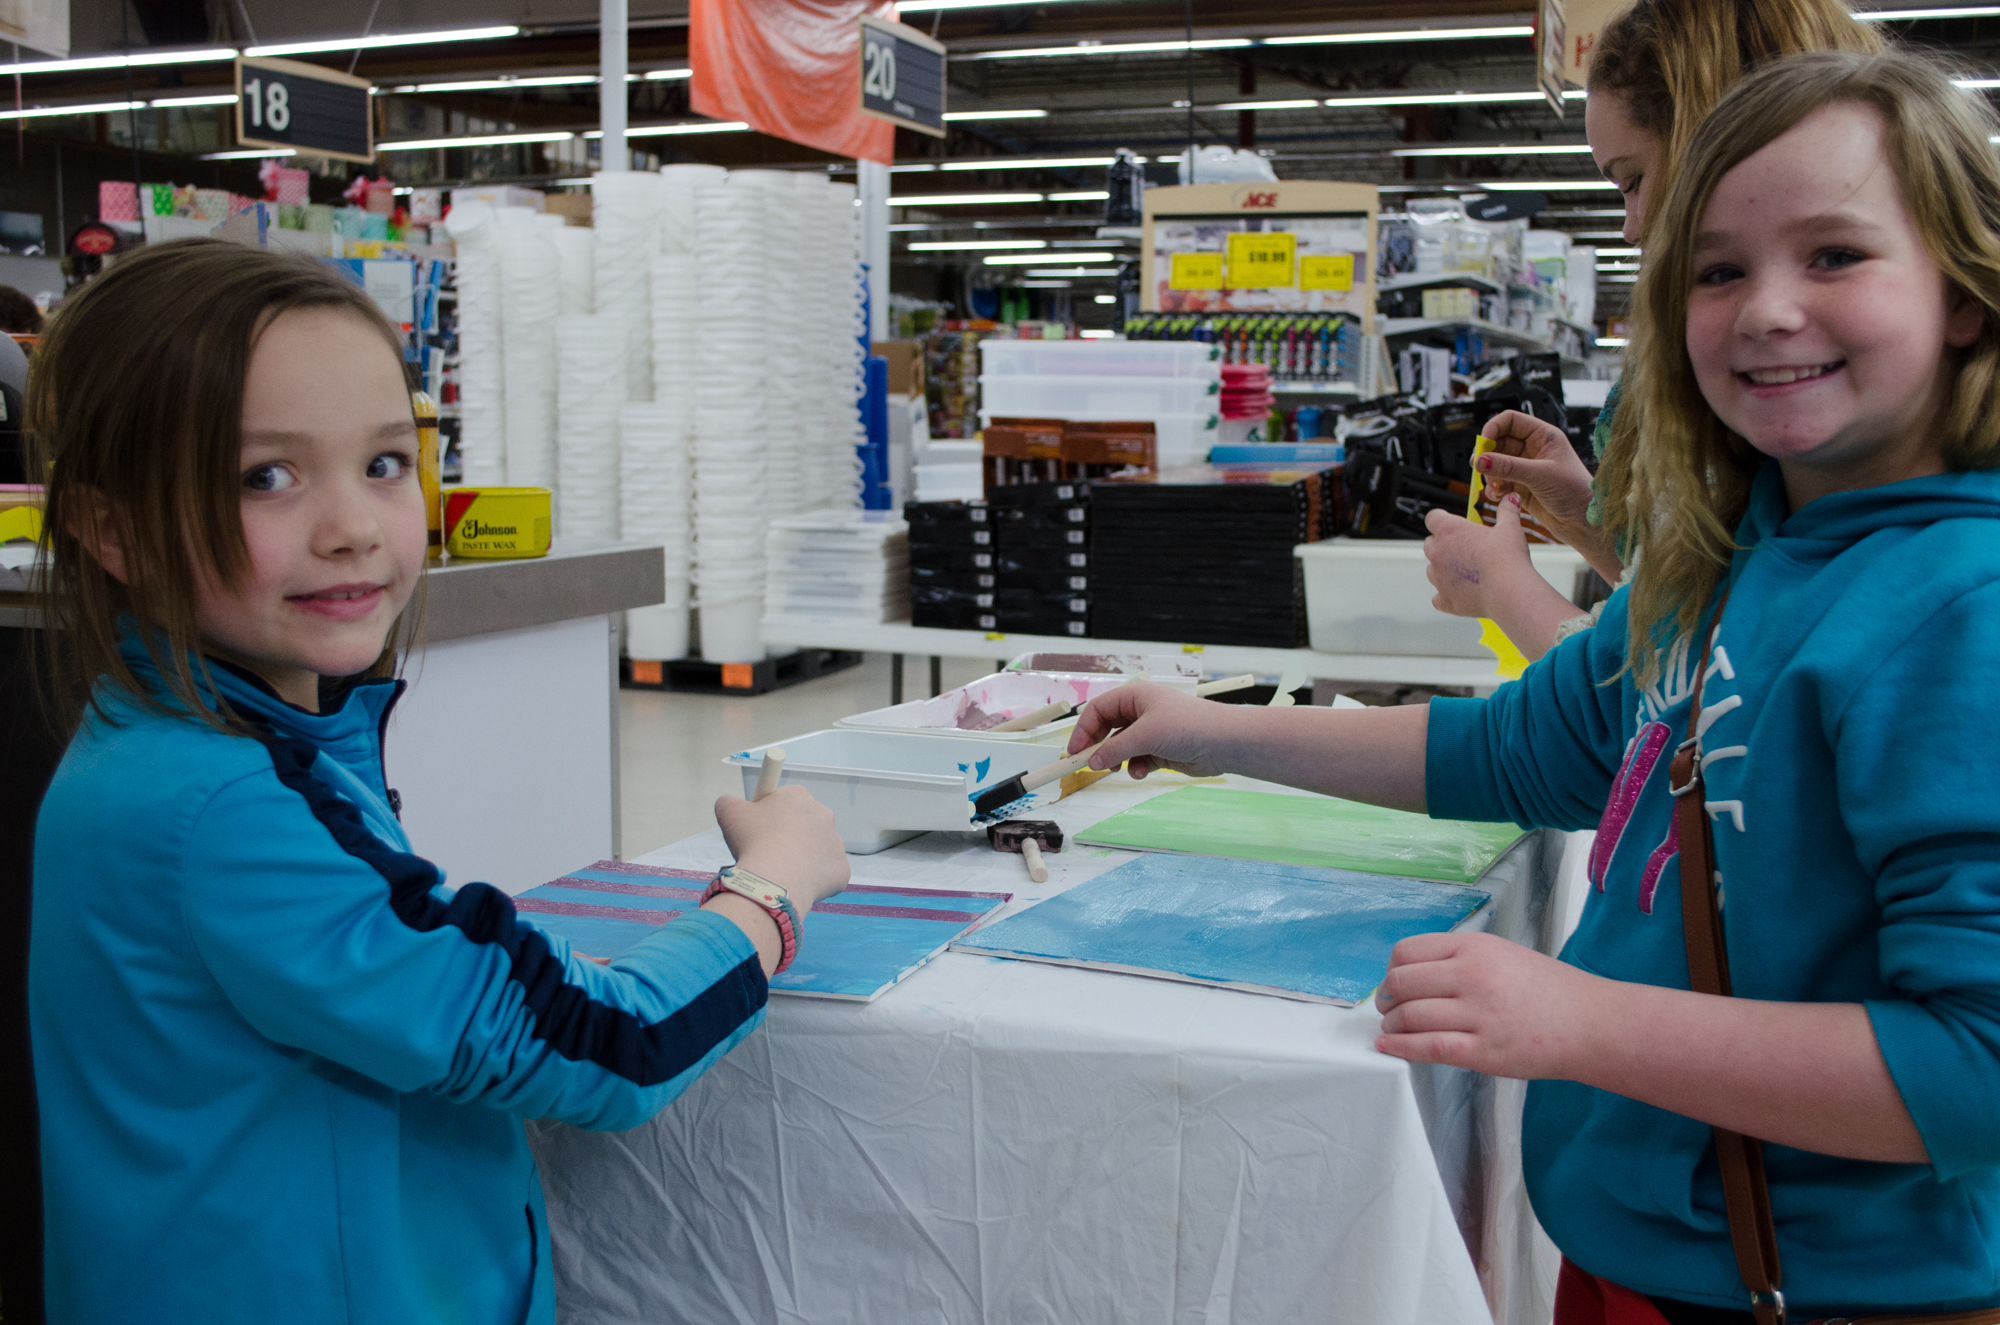
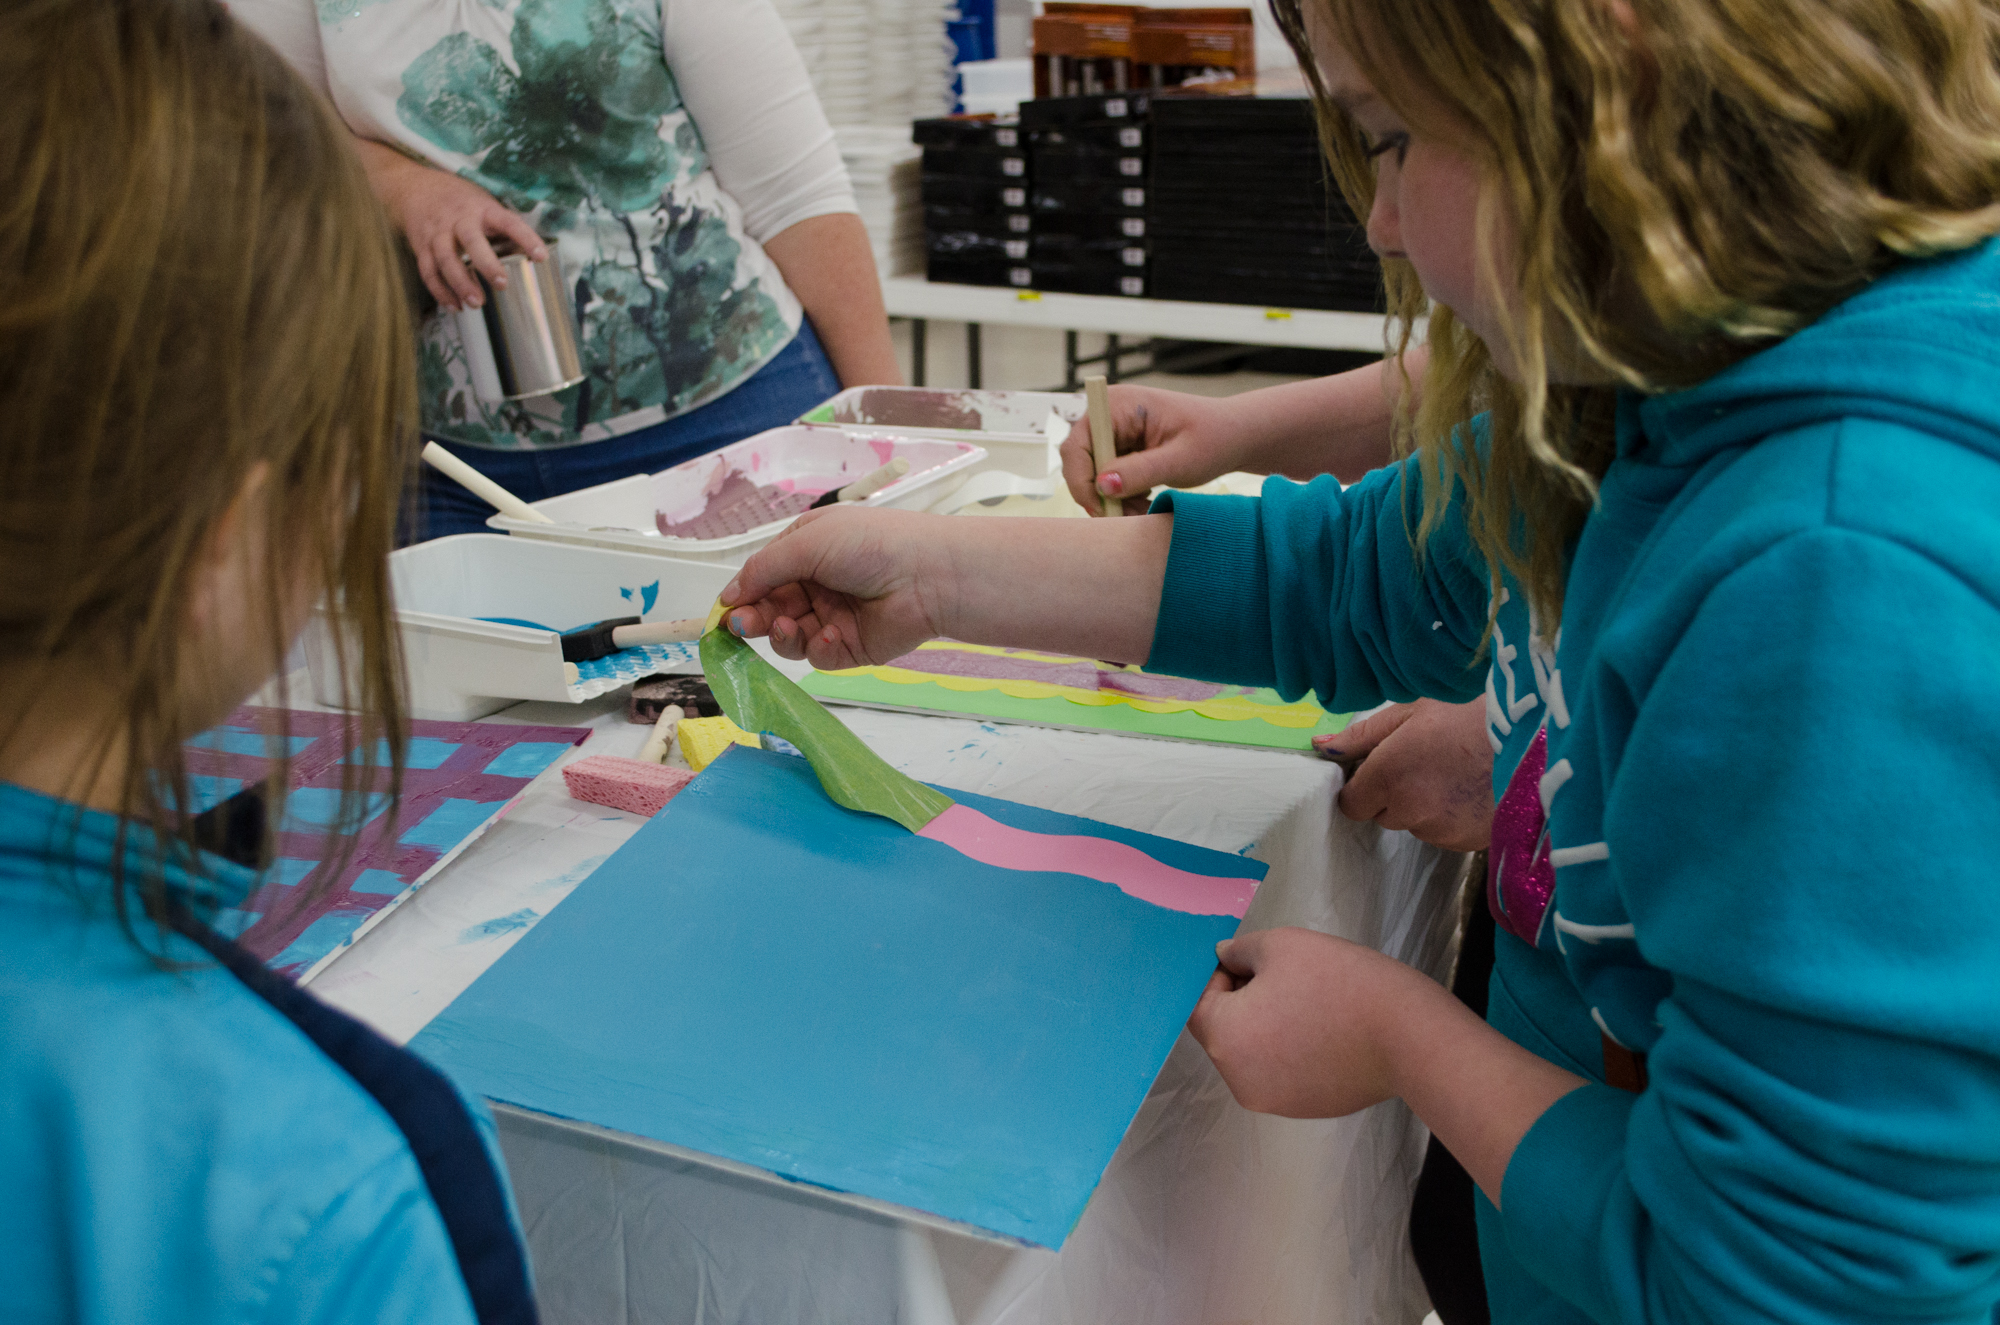
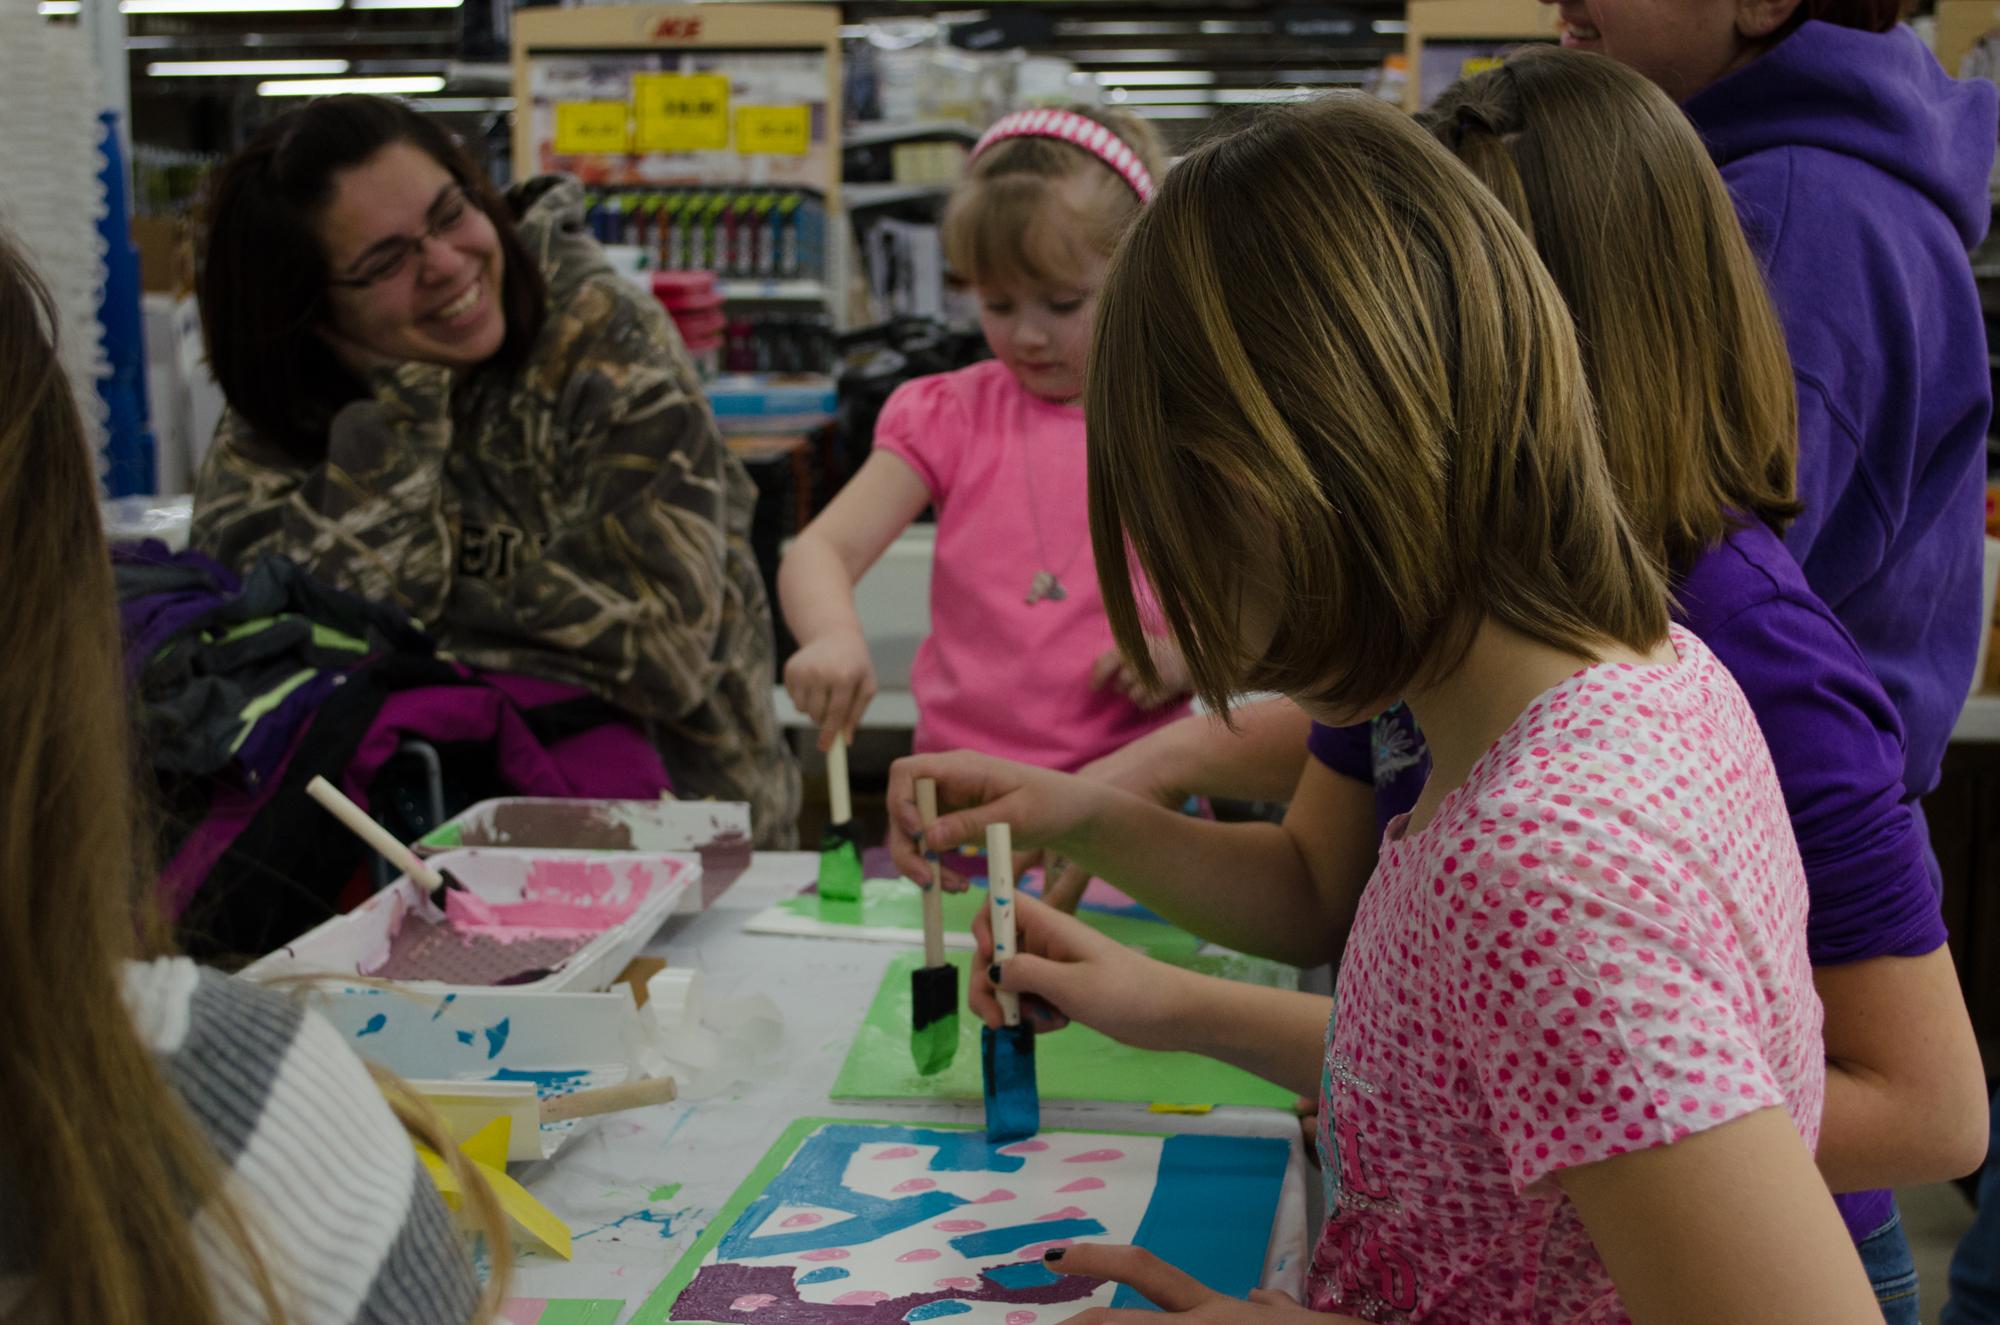
Today we had students from Weber High School’s FFA Agricultural Education program come and help us teach Plain City Preschoolers how to plant a garden! Two classes of preschoolers got to plant their own pansies for free, as well as tour the store and have a bunch of fun collecting treats (click to see pictures).

Since they were so good at helping plant flowers – and they happen to be in a Plant & Soil Science class – I asked Lindsey, Zeanne, Devin, and Bryan for their tips on how to plant a garden. And they sure had good information!

Mr. David Shaffer and Lindsey, Zeanne, Devin, and Bryan at Smith and Edwards

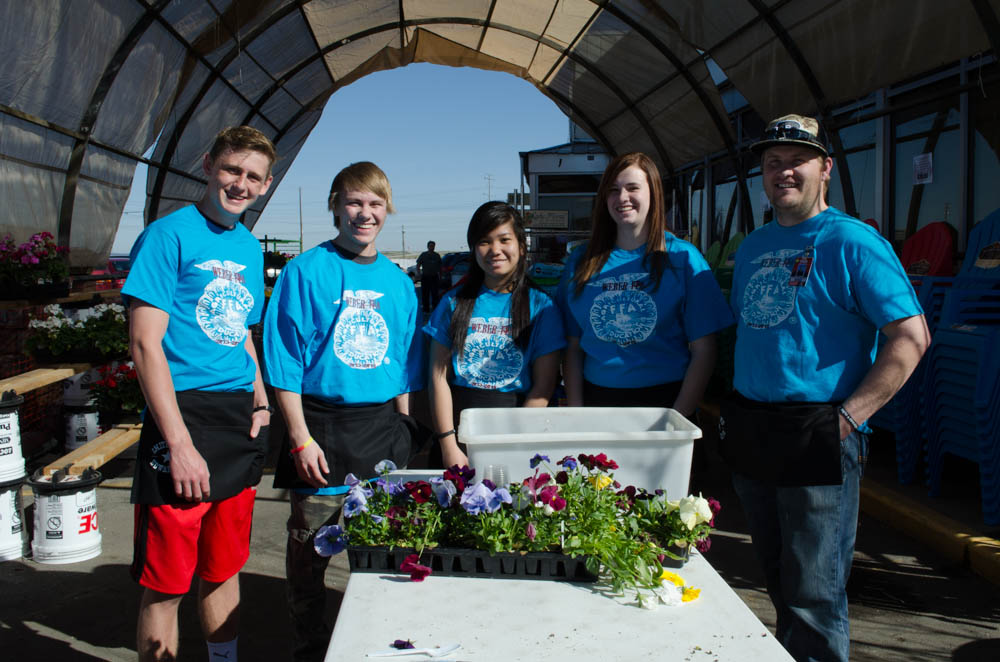
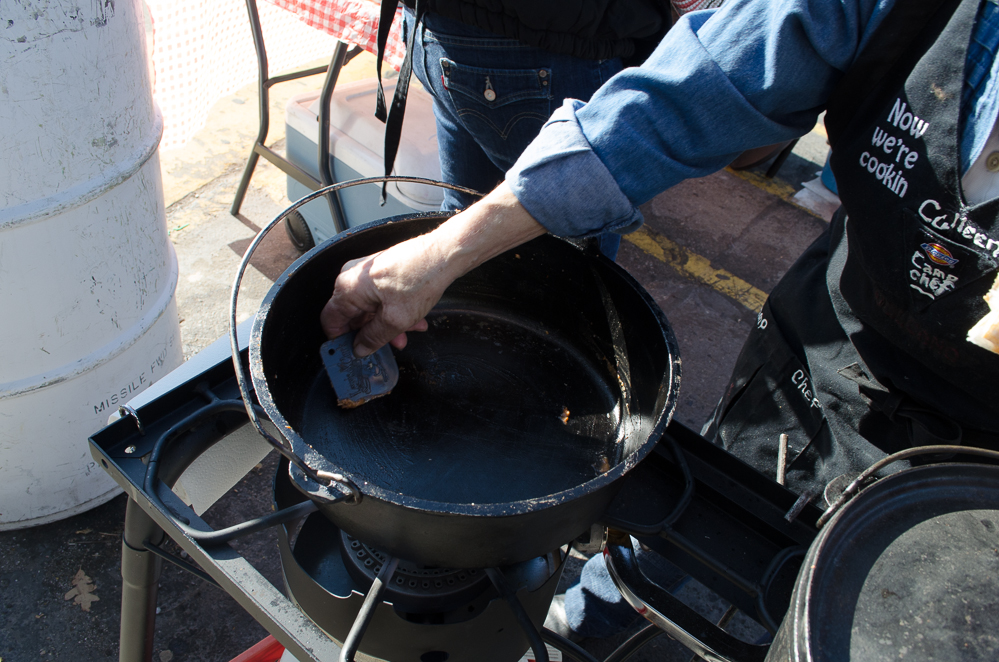
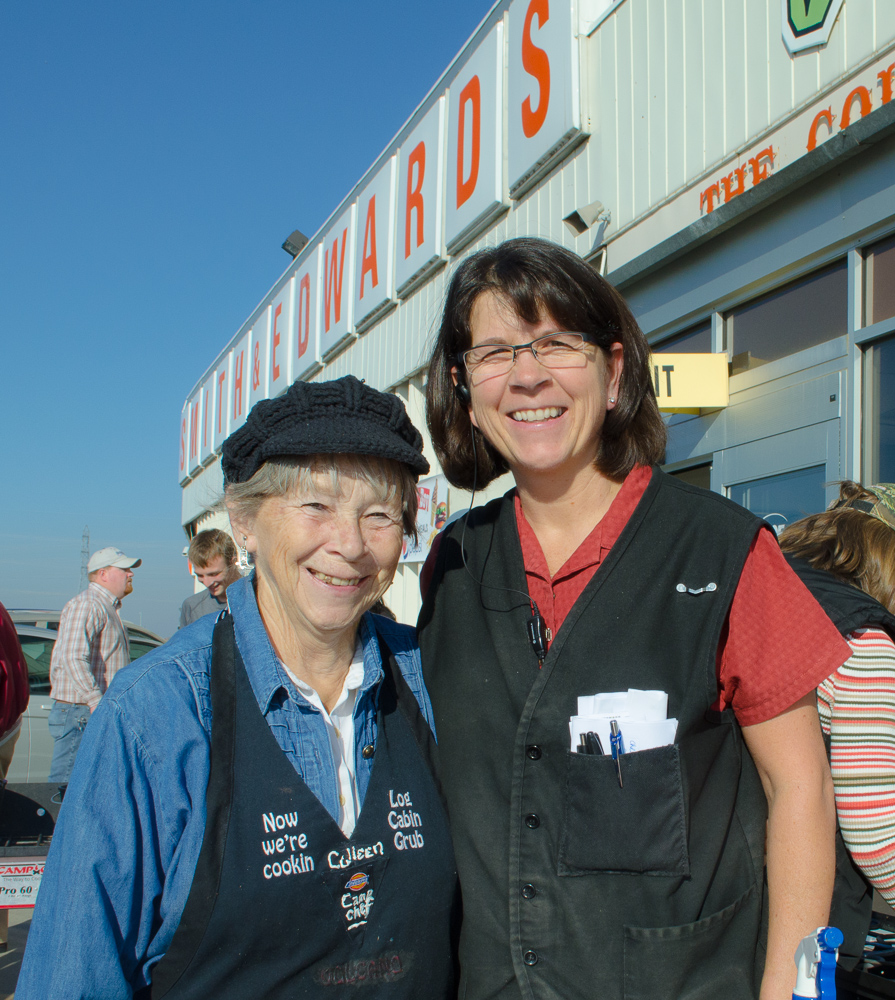
Bryan, Devin, Zeanne, and Lindsey with Mr. David Shaffer, Weber High School Plant & Soil Science teacher – thanks for your help!

What’s it Take to Plant a Garden?

Tools

You just need some basic tools to plant a garden: a shovel, trowel, gloves, and a sprinkler or sprinkler system are about the basics. There are some more sophisticated pieces of equipment we’ll get to in a moment!

Aside from tools, you’ll also need soil, of course, seeds or established plants, and sunlight.

Time

How much work is a garden? Well, when you taste that first tomato or arrange your first big bouquet of flowers all from your garden, it’ll seem like hardly any work at all.

But, you will want to set aside about 2-4 hours a week to keep your garden in its best shape. you’ll want to Inspect your garden every day, looking for wilting, dead growth, holes in your fence. Then each week, Prune any plants that are growing out of place or have dead branches. Water your plants as they need it – remember in the summer, morning is the best time of day to water. And Weed your garden! Turning a blind eye this week can cause an invasion next week. Get out there and protect the hard work you’ve done already by spending a little time each week going after those weeds. Last but not least, Harvest the fruits of your labor!

Know your Plants

Make sure you read the information about the plants you choose. It’ll tell you how much you need to water, and what amount of sun the plant needs. This is important!

There are 2 key things that determine how much you need to water.

  1. The plant’s needs
  2. Your soil

After you address those, then you can factor in the weather, temperature, and climate.

What do you Plant – and Where?

How do you choose what to plant together? The Weber High students had great ideas here. You’ll want to plant like with like for the best health of your garden. For example, plant cool season crops together, like lettuce and cabbage. Then plant legumes and wax beans together, and then tomatoes, potatoes, and peppers.

Then the next year, you can rotate your crops (it’s not just for large-scale farming!) – even flowers can be rotated.

Why rotate crops? It’s a smart thing to do – really! There are 2 big benefits.

First, each of the types of plants uses the soil in a different way. Some draw on a particular nutrient, and others enrich the soil, like legumes will add nitrogen. This means you’ll have a richer soil, will be able to fertilize less, and if you have dry or poor soil to start with, this will be a great way to enrich your soil.

The other reason to rotate your crops is to stay ahead of diseases and pests.

Bonus: Did you know Marigolds are great for repelling pests?

How to use Fertilizer

Fertilizer is a way of delivering plants the nutrients they need to grow, beyond what they get from soil, sunlight, and water. The big 3 nutrients you’ll find on every bag of fertilizer are Nitrogen, Phosphorus, and Potassium.

When should you fertilize? Wait until your seeds and plants have germinated and start growing. Then you can add the fertilizer of your choice, be it from a box or from a bag of chicken manure.

Remember, this is just adding to the nutrients your plants are already getting from the soil. If you’re going to add fertilizer, use it in moderation.

Just like we as humans don’t grow or thrive if we eat too much of a good thing, your plants may not grow properly if they get too much fertilizer. You’ll get the hang of a good balance by adding a little at a time.

Tip: Do you mow your lawn and collect the clippings in a bag? Mulch up those clippings and mix them into your soil in the spring. This will infuse your soil with a ton of nitrogen. You could even reduce fertilizing your lawn from 4 times a year to just 3 times by spreading mulched grass clippings over your lawn!

Here’s that sophisticated equipment we were talking about: You can rent a mulcher, or get a mulching lawnmower that will chop up grass clippings and lay it on your lawn, doing all the work for you. But, you’d want to make sure you don’t get thatch, which is a thick buildup of mulch, sitting on your lawn. That’s because thatch will cause a shallow root base in your lawn, and insects will start to live in the thatch. To prevent that, you can get a dethatcher and an aerating machine and break up the thatch and aerate the lawn.

How to Protect Your Garden

A white picket fence seems like the finishing touch on your “perfect garden.” But let’s make sure to pick the right fence!

There are several reasons for having a fence: keeping animals like deer and rabbits out, and keeping your garden contained. Before you set your heart on a vinyl or wooden fence that blocks out the neighbors, remember this: the best gardens have fences you can see through.

Why’s that? Well – and we’re not advocating a chain link fence – you need to give your garden as much sun as possible. Barricading the sun along the edges of your garden creates shade, which means your plants won’t be producing as much as they could – in fact, full sun plants will grow slim and try to spread and stretch when they’re in the shade, rather than growing hearty vegetables, fruits, or flowers for you.

Blossoming trees at Smith and Edwards

I mean, the chain link fence suits us just fine, but you may have a different aesthetic

One great recommendation the Weber High students had was chicken wire. Whichever kind of fence you have, take a weekend and run chicken wire along the bottom of it. And not just above the dirt! Dig down and place that chicken wire under the fence and tamp the dirt back down on top of it. This will help stop the rabbits from burrowing into your beautiful garden!

Where to start?

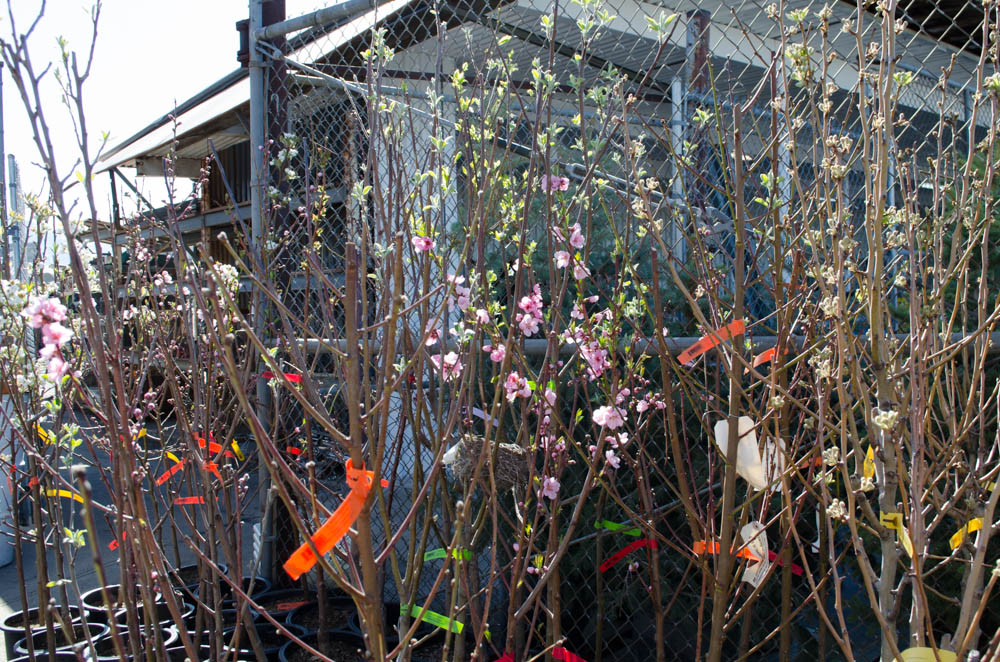
Utah has a great climate for growing all sorts of plants! Strawberries, Cucumbers, Pumpkins, and Squash all do really well here and will give your family great food throughout the summer.

And don’t forget tomatoes! Tomatoes grow really well in Utah. In fact, Utah State developed a special tomato specifically for Northern Utah, called Hamson DX 52-12 (catchy, right?). It’s a flavorful tomato, with medium juice, that’s great in a BLT.

Bonus Tips: Using a Greenhouse to Extend Growing Season

Start seedlings in a greenhouse – the frost can still get plants well into spring, so protect them and start them in the greenhouse, then transplant them to your garden beds when they’re ready.

You can even keep your trees and tomatoes growing all year by keeping them in a greenhouse, too! While your plants won’t get as much sun, you can control that environment. This means you can control the amount of moisture and even CO2 in the greenhouse. You can also hang UV lights to help the plants grow. While some plants may not flourish in a greenhouse, it’s a great way to either start your plants early or keep them producing year-round while there’s snow on the ground in January.

Just make sure to keep your greenhouse plants in pots, because transplanting flowers or trees once or twice isn’t too hard on plants – but every move is added stress on the plant. So rather than planting a tomato or tree for the summer, keep it in its pot and move the pot outside in the spring, and back in the greenhouse for the winter.

Have questions or success stories about your garden? Leave a comment below!

About Weber High’s FFA Program

The FFA program (Future Farmers of America) is part of Weber High School’s Career & Technical Education (CTE) program. 10th through 12th graders are offered two Pathways, Horticulture or Animal Sciences, which students can use to prepare for their careers – not just in production agriculture, but landscaping, veterinarian sciences, and even government careers including the Department of Natural Resources, Division of Wildlife Resources, and more.

Big thanks again to Mr. David Shaffer and Lindsey, Zeanne, Devin, and Bryan from Weber High School!


Do you know of a preschool that would love to plant flowers and have a fun time at Smith & Edwards? Call 801-731-1120 or email vickie@smithandedwards.com. This is a free program and your kids will love it!

Water Storage Tips

Key Water Storage Containers & Tips

- posted by Rose Marion

You’ve probably heard the rule of 3s for survival: You cannot survive more than 3 minutes without air, 3 hours without shelter, 3 days without water, or 3 weeks without food in an extreme situation.

Having a plan for emergency water is even more important than emergency food storage, and it’s so easy to prepare. In order to prepare your family for ice storms, long-term power outages, blizzards, and more disasters, you’ll want to have a water barrel ready – not just a case of water bottles in the basement.

How Much Water do you Need?

According to Ready.gov, you should prepare 1 gallon of water per person, per day, for drinking and keeping clean. Make sure and drink half a gallon of water per day. Children may require more water, as well as mothers and medical emergencies. In a disaster during a Utah summer, that gallon could double.

Water really is more important than food in a disaster situation – not only is being hydrated important for your body to function properly, but water will also help keep your mind sharp so you can make the best decisions for your family in a crisis.

Ready.gov recommends you keep at least a 3-day supply of water – the Red Cross recommends 2 weeks. That means a family of four needs 12 gallons, minimum, for 3 days – or 56 gallons for 2 weeks.

Water Storage Drums and Pump

Here are our picks:

55-Gallon

55-Gallon Water Barrel
The 55-gallon barrel is a great size for couples and families. Our Emergency Preparedness buyer Jean Dimick has 7 of these barrels in her laundry room. That’s plenty of water for her family, and you just don’t ever know how long city lines might be down. And it’s enough to share with the neighbors, too.

The great thing about keeping them in the laundry room is it’s easy to drain and refill the barrels there!

Siphon Pump

Water Siphon Pump
Use this siphon pump to keep your water within reach. You can fill cups and bottles from your water barrel using this siphon pump – you could also use a siphon hose.

250-Gallon Super Tanker

If you have a large family, or you’re expecting to be a point of refuge for several families, this Super Tanker. This is great if you have a heated garage or have high ceilings where you can fit this tall water barrel.

Water Storage Drums at Smith & Edwards

What should you look for in Water Barrels?

There are 2 big points to look at in storing water.

First, you want to make sure your drums are opaque. We only carry the blue opaque drums because white drums are more translucent, which means algae could grow in them because of letting in sunlight. For safety, you want to stick with the blue drums.

Second, you want to think about where you’re going to store them: indoors or outdoors? In the garage, basement, or extra room? You’ll want to make sure your ceilings can accommodate the option you choose.

Make sure you pick the right room. Whatever room you choose, make sure to have a wooden base made from 2x4s or a small pallet so the water doesn’t pick up the taste of the cement floor. Some people have even built wooden cradles for their water barrels.

Wooden Water Barrel cradles
Also, only store your water in a heated garage, not one that will get cold in the winter. That’s because although the water barrels can move slightly, they aren’t built to have the water freeze and then thaw and expand. It’s nice to wake up to a dry garage!

Final Notes about Water Storage

Before using these drums, make sure to clean them thoroughly with dish soap and water, rinsing very well. For safety, you should replace the water in these drums every 6 months.

Some people add a bit of Clorox or water purification tablets to their stored drinking water to prevent bacteria growth. However, in most municipalities, there’s already enough chlorine in the water to keep it safe – and there’s not really enough chlorine in Clorox to make an impact. Consult your city’s water records and choose a plan for your own method of storing water for a disaster.

If you have water you’re not too sure is fresh, these Water Purification tablets from Coghlan’s are a good way to clean the water. And this water treatment will help the water taste better.

Think about it: do you know how to drain your water heater? In a disaster, that’s another source of water, and you can use that water for cleaning and washing instead of the good drinking water you’ve saved.

For More about Water Storage:

Have questions about water storage? Have a great method of your own to share? Let us know in the comments below.

Mitchell 300 and 308 Reels

Willard Bay Fishing Report – April 2

- posted by Chris Jacobson

WILLARD: Fish at Willard has been spotty at best lately. A few weeks ago, we had a warm spell where there were reports of some walleye becoming active but that ended when the weather turned off cold again. Walleye and Wiper are warm water fish, and generally are more active when the water gets warmer. The current water temp that the Willard Bay state parks website gives is 43 degrees but reports from anglers have it somewhere between 37-39 degrees.Catfish activity has been picking up and anglers are catching some nice ones using worms or carp meat right on the bottom.

Looking at the weather report, it should be getting a little warmer and in a week or two the Walleye and Wiper should be getting more active. As their activity increases, green or white grub jigs with the curly tails will be the ticket. If rapallas are more your speed, white or silver with black shad are going to be what you need. Trolling with a bottom bouncer and a worm harness also works well when the fish become more active.

A few other local spots that are hot right now are Hyrum and East Canyon Reservoir. Both of these reservoirs are great right now for Rainbow Trout. Marabou Jigs or Rainbow powerbait seem to be the best right now. As always with trout, gold and silver lures like a Jake are never a bad option. As the ice starts to come off of these higher reservoirs, look for the fishing to become really good!

Mitchell 300 and 308 Reels

New in the store:

It’s the reel everyone loved – and now it’s back.

A legendary reel reintroduced with new features, the Mitchell 300 and 308 Spinning Reels are $44.99 in the Smith & Edwards Fishing Department.

San Rafael Swell, Utah - Mike Vause, Smith and Edwards

The Gear You Need for a Weekend Getaway

- posted by Mike Vause

The spring is the perfect time to plan your hiking and camping, and you couldn’t ask for a better location than Utah. Take a week to enjoy the natural surroundings in comfort. Or, take off on a Friday afternoon and get away for a weekend with the family on your favorite hiking trails.

Utah Hiking and Camping Spots

Utah is rich with outdoor hiking opportunities.

I love the Uinta mountains.

View from the Uinta Mountains - Mike Vause, Smith and Edwards

The Desert Canyons of San Rafael Swell are also a good hike.

San Rafael Swell, Utah - Mike Vause, Smith and Edwards

Even our own humble Ben Lomond peak.

Peak of Ben Lomond - Mike Vause, Smith and Edwards

My nephew on the peak of Ben Lomond. Over his right shoulder you can see Willard Bay.

Climb a peak! It will change how you look at things.

We have beautiful peaks in Utah. I like the view from Lewis Peak on the other side of the divide.

Lewis Peak, Utah - Mike Vause, Smith and Edwards

Utah’s tallest is Kings Peak – that’s an amazing summit right there.

For camping, I like the Logan Canyon area. There are still some fun spots at North Fork.

I love being in the Uinta mountains – there are many fun places up there you can hike to.

The Uintas - Mike Vause, Smith and Edwards

Now is the time to prepare a great backpack trip or day hike. Be ready now so you can grab your gear and go when the weather is right.

Capitol Reef, Utah - Mike Vause, Smith and Edwards

Capitol Reef National Park

Utah Hiking Gear & Camping Picks

Kelty day packs lasted my kids from 2nd grade through to my 20-year-old on his mission in the islands of the Pacific.

When you’re looking for hiking packs, you can’t go wrong with one from Mountainsmith, Kelty, or Jansport.

Hiking packs by Jansport, Mountainsmith, and Kelty at Smith and Edwards

These hiking packs will hold all your gear comfortably – and you won’t lose sight of your family in these bright colors, either.

Rather than trying to haul in your own water, you’ll want a water purification system: either a pump or a gravity system.

Some good purifying pump systems are the Katadyn Hiker, and the MSR Miniworks Ex Microfilter.

Water purification systems are important for hiking and camping!

Water Purification pumps are great – but gravity-style purification rocks.

I love the Katadyne Base Camp system, where you draw a huge bag through the water, hang it up in camp, and then release water from it as you need it. And because of the gravity, you don’t need to pump it. The Katadyne Base Camp uses the same filters as other Katadyne systems.

A lot of these purification systems have adapters that go right on your Nalgene® bottle, reducing spillage.

Waterproof boots are a must! Danner and Merrell are good waterproof brands, and Merino wool or polypropylene blend socks complete the package.

Here are a couple good shoes: Danner 453 GTX in brown, and Merrell Moab Gore-Tex Mid with Vibram soles.

Merrell and Danner hiking boots and Merino wool socks at Smith & Edwards

Merrell or Danner hiking boots and Merino wool socks will keep your feet dry on a Utah hike.

Don’t forget your hat and sunscreen!

Staying overnight? Think about a Slumberjack sleeping bag. There are a lot of options out there, I like Slumberjack and Kelty.

Kelty and Slumberjack sleeping bags at Smith & Edwards

Kelty and Slumberjack sleeping bags

Always take a pad; good rest is important. These inflatable pads are by ThermaRest, and we have several online you can check out.

Thermarest sleeping bag pads at Smith & Edwards

I have a Kelty tent with 15 years of use, and we sell other great brands as well.

Kelty and Mountainsmith Tents at Smith and Edwards

The Kelty Grand Mesa and Mountainsmith Morrison 2-Person 3-Season tents are great for camping in Utah.


Shop available tents online, and see the full lineup in our stores.

Hike with Your Kids

Get your kids out; give them a love of the outdoors when they are young, and they will carry your heavy stuff when you are older. Trust me, it works.

Hiking with the kids - Mike Vause, Smith and Edwards

You’ll get something started that they won’t be able to put down.

My kids hiking a trail - Mike Vause, Smith and Edwards

What are your favorite hiking and camping spots? Leave a comment and let us know!

8 fun Chalk Paint ideas!

8 Fun Chalkboard Paint Ideas

- posted by Rose Marion

Chalkboard paint is a hot home decorating secret! It’s all over Pinterest.

Chalk and blackboards go together – but you don’t have to be limited to black paint! With our Valspar paint line, we can color match your paint, swatches, or color scheme, and mix you up a pint, quart, or gallon of the chalkboard paint you want!

At the Make & Take we had at the Smith & Edwards Paint Department last Saturday, you could paint your own 12×12″ board with chalk paint to take home and demo on your walls…. or let your kids try out what they want in their room!

Girls trying out chalk paint at Smith and Edwards

Taylor, Jaycee, and Payton painting their own Chalk Paint boards at Smith & Edwards

Plus, we had samples of awesome FrogTape Shape Tape to create patterns. This Frog Tape is like painter’s tape gone to art school. No more plain lines – now you can make scallops, zig zags, and ruffles in PERFECT precision.
Frog Tape Shape Tape
And this tape is really good at preventing bleed-through so you have crisp contrast, not little droplets showing through.

Revealing the waves under the Shape Tape Frog Tape

Look at those waves!

So thanks to the great creative ideas from the crafters who came to our demo, and the crafty people in our Paint department, here are 8 fun chalkboard paint ideas you can try at your home. Try doing two-tone, too! These aren’t all home improvement ideas, either – these are great ideas for a family activity, hosting sleepovers, or birthday parties, too.

8 Fun Chalkboard Paint Ideas

1. Chalkboard Paint Pixie Dust Container

Pixie Dust Chalk Container
Does your 4-year-old need cheering up on a rainy day? She’d love to play with this Pixie Dust container! It could have anything in it – maybe even T-Rex Growth Potion for your dino-minded boy. Just take an aluminum container, punch holes in it (hammer and a nailpunch, or a Dremel), and then a coat of chalk paint. Works great for making pretend sprinkle jars for playing house, too!

2. Chalk Paint Spice Jars (or Sprinkle of Awesome)

Much like pixie dust containers, simply paint Chalk Paint on your glass spice jars to label them. When you use all the spices, rinse them out and write the new spice on it.
Chalk Paint Spice Jar
Remember, we can mix up your chalk paint in any color – so we can match your kitchen accent color, trim, or favorite plates!

This would be so cute for giving jams in Mason jars, or for your flour & sugar bins!

3. Chalk Paint Flowerpot

Chalk Paint Flower Pot
Label the seeds you’re starting in your flowerpot by laying down some chalkboard paint on a terra cotta pot. Or, if you’re like me, remind yourself how often to water your plants!

4. Chalk Paint Doorknob Hangers

Chalk Painted Door Hanger at Smith & Edwards

Boys Stay Out!

These are great for your middle schoolers! Take a wooden doorhanger blank and your kids can paint them in their favorite colors. Boys keep out!

5. Chalk Paint Clipboard

Out of all those on the list, Smith & Edwards is most likely to have #3

Kids can have fun making ….creative grocery lists! Y’know, we might have #3, let me go check in the back.

Future architects will have fun planning their Lego structures with the help of a clipboard. No more looking for scrap paper: they can sketch blueprints right on the board.

Look at that cool pattern on the back made with Frog Tape shapes!
Scallop Frog Tape Shape Tape Patterns on Clipboard
We’ve got clipboards right here for you in the store.

6. Kid’s Chalkboard Tray for Car Rides

Better than an Etch-a-Sketch, encourage your children’s love for drawing with an aluminum tray painted in their favorite color. The raised sides will keep the chalk from rolling off. They can help you keep track of groceries, draw maps, play hangman with their brother, and practice writing.
Aluminum tray with Chalk Paint

This is a 12×9 aluminum cookie sheet that Brenda painted with a mauve chalk paint. Let your kids play on the board with chalk in the back seat, and a slightly-damp paper towel works great to erase the chalk.

7. Swatch for Painting with Chalk Paint

Chalk paint sample swatch
Thinking of painting a wall, toy chest, treehouse, or trim with chalk paint? How about using Frog Tape Shape Tape in your room? Take a 12×12″ board like the ones we have and try it out.

8. Kitchen Chalk Noteboard

Keep the family on track with a wooden noteboard painted with chalk paint!
Chalk Paint Bulletin Board
Take it one step further with scrapbooking paper and you can have a framed noteboard.

Excited? Come on in to Smith & Edwards’ Paint department and we’ll mix you up any color of chalk paint you like to take home with you!

And we’ll have to do another demo day sometime – it was sure fun!
Chalk Paint and FrogTape Shape Tape Demo at Smith and Edwards

Bonus: Chalk Paint Furniture

Speaking of what to do with this fun paint… How about furniture? We’ve heard of folks painting an old desk – the entire desktop! Maybe your kitchen table or your old desk have some chips in it, or just could use a touchup. Or how about the kids’ table?

To paint a desk: Just put some chalk paint down (you could mix baking soda in it first for extra texture). Then when the paint’s dry, rough it up some with fine sandpaper to give it an antiqued look, and buff it with beeswax (we recommend Johnson’s or Howards Beeswax, we’ve got them on aisle 17) to seal it.

Then the kids can use chalk to play and draw! Or how about writing their names and drawing their own placemats right there on the kitchen table?

The chalk paint you want – in the right color, for the right price

We’ve seen chalkboard paint going for as much as $35 a quart – we’ll beat that price by 33%. Brenda got a quart of the blue paint that she’s used on several projects. She’s been painting and painting with it and she’s still got most of it left! So just a quart of this will last you a long ways.

You don’t have to paint a whole room with chalk paint. It’s best in small, special areas.

Looking even more ideas? Check out some REALLY inventive ideas at brit.co – including chalkboard pumpkins!

Amazing Chalk Paint Make and Take at Smith and Edwards
Remember we can make you up chalk paint in ANY color, so bring in your ideas, Pinterest boards, or paint swatches and let us help you get the chalk paint you’re looking for at Smith & Edwards’ Paint Department off I-15 in Farr West, Utah.

Watch our Events Calendar for classes, demos, make & takes, and more FREE & FUN events at Smith & Edwards!

Handgun up for auction at Smith & Edwards

4 Reasons You Can’t Miss the Smith & Edwards Gun Auction

- posted by Rose Marion

2018 Gun Auction date announced – CLICK HERE!

Smith & Edwards' Annual Gun Auction
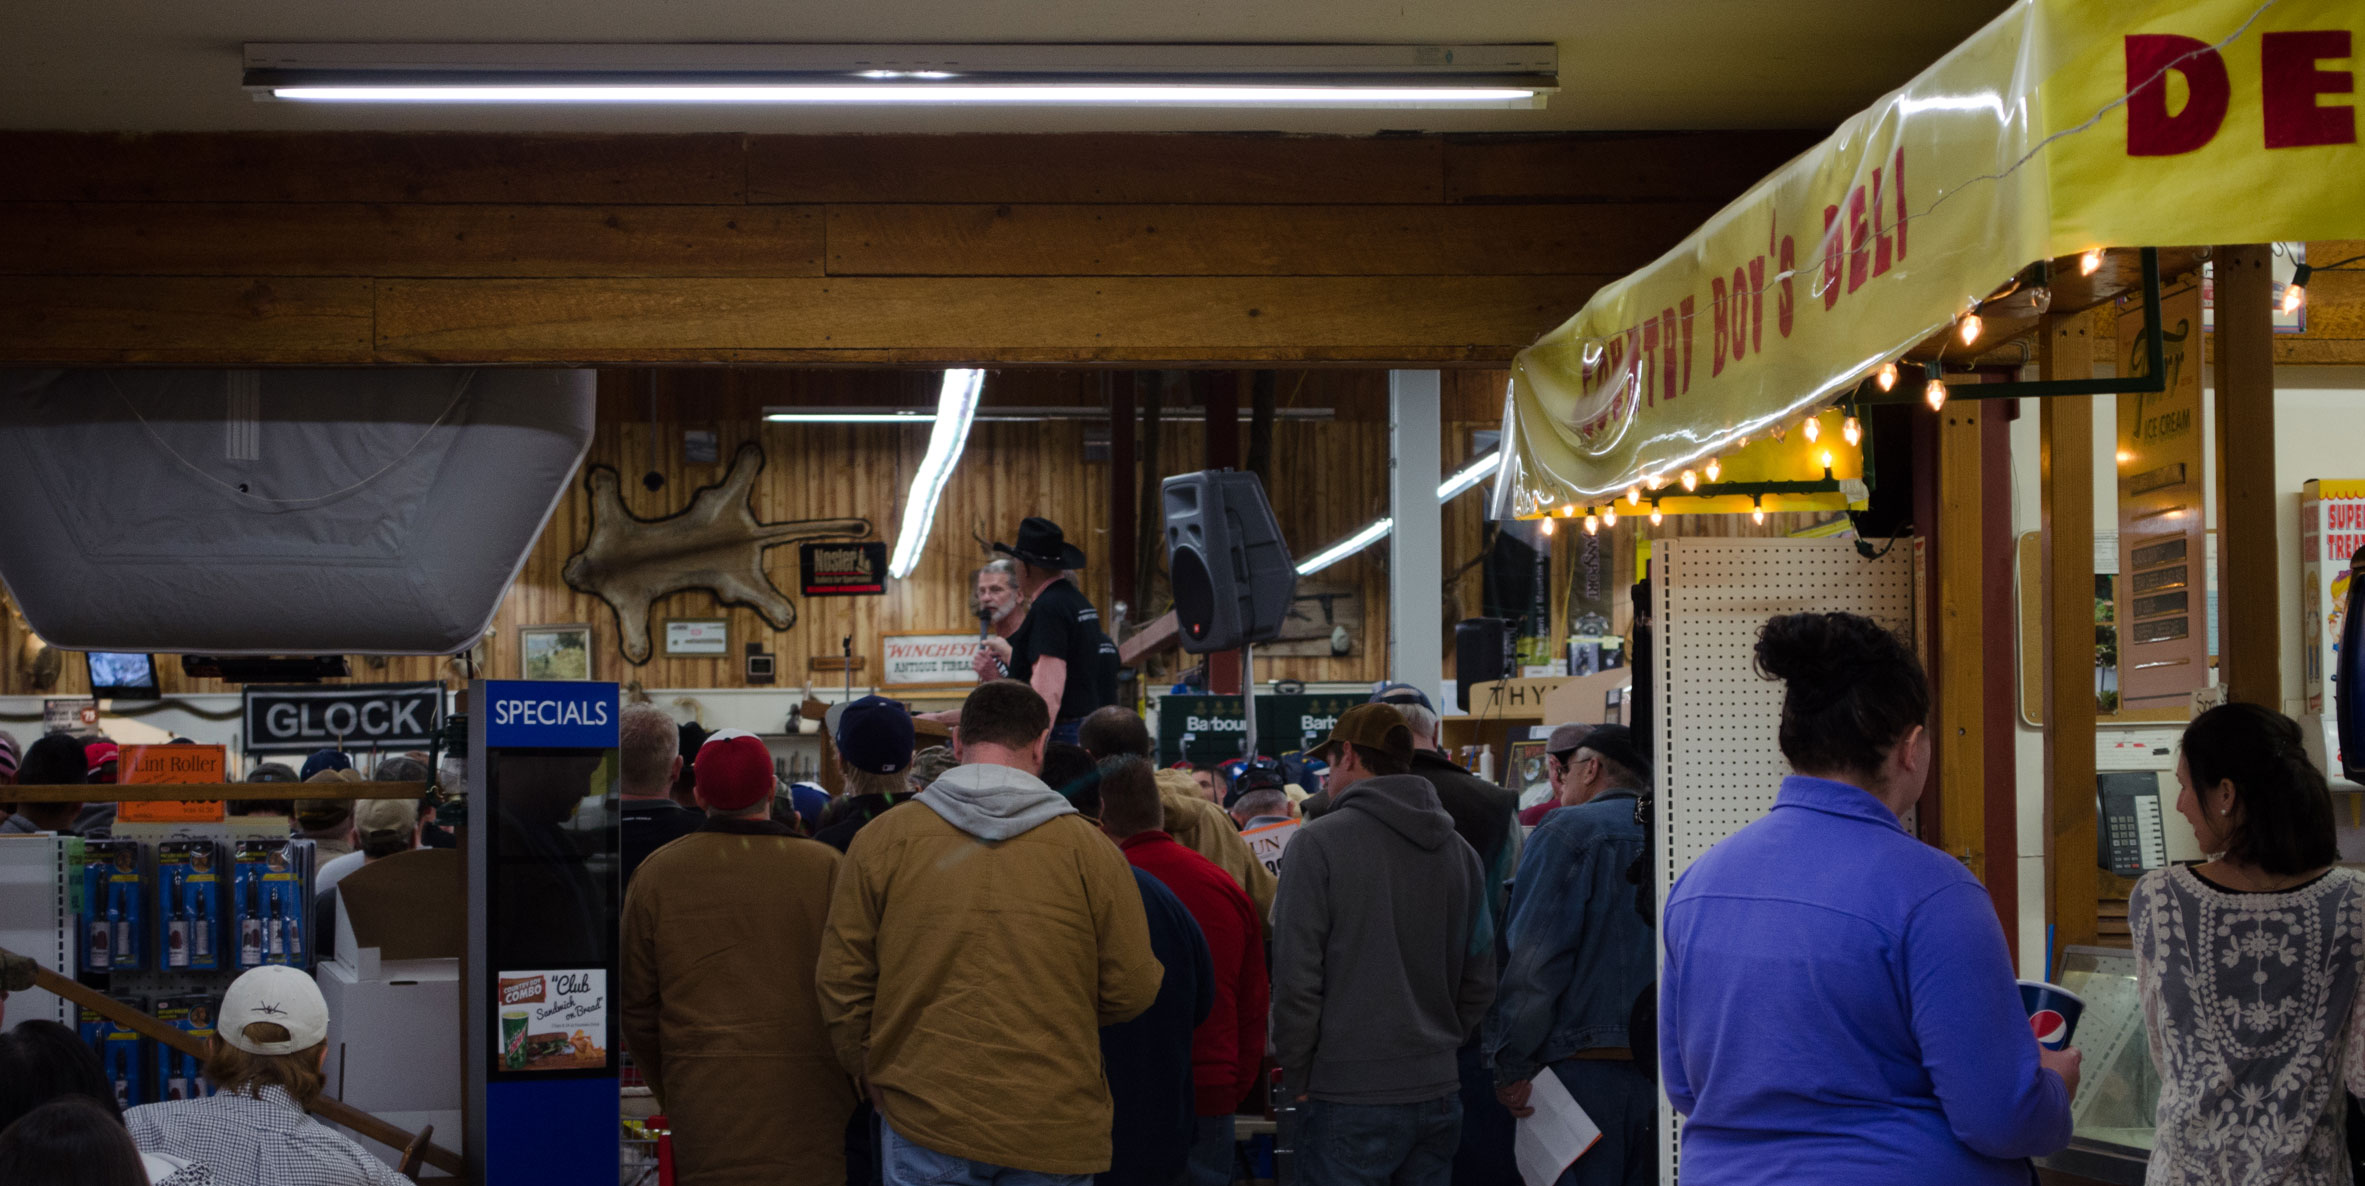
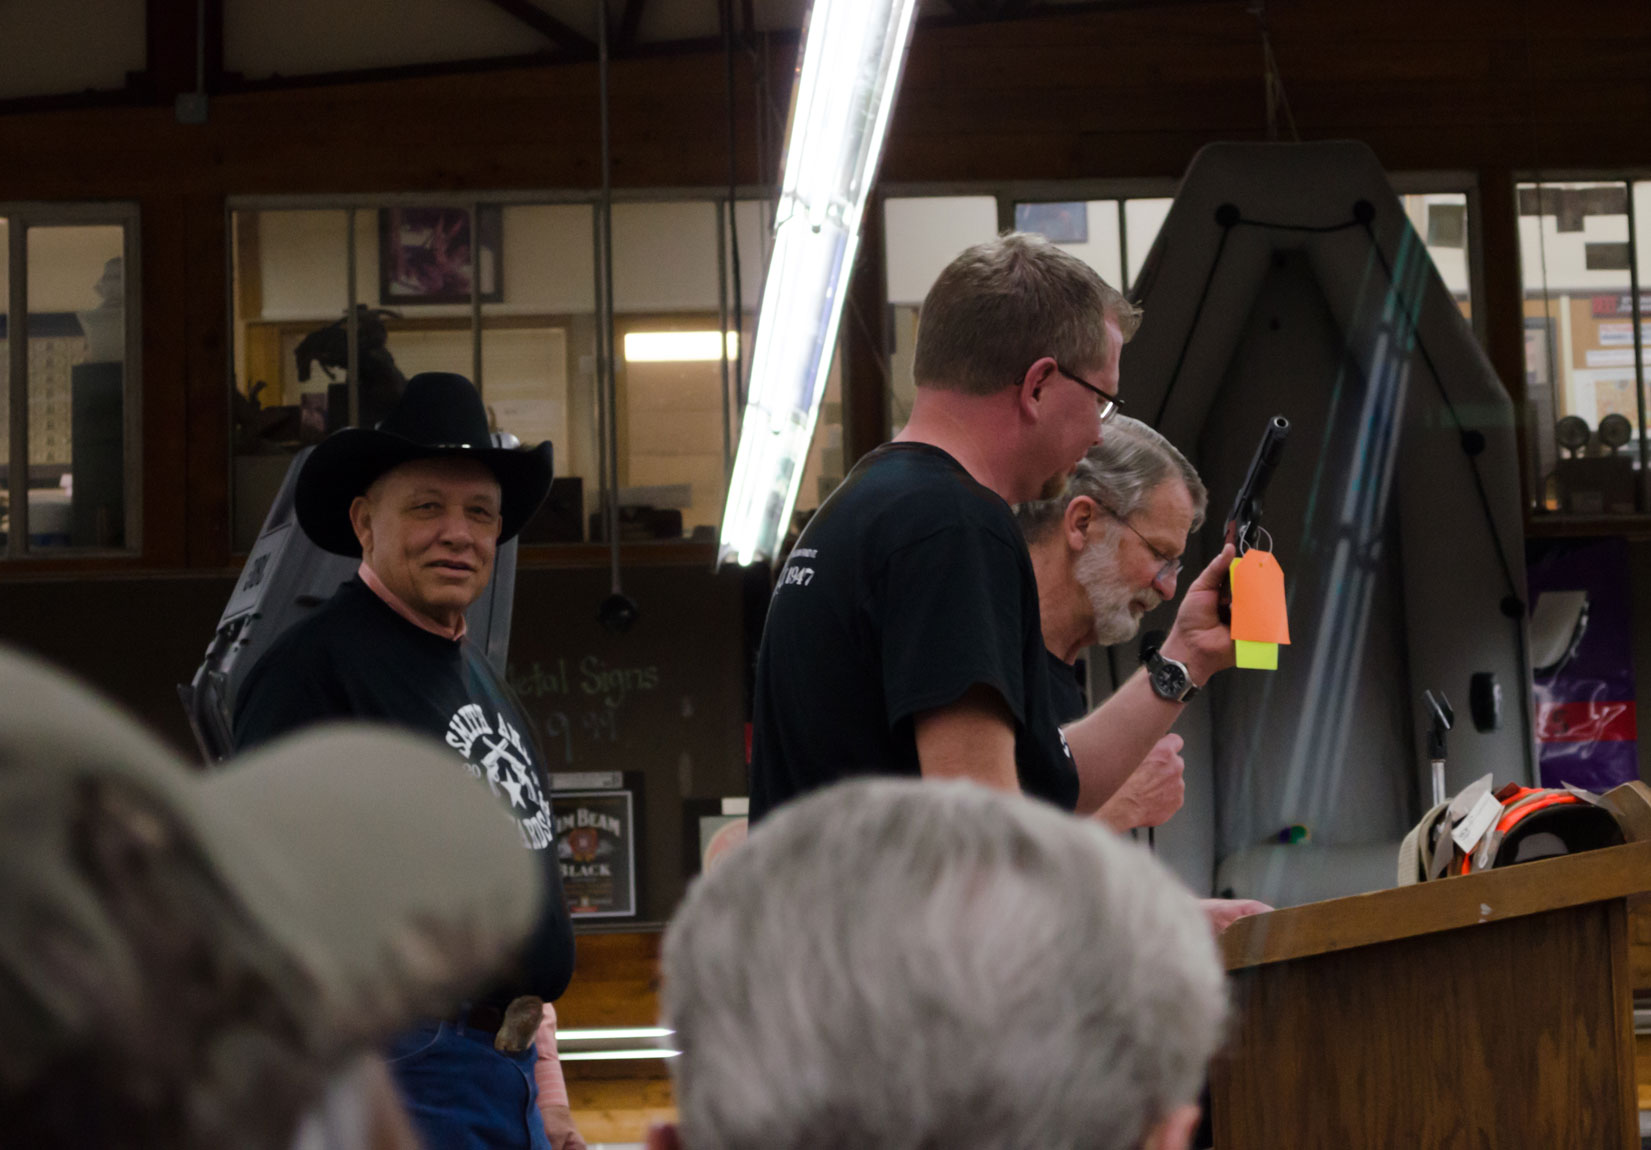
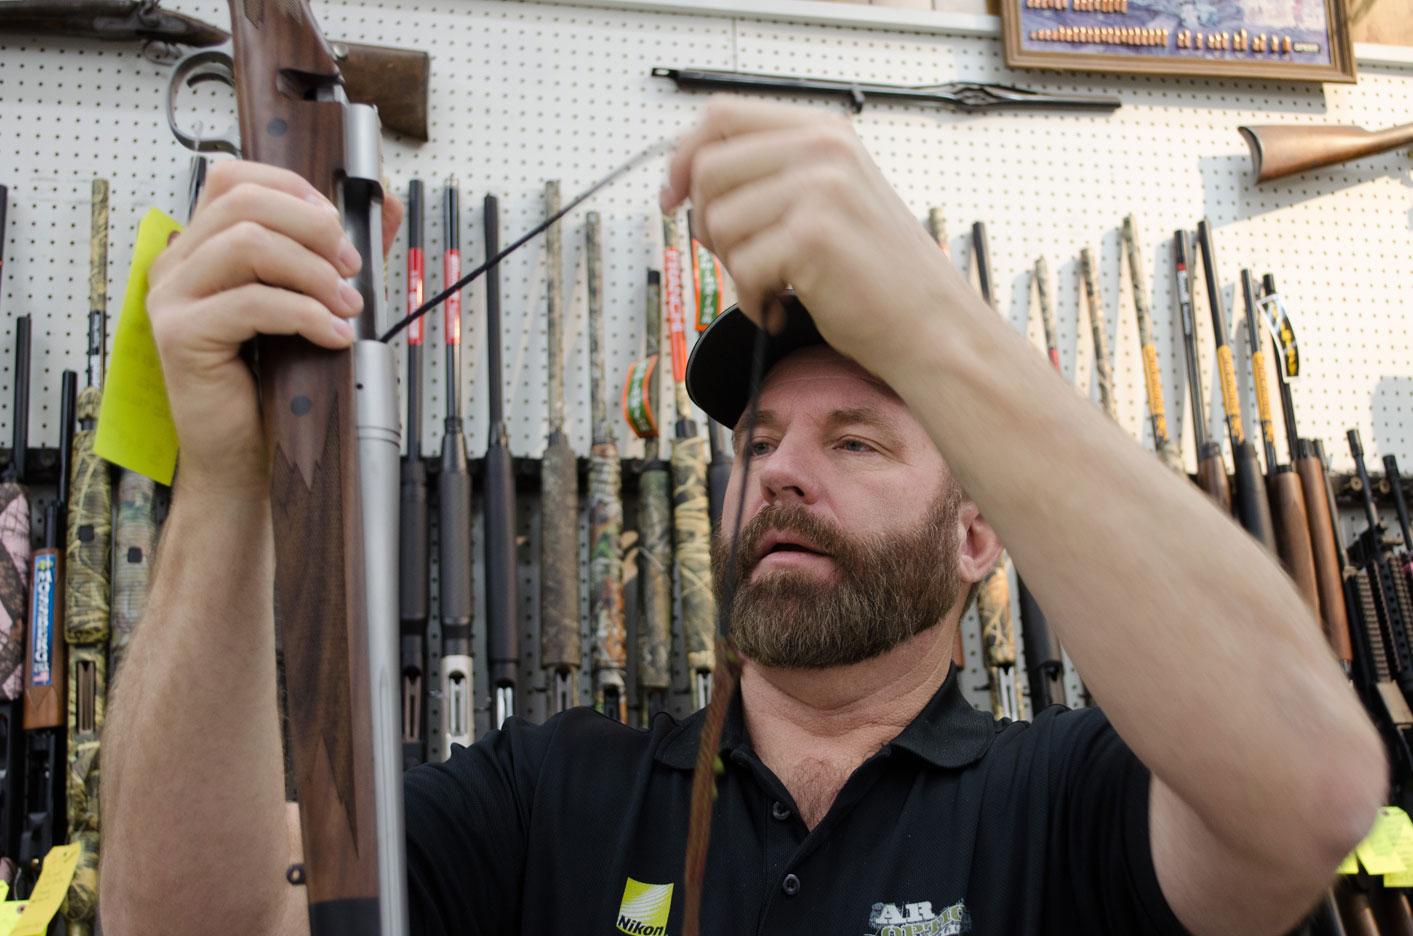
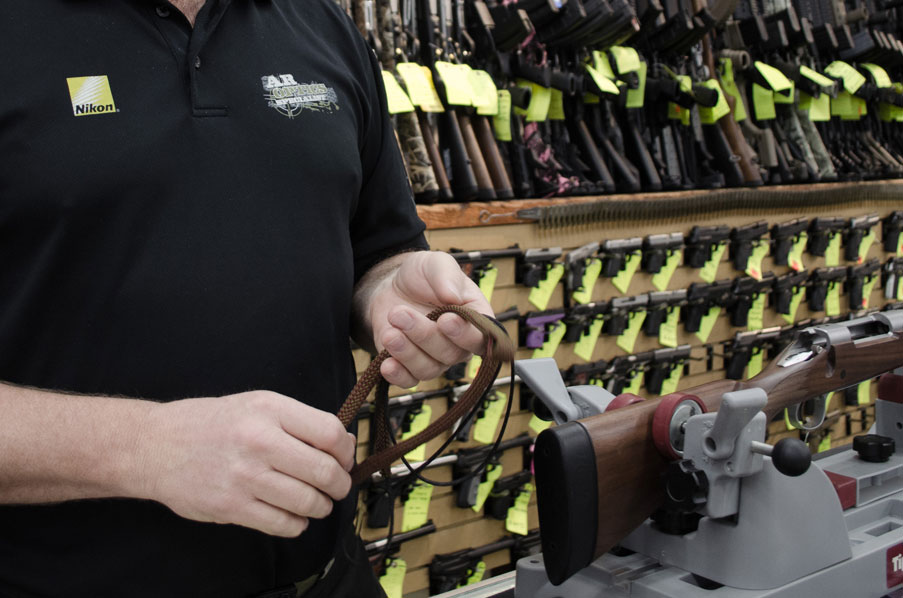
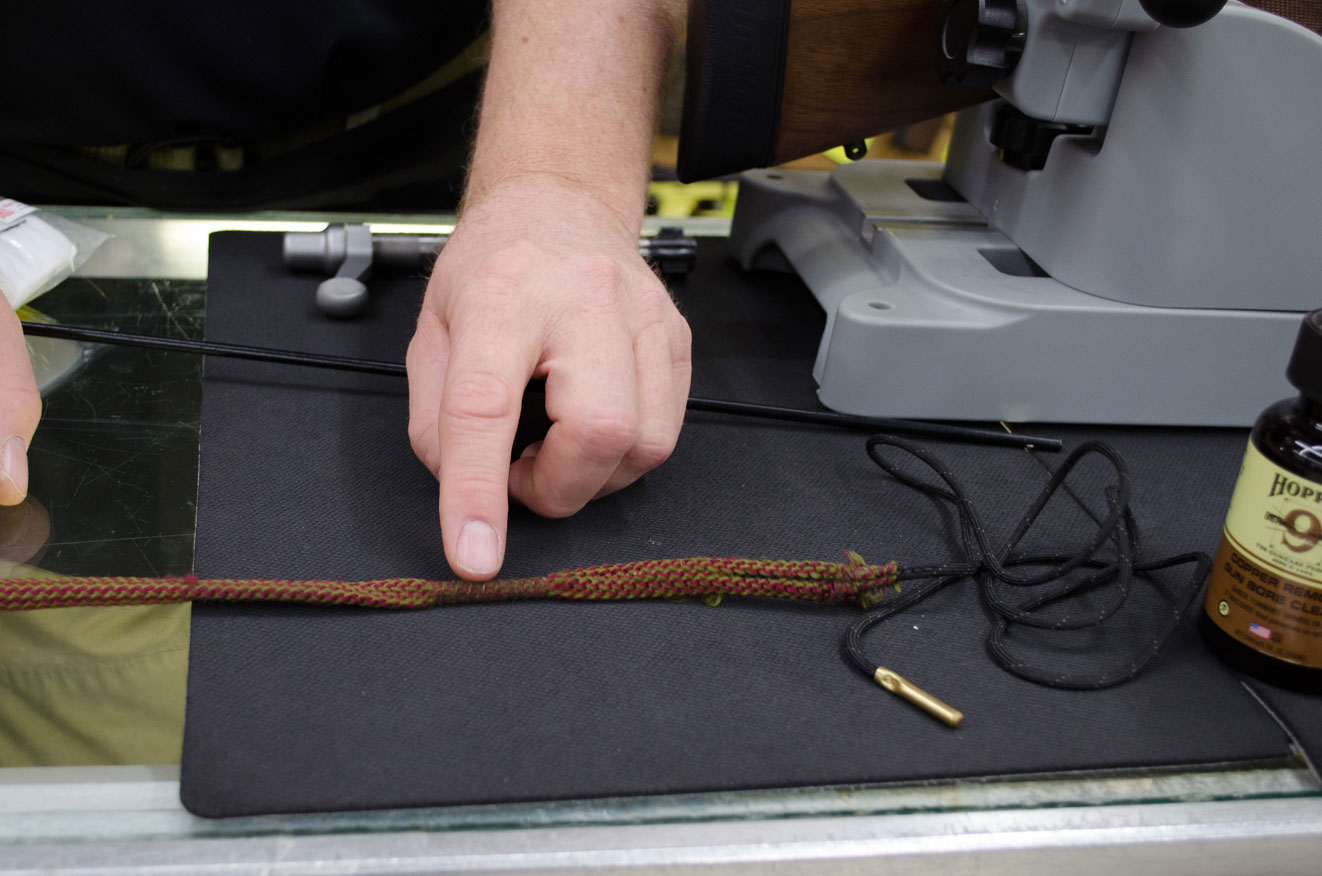
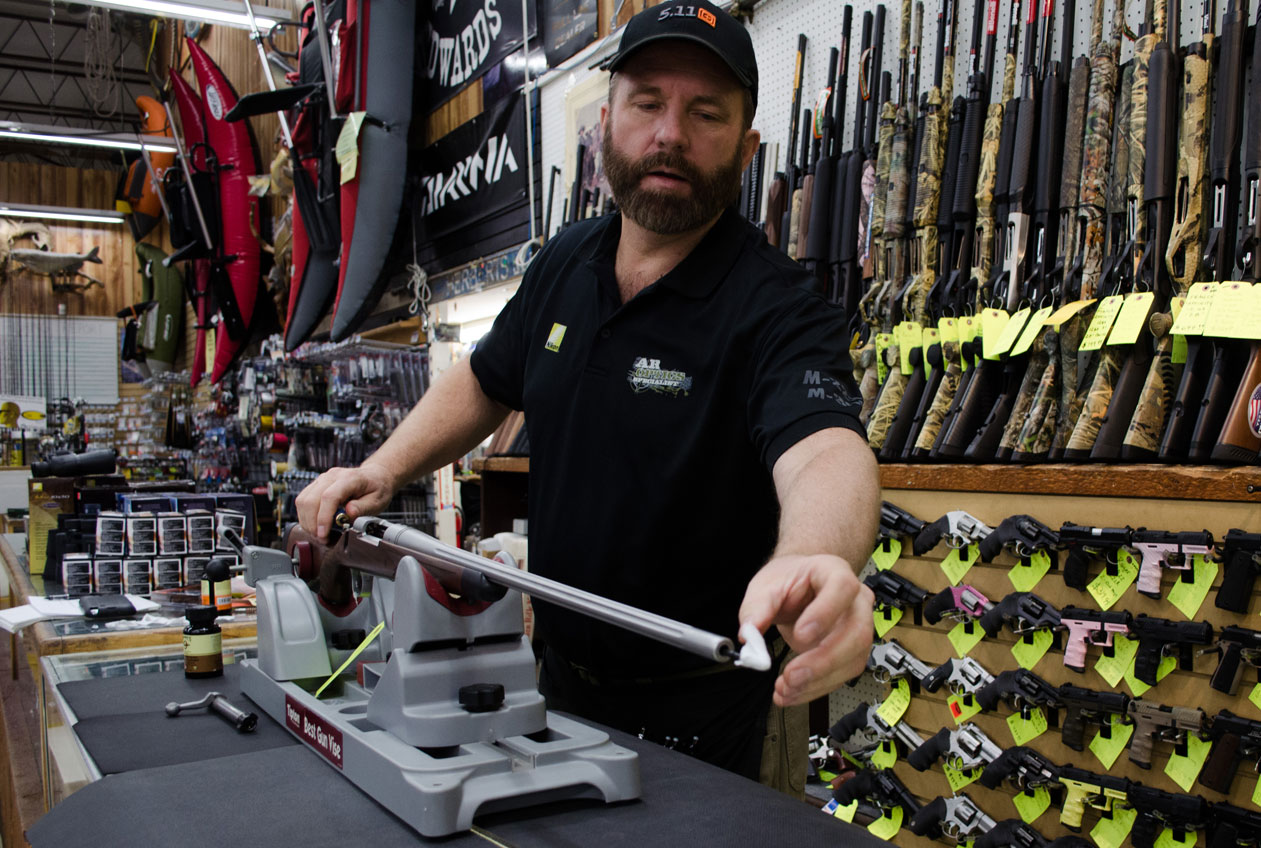
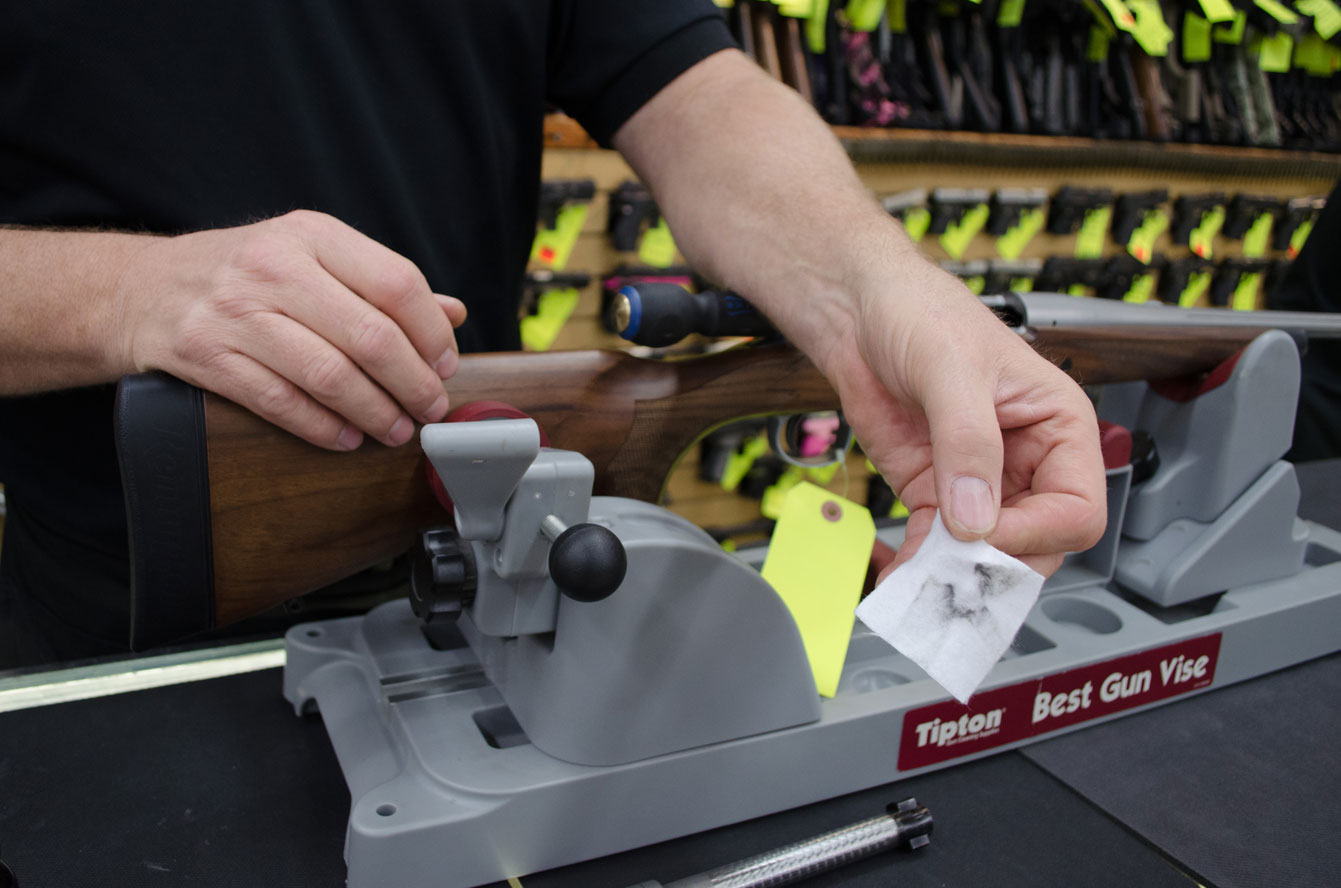
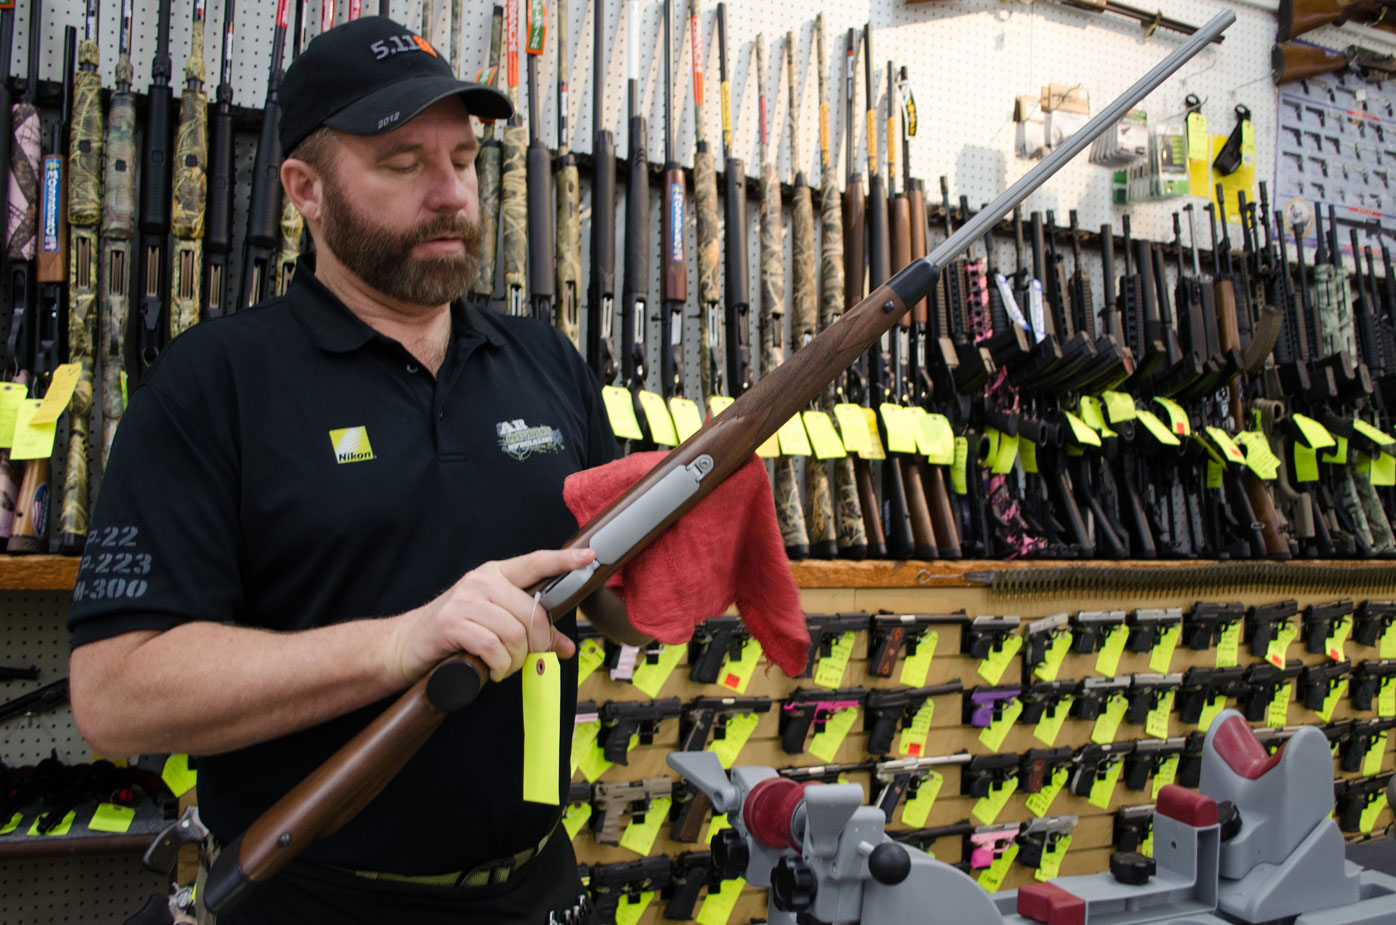
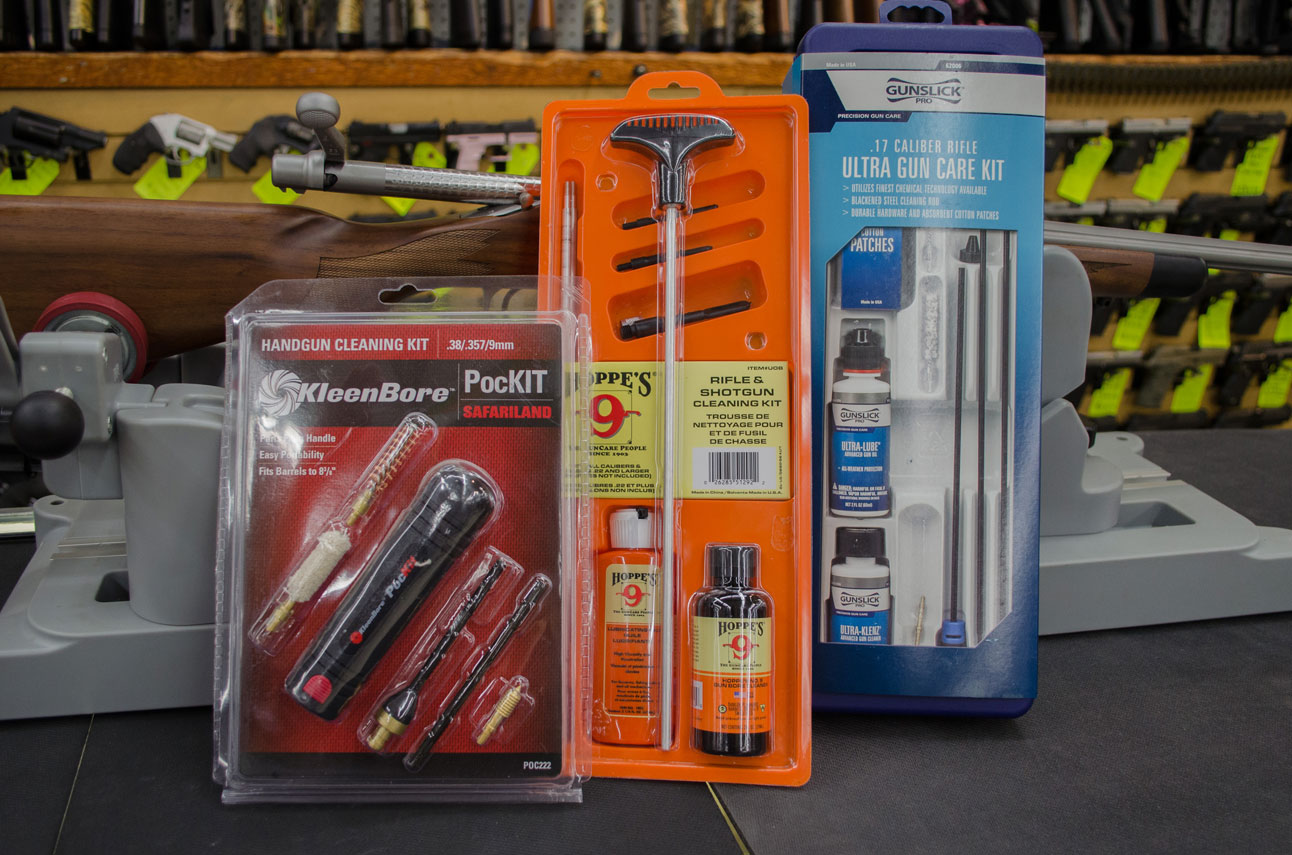
Ok, here’s the deal. ’round here you’ll find yourself a livestock auction, and a lot of folks are familiar with eBay auctions. But where else in our neck of the woods are you going to find a Gun Auction?

Smith and Edwards’ Gun Auction was in its 30th year here in Farr West on Feb. 1st from noon to 2pm and it was sure a good time. Lots of happy people and families spending a Saturday afternoon together and getting to see 70 nice guns going to good homes.

If you’ve never been to a Gun Auction at Smith & Edwards, you HAVE to come next year. It’s the entire reason folks give each other money at Christmas! (well, part of the reason) You won’t be disappointed. Here are 3 solid reasons to come next year and bring your family with you:

1. You’ll have an Awesome Time

It’s exciting to be there with 200 other people all who are familiar with guns and shooting. You could make new friends here at the gun auction, chat up some seasoned hunters for their favorite ranges or hunting spots, or just watch the crowd as the auction takes off. If you’re into guns and don’t have a lot of people everyday to talk to about your hobby, this is a great place to meet new people who get it.

The Smith & Edwards Gun Auction is a fun time for the whole familyAnd there’s even more to see at the Gun Auction than great people. Have a tasty hot dog at our Country Boy Deli right by the auction stage:

Country Boy Deli - Smith and Edwards Gun Auction

And because you’ll want to get here early, we’ve always got friends of Smith & Edwards that come to keep you entertained til the Auction starts.

This year we were lucky to have 3 guests here before the auction: The Eagle was at the front doors giving away prizes and keeping things hopping with great music.

The Eagle radio station at Smith and Edwards for the Gun Auction

The Zone
was back in Sporting Goods, filling folks in at home on auction details.

The Zone at Smith and Edwards Gun Auction

1280 The Zone interviewing Mike Vause, Sporting Goods manager, just before the Gun Auction started.

And Mark Malan crooned to the crowd on his guitar before the auction started.

Mark Malan at the Smith and Edwards gun auction

2. Great Deals & FREE Guns

You know, the #1 reason we do the Gun Auction is to make you happy. Yeah, you! Our customers love the gun auction because we have great guns at GREAT prices.

Lots of the guns start at just $100 or $200 – and these are guns we keep on the shelf with $700 – $2000 price tags all year!

Nice camo gun with scope - Smith and Edwards Gun Auction

Mike Casey talks up this nice camo gun with a scope

And you can inspect the guns before the show, too, and get a good look at what you’re bidding on.

Handgun up for auction at Smith & Edwards

One fellow even came up to me and asked if we made any money on this event or if it’s a wash. Well, I can’t rightly answer that, but let me tell you, there are a LOT of folks who made out real well Saturday!

And how about those free guns?

That’s right! How would it feel to beat all the other fellas out to win the bid on a gun you really wanted… and then get told that you got it for FREE?

Pretty amazing, right? It could happen at the Smith & Edwards Gun Auction!

Not to mention the fun freebies Mike Casey threw out to the crowd: t-shirts, hats, wristbands, and to some, even .22 shells!

“Who drove the furthest to get here? Anyone from Idaho, Wyoming?” Mike asked (a few folks raised their hands.) “Ok, driving 300 miles gets you free ammo!”

Then a fellow pipes up from the crowd: “I’m from Farr West! I’ve driven a mile to here 300 times!” Ok, you can have a freebie too.

Journey handing out freebies at Smith & Edwards

Journey making sure everyone gets a freebie and a copy of the guns up for auction

3. Mystery Safe

It’s the big attraction: The mystery safe! This year Jackie Allred was the lucky winner. And being a lady, she got a $500 Smith & Edwards Gift Certificate as a bonus!

Jackie Allred, 2014 Smith and Edwards Gun Safe Winner

Jackie Allred, winner of the 2014 Smith and Edwards Gun Safe, and her crew, pose with the safe and Mike Vause.

Here’s a partial list of what was in that big ol’ safe:

  • Top-of-the-line Superior safe that we sell for $1799 – retails for over $2,000.00
  • “Winchester 1894″ rifle with a 26” barrel, built in 1902, 38-55 caliber – all original
  • 1400 rounds of .22 long round copper-coated rifle shells (WOW!)
  • Smith & Wesson M&P .22 Pistol
  • Leuopold’s top-of-the-line Gold Ring Spotting Scope, retails at $1199.00
  • Burris Fullfield 14×42 rifle scope, retails at $259.00
  • Nikon Rangefinder Realtree, retails at $469.99
  • Leupold Olympic 12×50 pair of binoculars
  • Browning T-Bolt .22 17 HMR, retails at $650.00
  • Ruger 10 .22 Laminated Stock, stainless steel version
  • Benelli Super Black Eagle Limited with wood stock, retails at $2499.00

Wow! Nice win, Jackie!

4. Auctioneer Mike Montgomery

And while those are the top 3 reasons…. we think Mike Montgomery is a reason in and of himself! He’s been heading up our auction for just about as long as we can remember – he’s a real staple of the annual Gun Auction.

Mike Montgomery at the Smith and Edwards Gun AuctionI don’t know how he keeps his patter going as he’s watching in the crowd for bids! Luckily this year he had help from 4 spotters. He’s just incredible!

Mike Montgomery auctioneering the Smith & Edwards Gun Auction

The 3 Mikes: Mike Montgomery auctioneering, Mike Casey talking up the guns, and Mike Vause being Vanna White.

Well, I hope you’re convinced that you’ll need to come to our 31st Gun Auction next January in 2015. We can’t wait to have you back! In the meantime, make sure to check out guns at Smith & Edwards online and in-store.

From a crazy idea Mike Casey had standing on a soapbox back on Washington Boulevard back 30 years ago to the big auction we hosted today… thanks for a great 3 decades Ogden!

Are you looking forward to the Gun Auction next year? Leave us a comment and let us know what you’d like to win! And would you share this post with one of your friends who’s never come? They’ve GOT to make it out to our Gun Auction!

How to clean your rifle - Smith and Edwards Demo

How to Clean your Rifle

- posted by Rose Marion

Did you get a gun for Christmas? Looking to get a good deal at our Gun Auction? Or maybe you’re a hunter who needs extreme accuracy for shooting an elk 350 yards away.

Did you know?
You can see part of our hunting department on SmithandEdwards.com! (click here) We’ve got a selection of our most popular hunting and range accessories for you online. There’s way more in-store!

Eric from Smith and Edwards demonstrating how to clean your gun

You may know how to keep your gun dry and safe, you also want to know how to clean your rifle to keep it accurate and firing properly. Every gun needs a good cleaning to keep it functioning the way you need it to in an emergency, on a hunting trip, or just going out to the range for practice.

Eric Halter from our Gun Counter will walk you through the basics of cleaning your handgun so you can keep yours in great condition.

Eric knows how to keep a gun clean and firing properly because it’s what he does. When he’s not at Smith & Edwards, Eric spends his time as a gunsmith – something of a family trade, he’s had over 30 years of experience gunsmithing.

Every time your gun is fired, carbon and copper residue gets deposited and builds up in your bore. A boresnake is a fast way to clean out that residue, and for a deep cleaning after a hunting trip or a session at the range, you can use brushes and patches along with cleaners to restore your gun to pristine condition.

How to clean your gun in the field

A field cleaning is a basic cleaning to get the residue out of your rifle while you’re out in the field. So if you’re not in a place where you can set out all your supplies like your gun vise and cleaning rod, and take the time to give your gun a good cleaning, all you need is your boresnake to do a field clean.

Boresnakes for cleaning your gun

If there’s rain and you’ve gotten water down your bore, if you’re in inclement weather, or you’re in a harsh, dusty, and dirty environment, this is the #1 method to get your rifle back in shape from breech to muzzle.

  1. Take your rifle, making sure it’s unloaded, and remove the bolt.
  2. Drop the weighted end of an oiled boresnake down the barrel and pull through the bore, out the muzzle.
    Dropping the boresnake in the borePulling the boresnake down the muzzle
  3. Do that 2-3 times, and you’re good to go.

Gun Cleaning Tip:
Before you go on your trip, lay your boresnake on your bench and wet the first 1/3 of the bore with a bore cleaner like Hoppe’s #9.
Put bore cleaner on the first third of your bore to prep for field cleaning
Then coil it up and put it in a ziploc bag.
Coiled boresnake
Now when you’re out in the field to do a field cleaning, you pull out your ziploc bag, take out your boresnake, and pull that through your rifle and clean out the residue.
Nylon bristles of a boresnake
The brass bristles in the boresnake will help give your gun a good brushing.

When you get home from your trip, you’ll still want to give your gun a good cleaning. A quick & easy field cleaning like this will help you in the field to get the majority of the carbon out, keeping it lubricated and water-resistant, but it won’t take out the heavy copper deposits or carbon deposits like a good deep-cleaning at home.

So Eric’s going to show us how to give a long gun the good cleaning it needs. You can follow the same steps on a shotgun or pistol.

How to clean your gun at home

We should mention that your first step ought to be to read your owner’s manual. This will help you see exactly how to disassemble your gun and clean it. Get familiar with your weapon and how to take care of it.

OK, once you get home from the field or the range, set aside a half-hour to give your gun the TLC it deserves.

You’ll need: your gun, a gun vise (and a counter or bench to set it on), a cleaning rod with a brush and a jag attachment, cleaning solution, lubricant, flannel patches, and a shop cloth.

  1. Make sure your gun is unloaded, and then remove the bolt. Rest your gun in a vise.
  2. Take your bore brush and screw it onto your cleaning rod. Dip your brush into your solvent (we use Hoppe’s #9 Copper Solvent).
    Bronze bore brush on your cleaning rod
  3. Push the brush and rod through the bore through the end. Do about 20-25 strokes back and forth, then take it out and set your cleaning rod to the side.
    Bronze bore brush cleaning the bore
  4. Let it set for about 5-10 minutes for the chemical reaction. Let the bore cleaner work on the copper fouling and the carbon deposits.
  5. Take your patch jag and screw it onto your cleaning rod. Take a flannel patch and pull a corner halfway through the jag, and fold it over the end.
    Placing a flannel patch in the jag to clean your gun.
    Then, take the patch and run it down through to clean out the dirt in the bore.
    Placing flannel patch in bore on cleaning rod
    Flannel patch coming out the muzzle
    Dirty patch from cleaning this gun
  6. Repeat brushing with solvent as needed.
  7. Keep running fresh patches down through the bore til they come out clean.
    Dirty patches from cleaning the rifle
    Now it’s time to lubricate the bore.
  8. Drop 8-10 drops of oil onto a patch and run it down your bore.
    Dropping gun oil onto flannel patches to clean your gun
    This is a preservative, so that humidity and moisture won’t get in there and rust the bore.
  9. Take a dry patch and run it down the bore to remove any excess lubricant or cleaning oils that are in the bore.
  10. Take one of your patches that had cleaner on it and clean your bolt. Then, lightly oil the bolt.
    Reuse a patch to clean your rifle bolt
  11. When you’re done, take a good clean shop rag and wipe down your gun so it’s clean and dry, removing any oils, dust, and dirt.
    Wipe your rifle down with a clean shop rag
    Put the bolt back in the rifle.
    Place the bolt back in your clean rifle

And you’re all done!

That's a clean rifle! - Eric at Smith & Edwards

These steps are identical for handguns, revolvers, and shotguns. The only difference with a handgun is you’d use a shorter cleaning rod.

Handguns typically don’t get cleaned as often as they should, so for best performance try to do it after every trip or every other trip to the range. Just use the same cleaners and process to get rid of the copper and carbon residue in the barrel.

How often should you clean your gun?

You know your gun best. Eric recommends you do a good cleaning like that every other time you shoot. You should run a boresnake through it after every shooting session.

If your goal is extreme accuracy, you’ll want to clean after every shooting session. Your rifle can shoot through a certain amount of fouling without a problem, but after anywhere from 30-100 rounds, you’ve got fouling in there that will affect your accuracy. If you’re out looking for an elk across a canyon or really needing to hit a target, you’ll want your barrel clean.

If you’re a waterfowl hunter, you’re out in harsh environments – rain, cold, sleet, snow, mud – and your shotguns really take a beating. It’s vitally important to clean your shotgun thoroughly after every usage – making sure to oil it well to keep it water-resistant.

If you’ve got a handgun for home defense, even if you don’t shoot it during the year, the preservative oils can evaporate over time. So while you don’t need to clean it, because you haven’t fired it, you do want to re-oil your home defense firearm once a year – whether it’s a rifle, pistol, or shotgun.

What gun cleaning supplies we recommend

There are a lot of companies that make gun cleaning supplies. Hoppe’s is a great company that has brushes and cleaners, and Outers and Gunslick make great cleaners too. You can also get kits from gun manufacturers, such as Winchester and Remington.

All these are pretty affordable, you’re looking to spend about $20-40 on a kit.

Eric picked out some kits - these are just a few of the dozen or so gun cleaning kits we have here in the store. The small one is a universal handgun cleaning kit.

Eric picked out some kits – these are just a few of the dozen or so gun cleaning kits we have here in the store. The small one is a universal handgun cleaning kit.

We’ve also got Tipton’s Best Gun Vise $99.99 – this vise can adjust to fit rifles, compact pistols, and everything in between. You can find all these gun care products and much more in our Sporting Goods department here at Smith & Edwards.

Tipton Best Gun Vise

Bore snake – a must-have.

Bore Snake for cleaning your Gun Barrel

Bronze brush and a Slotted Jag – they come in a huge range of sizes, so get the one that fits your bore so you don’t have to scrub as much.

Bore Brush and Jag by Hoppe's

We’ve got tons of flannel patches, a bag will run you about $5.

Hoppe's Gun Cleaners

Orange-label Hoppe’s #9 Gun Bore Cleaner: your standard, all-purpose cleaning solution.

Brown-label Hoppe’s #9 Copper Remover is a copper solvent that will dissolve the copper out of your bore. You’ll know it’s working when your patch comes out with a turquoise-green tint to it. Keep running the patches down til they don’t have that blue tint on the patch.

This copper remover is what you’ll want to use frequently if you’re an extreme accuracy shooter or into long-range shooting, to get the pristine bore you need. If you’re familiar with your rifle’s trajectory and exterior ballistics, you don’t want to waste that knowledge by having a dirty rifle and not being able to count on the bullet’s trajectory.

Hoppe’s lubricating oil is a great choice for keeping your bore dry and rust-free til you use it again. It doesn’t have much of an odor at all. Break-Free CLP is another good choice.

Cleaning rod: Pretty basic, you’ll want either a rifle cleaning rod or a handgun-size cleaning rod. This particular one has a sliding piece of brass that fits on the rear of the action, so the rod stays aligned in the center of the bore, so you get a good clean, and faster.

Rifle Cleaning Rod with Brass Alignment disc

Your turn

How do you clean your handgun or rifle? What are your tips & tricks? Leave a comment below and let us know.

Clark and Kensington paint palettes at Smith and Edwards

Rejuvenate your Home with new Paint Palettes!

- posted by Rose Marion

Lots of hardware and home improvement stores have paint departments with all those wonderful rainbows of paint chips.

If you’re building your own home, starting to personalize your new house, or finally getting around to touching up after the kids have flown the nest – you know how important those color swatches are, and how much time you can spend with them!

Picking Paint Palettes

One of my favorite things to do when I’m trying to pick paint colors – it’s a long-term decision! – is go to Pinterest and search for paint color palettes and inspiration. I love the colors people have already put together – much better than trying to hope the colors I choose will play nicely together!

And you know what? The paint counter at Smith & Edwards has several color palettes already created in gorgeous combinations with paint chips right in the palette! You’ve got to come in and see them! Take home a sample and tack it to the wall so you can visualize how your living room would look in a brand new coat of paint.

Valspar color trio palettes at Smith & Edwards

Smith & Edwards’ new Valspar color trio palettes

Clark and Kensington paint palettes at Smith and Edwards

Clark+Kensington paint chips, top, and room color paint palettes

Perfect "mood" palettes from Clark and Kensington at Smith & Edwards

Perfect “mood” palettes from Clark and Kensington

This one’s my favorite – I’m picking colors for our living room and dining room, and this is what I’m settled on: a vanilla-cream on the walls, and white trim. Look at the great options I can use for accents!

Yellow color palette from Clark and Kensington at Smith and Edwards for Rose's living room

Plus I can take this palette when I’m shopping for bookshelves, choosing photos to hang on the walls, and picking out our new couch to make sure everything complements the room.

Smith & Edwards Paint Department gets a Makeover!

These new color palettes are just a tiny part of the big changes in our paint department! That’s right, after years of helping thousands of Utah homeowners improve their home’s appearance – we’ve gotten a makeover, too!

Check out the amazing new lighting – much easier to see true colors and match paints:
(old and new paint counter)

Before…
Old Paint Department at Smith & Edwards

After…

Smith & Edwards Clark+Kensington Paints

Smith and Edwards Paint Studio

Smith and Edwards Valspar Paints

It’s so bright and clean… we love it! How about you?

The reason for our remodel? We’ve brought in a new line of paint, Valspar, which is a premium paint. It’s got amazing pigments that give you brighter, more vibrant color!

Valspar comes in 2 grades. Aspire is a mid grade paint that’s similar to Clark+Kensington and is pretty durable. Optimus is the high-end Valspar paint and primer, and it’s incredibly durable. You can clean lipstick off flat Optimus without leaving a trace! – and it has great coverage.

Valspar Paints at Smith & Edwards

Randy, our Paint department manager, will be happy to help you pick the perfect grade of paint!

And because they’re part of the same family, we can exactly color-match Valspar to Clark+Kensington and Ace Royal paints you’ve already got at home.

Clark + Kensington was recently rated #1 among leading paint brands by Consumer Reports. So you know you’re going to get the best paint for your project here at Smith & Edwards!

Sample Paint Pints

Here’s something more you can do than just tack that color palette up on your wall. Just tell us what colors you’d like to test drive, and we’ll mix them up for you and set you up with sample pints of Valspar or Clark+Kensington paint for just $4.99.

Sample Paint Pints at Smith and Edwards

That way you can really get a feel for how the colors will affect the mood of the room, how they’ll enhance your furniture and cozy or freshen the feel of the space. You could get a sheet of chipboard and mock up what the room would look like – that way you get a much better idea than just 3″ paint chip swatches.

And while we’re probably the only ones who are excited about this, we’ve also got new displays and signage to match our new modern look! It’s like getting new sconces for us – aren’t they amazing?

New paint department signs at Smith & Edwards

(we think so!)

And since a lot of gluing seems to happen whenever there’s remodeling, we collected all our glues and plopped them right next to the paint so they’re easy to find. From E6000 to wood glues and of course Gorilla Glue, you’ll find the glue your projects need.

Every type of glue you need is at Smith & Edwards!

Come on in & visit!

And just wait… there is something exciting that Randy and the paint department can do with Valspar paints that they’ve never been able to do before! Come in and ask them about it, or wait to see the in-store demo we’ve got coming up in 2014. (Hint: it’s something to do with chalk!)

So come on in to Smith & Edwards and check out our huge range of paints and colors for home inspiration. The Paint department is just past the main entrance around aisles 19-23. Randy and Brenda can’t wait to help you find and match the perfect hues for your living room, dining room, bathroom, bedroom, or kitchen!

Smith and Edwards Paint Dept will get you the results you want!

Come on in and let’s pick out your colors!

Dutch oven cooking with Colleen Sloan

Dutch Oven Cooking with Colleen Sloan

- posted by Rose Marion

We were so lucky to have Colleen Sloan, the first lady of Dutch oven cooking, give us some excellent tips on Dutch oven (D.O.) cooking. And you’re lucky, too – keep scrolling to see her creations & get 2 complete Dutch oven recipes!

I got to catch up with Colleen as she was cooking up samples outside Smith & Edwards. You wouldn’t believe the number of ovens she had going with all different meals and treats inside.

Colleen had a pie going, pizzas, orange rolls, chicken noodle soup, taco bread, chili, garlic cheese rolls, apple crumble, and even more meals – there were Dutch ovens everywhere.

See Colleen Cook!

If there was a way to capture the heavenly smell of Colleen’s Dutch oven cooking, you wouldn’t need to see what she was doing. But these pictures tell the story of some of her dishes, and just think, every dish smelled – and tasted – just as scrumptious as you’d imagine looking at them.

Remember, Collen prewarms her D.O.s and sprays the inside with a coat of vegetable oil before each dish.

Chili

Dutch oven chili - cooking
Nothing better on a campfire than some chili steaming away. For this pot, we just opened some canned chili and added cheese (lots!) – but a Dutch oven will give your from-scratch chili an amazing flavor, too!
Dutch oven chili - serving up
Serving up the cheesey chili – mm mm mmmm!

Taco Bread

This is a happy recipe Colleen discovered – Taco cheese biscuits, or taco bread! In a warm D.O., the dough rose and baked for about 35 minutes, then it was ready. You can make this same meal with your own favorite spices – and lots of cheese :)

Dutch oven Taco bread - Cutting up dough
Audrey’s cutting up some frozen bread dough into morsels. You can keep your dough whole, or in medium chunks for rolls: cutting it this small made it easier to break into samples when it’s done, and also faster to cook.
Dutch oven Taco Bread - adding meat
Where’s the beef? Colleen’s adding some precooked ground beef cooked in taco seasonings.
Dutch oven taco bread - cheese
Audrey: How much cheese do I put in?
Colleen: Just put in the whole bag!

Dutch oven Taco Bread - Green Onions

Last peek before the lid goes on: some green onions on top. Yum!
Dutch oven taco bread - serving up
It’s half gone already! Look at that… and it breaks apart into perfect morsels because the bread was cut in pieces. Yumm!


Candied Yams

You’ll have to imagine how these turned out – I could have watched Colleen cook all day, but I had to go back inside before I saw how these candied yams turned out. I’m sure they were delicious… and so easy to make!

Dutch oven candied yams - Baked yam
To start, Colleen sprayed vegetable oil in the Dutch oven. Then she’s got some prebaked yams wrapped in foil, just like you can bring on your camping trip, and Skip’s going to peel and slice them.

Dutch oven candied yams - slicing yams

Dutch oven candied yams - brown sugar
Yams are very good for you! So go ahead and add in a couple handfuls of brown sugar…
Dutch oven candied yams - butter
…plus a sliced stick of butter for a delicious pot of vegetables!

Then pop the lid on, and let it go til you smell that delicious candied yam smell. Mm mm mmmm!

Pizza

This was another one I couldn’t snap the final product – it was out of the Dutch oven and scarfed down before I could take the picture! But here’s how Skip made his Dutch oven pizzas:

Dutch oven pizza - kneading dough
Skip’s kneading some Rhodes dough into pizza shapes
Dutch oven pizza - dough in pan
Skip can fit 2 pizzas in this 10″ Dutch oven – he could also cook them on a flat lid
Dutch oven pizza - toppings
Let’s see… Skip’s got pizza sauce, ground meat, pineapple (yum!) going… good so far, but we’re missing something…
Dutch oven pizza - cheese
That’s better! Can’t forget the cheese. Lid on, cook away, and devour!


Apple Crumble

Dutch oven apple cobbler - First the pie filling
First thing you need for a Dutch oven apple crumble is some apple pie filling
Dutch oven apple cobbler - add cake mix
Add a bag of cake mix over the filling
Dutch oven apple cobbler - stir
Give it a nice stir – keep the cake mix on top
Dutch oven apple cobbler - add cinnamon
Think it needs some cinnamon! It smells so good already (remember, the D.O. is prewarmed)
Dutch oven apple cobbler - add pop
Add a can of pop – you can use any you like, Colleen went with Sierra Mist
Dutch oven apple cobbler - bubbles
It’s bubbling now with the pop in there! Time to put the lid on and let it go.
Dutch oven apple cobbler - cooling off
Smells ready! We peeked, and it’s done. So we’ve tilted the lid to help it cool down.
Dutch oven apple cobbler - ready to serve up
Mmm! It’s ready – smells like cinnamon, rich apples, and good cooking.
Dutch oven apple cobbler - dishing up
It’s time to serve up! Colleen does the honors
Dutch oven apple cobbler - tasting time
Kelly gives this apple cobbler her seal of approval! Yum!

Beginning Dutch Oven Cooking Tips

The Dutch Oven Cooking Basics

If you’re cooking for just you or 1-2 more people, a 10-inch Dutch oven is a great size to start with. Get yourself a Dutch oven, a hot mitt and a lid lifter if you like, and a cookbook – Colleen’s Log Cabin Dutch Oven cookbook is a great place for beginners to start! Just start trying it out – you’ll get the hang of it in no time.

Where do you Start?

Do you have a recipe you use at home? Just put it in a Dutch oven, put your Dutch oven in your electric oven set to 300°, and let it go.

You don’t need to go hotter than that, because the cast iron gathers and retains heat, so it’ll get even hotter than 300.

If your Dutch oven is a camp oven – that is, if it has legs – simply set your Dutch oven on a cookie sheet to avoid hassling with the racks. A cookie sheet makes it easier to slide the Dutch oven out, too.

Keep the Lid on It

Try not to peek, so all the flavors and nutrients stay inside the Dutch oven. Instead, when it smells like what it tastes like, your nose will let you know when it’s done!

The Dutch oven is the original slow cooker and pressure cooker – in fact, with the lid on, you can get between 1-3 pounds of pressure inside, which helps your food cook thoroughly for a rich flavor, without a long time waiting. So remember, don’t lift the lid because it’ll release all that pressure.

The best way to get started Dutch oven cooking is to try out your own recipes you already know. Then once you’ve got a feel for it, give one of Colleen’s great recipes a try!

Dutch Oven Recipes

I asked Colleen if I could share some recipes from her wonderful Log Cabin Dutch Oven Cookbook, and… she said YES!

So here are 2 very simple recipes that you can try tonight with just a Dutch oven in your oven at home. And as I learned today, you can add your own spices, sauces, and especially cheese to just about any Dutch oven recipe to make it even tastier! (We debated the finer points of cheese on apple pie – a cheese-stuffed crust was the way to go, we decided)!

Dutch Oven Bread

You’ll need:

  • 3 cups flour
  • 1 Tbsp. Baking Powder
  • 1 tsp. Salt
  • Water (enough to make a dough)

Mix dry ingredients with 3 Tbsp water to start. Add more if necessary. Work as little as possible and bake in a greased Dutch Oven for 20 to 25 min. It can be baked as one large loaf, or several small loaves.

You’ll find dozens of hand-written notes in the Log Cabin Dutch Oven Cookbook from Colleen. She’s written “Um-Um-Good” next to this one! This is such a simple recipe, I can’t wait to try it. And here are some variations she recommends to mix it up:

  • Use milk instead of water
  • 1 Tbsp. Sugar
  • 1 Egg
  • 1 Tbsp. Oil
  • 1 tsp. Cinnamon or Nutmeg
  • Raisins, currants, drained blueberries, cheeses, garlic, onions, and more. All to make your bread taste swell.

Dutch Oven Pot Roast

You’ll need:

  • 1 large Pot Roast
  • 1 tsp. Salt
  • 1 medium Onion (sliced)
  • 1/2 tsp. Pepper
  • 8 to 10 Potatoes (peeled)
  • 1 cup Water
  • 10 to 12 Carrots (peeled & cut in half)
  • 1 can Cream of Mushroom Soup
  • 2 Tbsp. Cooking Oil (or bacon grease)

Put cooking oil in bottom of Dutch Oven and place the roast inside. Place onions on top. Add remaining ingredients and cover. Cook for about 90 minutes. Be sure to maintain the temperature. This one-dish meal is excellent for outdoors. Briquettes can be added 15 minutes before serving.

Recipes reprinted from Log Cabin Dutch Oven Cookbook by Colleen Sloan, with permission – thanks, Colleen!

More Dutch Oven Cooking Tips from Colleen

Colleen uses vegetable oil – Dutch ovens love it, and it’s easy to spray through a spray bottle. Just fill a spray bottle and pack it with your Dutch ovens for easy.

The other spray bottle Colleen keeps with her when cooking is a 4:1 mixture of 4 parts water, 1 part apple cider vinegar. She uses this to disinfect pots, Dutch ovens, and her hands while cooking. That’s a tip you can use camping, too!

Spraying Skip's hands with vinegar to clean them after peeling yams. Just make sure your bottle's labeled!

Spraying Skip’s hands with vinegar to clean them after peeling yams

Preheat your Dutch oven, so it’s got a head start and can cook your food faster. Especially if you’re out in cold weather! Don’t get it piping hot, just warm, and then oil it up and cook away.

Don’t forget you can cook on a lid! Pizza and fillets are great to cook on a lid, not to mention eggs and toast.

You have some choice in the shape of lids: some lids are fairly flat, and others are quite rounded, giving you better control of liquids and eggs.

Cast iron Dutch oven lid

Here’s an example of a rounded Dutch oven lid – this one is by Camp Chef.

Speaking of lids… while you’re preheating your Dutch oven, or D.O., make sure your lid’s preheating, too. And when you take the lid off, put it on a burner to help it stay warm!

Keeping a Dutch oven lid warm on the Camp Chef stove

Keeping a Dutch oven lid warm on the Camp Chef stove (right burner)

Cleaning Dutch Ovens

Cleaning a Dutch oven pan isn’t as hard as you think. Sure you can’t just stick it in the dishwasher (rust), but it’s not tough.

Colleen cleans a bit as she goes – as soon as an oven’s empty, she sprays it with her vinegar water bottle so the food doesn’t harden on the pan.

Then when you’re washing your dishes, put your Dutch oven in the sink with hot water, swish it around with a rag. Dump it out, rinse it again, then put it on the stove and warm it up to dry. You could also put it back in your stove’s oven if the oven’s still warm. This’ll make sure all the moisture disappears.

Then, when you get your Dutch oven out to cook next time, just oil it up, heat it up, and you’re ready to go.

Scraping a Dutch oven

About Colleen

A caterer by trade, Colleen Sloan had always been around Dutch oven cooking – her great-great grandparents came across the plains cooking in Dutch ovens all the way, so her great grandparents, grandparents, and parents have all helped refine her family’s recipes. Colleen compiled her grandmother’s recipes in the Log Cabin Cookbook.

And that’s not her only book… she’s written a total of 6 Dutch oven cookbooks, and you can find them all at Smith & Edwards – we even have her first book available online here.

Colleen Sloan and Vickie Maughn, our Housewares manager

Colleen Sloan and Vickie Maughn, our Housewares manager

Raised on a Utah farm by pioneer stock, and involved for 45 years in Scouting, Colleen loves sharing her knowledge and passion for Dutch oven cooking. Colleen loves just about everything out of a Dutch oven, but 2 of her favorites are bacon cheese biscuits, and fried chicken in a Dutch oven. And she’s sure you’re going to acquires some favorite Dutch oven dishes, too!

Nervous to try Dutch oven cooking? Colleen’s sure there’s no bad recipe. Just put together the food you have and your favorite seasoning, and it’ll turn out! Colleen says, “When it comes to seasoning, let your imagination do the walking through your Dutch oven recipes. Try some different things and see!”

Get your Dutch Oven Gear online at Smith & Edwards:

Camp Dutch oven Log Cabin Dutch Oven Cookbook by Colleen Sloan
Dutch Ovens Colleen’s Dutch Oven Cookbook

Thanks Colleen, Skip, and Audrey!

Colleen’s been coming out to Smith & Edwards for over 20 years to give us demos, samples, and great advice on Dutch oven cooking. We sure appreciate it.

We owe a big thank-you to Colleen and her crew! They braved the cold the morning of Black Friday 2013 to cook and serve up samples during the day – and they even served up hot chocolate and coffee for folks waiting in line before we opened the doors. It was sure appreciated by folks standing in 32-degree weather!Hot cocoa from a Camp Chef Hot Pot at Smith and Edwards

Who doesn't love the coffee and hot chocolate camp stove setup that they have?

Who doesn’t love the coffee and hot chocolate camp stove setup that they have?

Steaming-hot hot chocolate and coffee make even a brisk morning warm.

Steaming-hot hot chocolate and coffee make even a brisk morning warm.

Colleen, left, with her assistants Skip and Audrey - Dutch Oven caterers!

Colleen, left, with her assistants Skip and Audrey – Dutch Oven caterers!

Many thanks to Colleen and her friends Skip and Audrey of S & A Catering in Sandy, Utah. Skip & Audrey’s number is 801-973-8371.

Want to know more about Dutch oven cooking? Visit IDOS, the International Dutch Oven Society. Not only are they worldwide – IDOS members will also be sharing samples and recipes the first weekend of May at the Weber County Fairgrounds, so mark that on your calendar if you’re a Dutch oven fan or just looking to get started!

Fun neighbor gift ideas

Amazing Holiday Gift Wrap Ideas from All Wrapped Up!

- posted by Rose Marion

Today we had an amazing demonstration in-store: Leslie Sackett and Bonnie Hohman from All Wrapped Up, a Layton-based wrapping paper company, stopped in for a couple hours to give us great ideas on Christmas gifts for kids and neighbors – and great ways to decorate those gifts, too!

 gift wrap demo at Smith & Edwards

Bonnie and Leslie sharing holiday gift wrap ideas today at Smith & Edwards! Check out the green polka-dot gift: sodas because you’re “Soda-lighted” to be neighbors! :)

I was blown away by how many cool ideas Leslie and Bonnie had – and these weren’t outrageous, hard-to-find gifts. These are fun, everyday items that people love to get as gifts – but Leslie and Bonnie made them look like a million bucks!

Leslie and Bonnie know all about wrapping amazing gifts because they’ve built an entire business around making gifts look great with premium wrapping paper!

Take a look:

Holiday Gift Wrap Ideas from Bonnie & Leslie:

Smith & Edwards Holiday Gift Ideas: Hot Chocolate and Pamper Yourself

On the left, give the gift of hot chocolate! A mug (these shown are from the popular “That’s All” line), hot cocoa mix, marshmallows, and you could even add candy canes!
I’ll show you a close-up of the middle fudge can – keep reading!
At far right, “Wishing you Warm & Cozy Toes this Winter” has a theme of pamper-yourself goodies. What great holiday gift ideas for neighbors, teachers, and friends!

I love this 5-gallon “game night” bucket that’s wrapped in Santa wrapping paper – it’s perfect for neighbors as well as kids! You can even add cards and your kids’ favorite games, like Sorry!, in the bucket. Perfect for young kids as well as kids who are just starting their own family themselves.

Holiday gift wrap ideas at Smith & Edwards

All you need is a 5-gallon bucket, your kids’ or your neighbors’ favorite candy, and some tulle and wrapping paper, for a great holiday gift idea!

Bonnie and Leslie are really creative, so they found some poems to attach to the gifts that are fun – you can print them out on white paper and glue them to scrapbook paper or matching wrapping paper for a really charming look.

Fudge holiday gift ideas at Smith & Edwards

This poem explains that they ran out of time to make fudge – so here are all the fixins to make their own fudge themselves! (click to view larger)


Paint Can M&M Poem Gift Ideas

Cute M&M’s candy gift idea made with M&Ms, a poem, wrapping paper, tulle… and is that a paint can?

Yep- those are real paint cans! Use Bonnie and Leslie’s idea – you can buy never-used, brand-new paint cans here at Smith & Edwards and here on SmithandEdwards.com.

Bonnie told me, So many people will wrap their gifts in a box. But how neat is it to put your gifts in a paint can? It’s a really unique idea they’ll remember!

To make a paint-can gift, simply collect the paint cans you’ll need at Smith & Edwards, then cut the wrapping paper you’ll need to cover the outside. Tape the wrapping paper in place, wrap with tulle, and before you make the bow, slide on a hole-punched poem for a cute note that shows your neighbor how much you care!


Oh, and I’ve got to show you my favorite “neighbor gift idea”:

Neighbor gift Ice Melt at Smith and Edwards

Give your neighbors the gift of ice-free steps and driveway! Use a 5-gallon bucket or a paint can to hold the ice melt, and tie on one of our aluminum scoops, and you’re set!

Ice Melt Poem - Gift Wrap Ideas at Smith & Edwards

Here’s the poem you could use to explain your thoughtful gift of Ice Melt!

What you’ll need to make an Ice Melt Gift:

  • 5-Gallon Bucket or new Paint Can
  • Ice Melt (we have 8-pound jars and 20-pound bags as low as $6.99)
  • Aluminum scoop
  • All Wrapped Up wrapping paper – now available online!
  • Tulle
  • Poem

Heck, they might snowblow your sidewalk if they like your gifts – so why not?

What Makes “All Wrapped Up” Special?

Bonnie and Leslie created All Wrapped Up out of their desire for attractive gift wrap that came in large quantities – not just in precut sheets – and was also high-quality.

This paper is thick – this is really nice paper that won’t tear around the corners of boxes – so even if your gifts get mailed cross-country, they’ll look as good as when you wrapped them! They come in rolls of 150 square feet. And the designs are all custom creations.

Plus, the wrapping paper is created right here in the USA. And All Wrapped Up’s wrapping paper is completely recyclable, made using water-soluble inks: having a “green” wrapping paper that was also well-designed and durable was important to Leslie and Bonnie.

Trust me, once you try this wrapping paper, you won’t want to go back to the other stuff!

And they might not want me telling you this, but Smith & Edwards has the BEST prices on All Wrapped Up® wrapping paper in Utah!

Thanks, Leslie and Bonnie, for a great demo today – hope to have you back soon!

Leslie and Bonnie from All Wrapped Up, Layton, UtahWatch for them Tuesday, November 19 on Studio 5… and I’m sure we’ll be running some promotions on their top-notch wrapping paper soon!

Get FREE Wrapping Paper!

Of course, who wouldn’t love a big basket of gift wrap supplies? That’s what you can get through our Facebook page:

All Wrapped Up Gift Wrap Giveaway Smith & Edwards

Click the picture to go to Facebook and enter the Giveaway! (ends next week)

Come Get Your Wrapping Paper at Smith & Edwards

Come on in to Smith & Edwards to get your hands on these great wrapping paper designs. (MV, our Sporting Goods manager, would like me to remind you that we have plenty of gifts here at Smith & Edwards, too… but that’s another post!)

We’re located at 3936 N Highway 126 in Farr West, Utah. Come see us this week!

Where’s the goods?

Come in the front door and look to your left: you’ll see Leslie and Bonnie’s great Christmas wrapping paper in baskets right at the door. (Look how much paper comes in each roll! No more running out on Christmas Eve!)

Christmas wrapping paper made by Layton, Utah company All Wrapped Up - Smith and Edwards

Then, keep going down that main aisle until you find yourself in Housewares, where you’ll find those aluminum scoops, tulle, and everyday wrapping paper that’s great for birthdays and more.

You’ll be right next to the Paint counter then, and you can pick up the 5-gallon buckets or new paint cans you need to package your ice melt or candy gifts.

(Where else can you find all these great-quality products in 1 place than Smith & Edwards?)

See you soon!