I have always looked at Rodeo Queen contestants and wondered how they got all their outfits to match so perfectly. It’s incredible! From their hats, to their boots, and even their horse tack, it is all the same shade.
A frequent question we get asked is, How do I dye my own rodeo queen outfits? So, we asked around to give you the answers.
If you’ve ever tried to dye your own rodeo outfits, you’ve experienced just how hard it really is. Sometimes they can turn out, and other times the whole batch is botched.
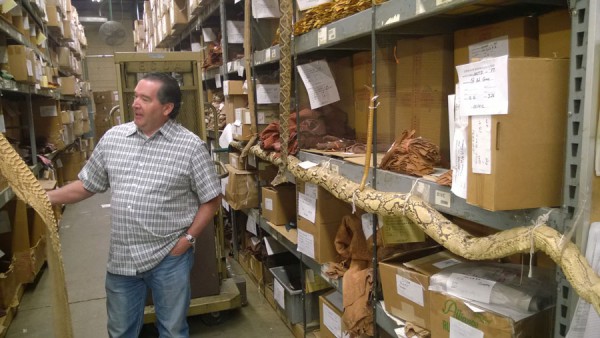
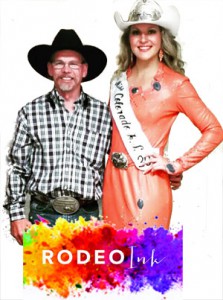
So we talked to Ron Hansen, owner of the Rodeo Ink Company. We got the chance to sit down with him and talk to him a little bit about his business Rodeo Ink and dyeing rodeo outfits.
Dyeing Rodeo Outfits Q&A
S&E: How did you get started?
Ron: Ever since my little girl started doing rodeo queen contests, I’ve started dyeing her outfits. Pretty soon, word got out, and I began sending out dye orders for rodeo queens all over the states. It’s been 5 years now since I’ve started, and since Rodeo Ink opened for business.
S&E: What are some common mistakes people will make when dyeing on their own?
Ron: Well, dyeing is kind of a tricky thing. Many times, people don’t take into account all the different materials and dyes you have to use to get the same shade on everything. People can very easily can ruin a pair of jeans when dyeing. I hear a lot of “Help me fix this!” and a lot of times, stripping the dye out again is nearly impossible.
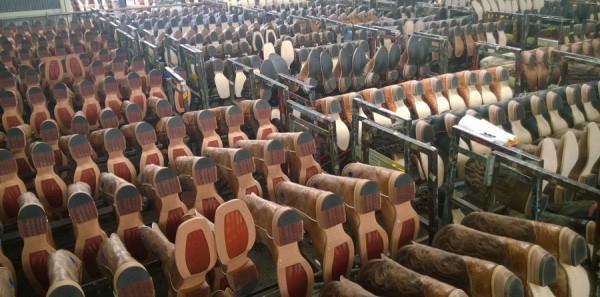
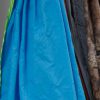
So I help people start over. Some good jeans to start with when dyeing are white Wranglers, style 13 or 14, and blank white boots. That way the dye goes on in its pure color, and you’re not overlapping and getting strange colors in the end.
S&E: What does a rodeo queen need dyed?
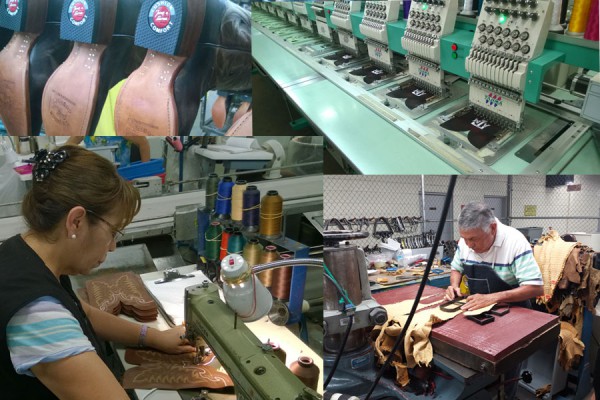
Ron: Just about everything! That includes shirt, jeans, boots, etc. Even reins, saddle pads, and custom tack. I can dye all those all the same color to match the outfit. Also, I have a contact with someone who does custom jewelry, airbrushing, and more.
S&E: What other events do you do dyeing for?
Ron: I do stuff for high school rodeo queen contestants, horse shows, Western pleasure, Texas stock shows, and even youth competitions – not just high schoolers. Also, I have worked with State Queens and Miss Rodeo America contestants.
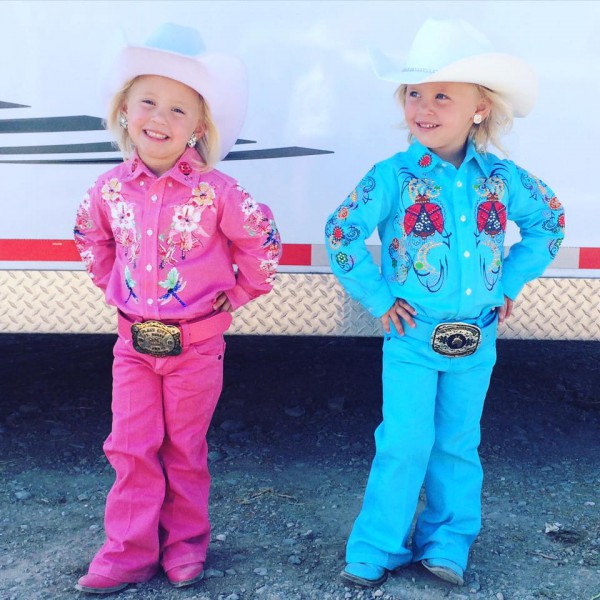
Pearl and Perri Douglas for Box Elder County Minnie Princess
S&E: What’s rodeo queening’s effect on families?
Ron: Rodeo Queening is a great program for families. I have been involved in rodeo for more than 30 years and I was a rodeo clown & bull fighter for about 13 years. My whole family has been involved in rodeo for 10 years now and we have learned a lot, and not only about rodeo.
Being involved in rodeo queen pageants teaches kids about responsibility and self-worth, which is something that can help these kids out a lot when growing up.
Now We Know!
Thank you Ron! He gave us some awesome tips and ideas and we hope that those were able to help you as well. He’s got a knack for dyeing and says that he can match any color you send him. He recently added a new gal to help him out during the peak season, where they send out about 10-12 pairs in a week to orders from all across the United States and Canada.
If you would like to get into contact with Ron, or would like to look at some of his work, here you can check out his Rodeo Ink Instagram or his Rodeo Ink Facebook page.
Or, if you are interested in dyeing or other gear, come visit us in Ogden, UT, off I-15 at exit 351 – or, click here for Women’s Jeans, Girls’ Jeans, Paracord, and Tack.