Ah, the first of August! It’s that time of year: Time to turn the fragrant, tasty fruits of summer into beautiful bottled treats for the winter. That’s right, it’s canning season. And if you haven’t been up Highway 89 this summer, you’re really missing out!
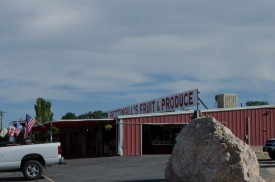
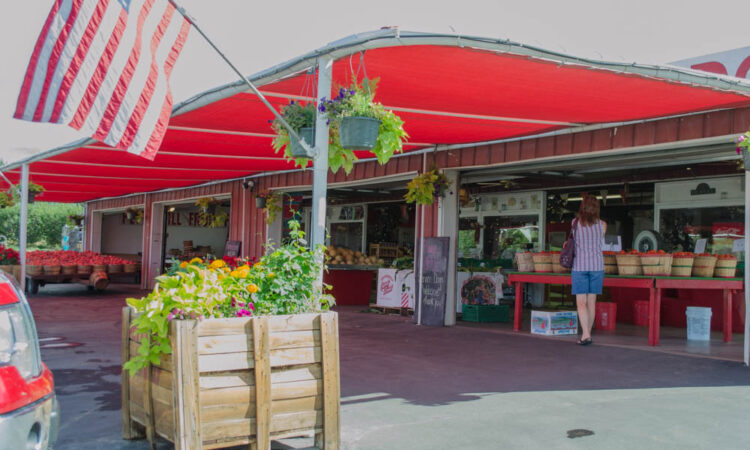
Take Exit 351 north off I-15 and head up Highway 89 to see the produce at Pettingill’s!
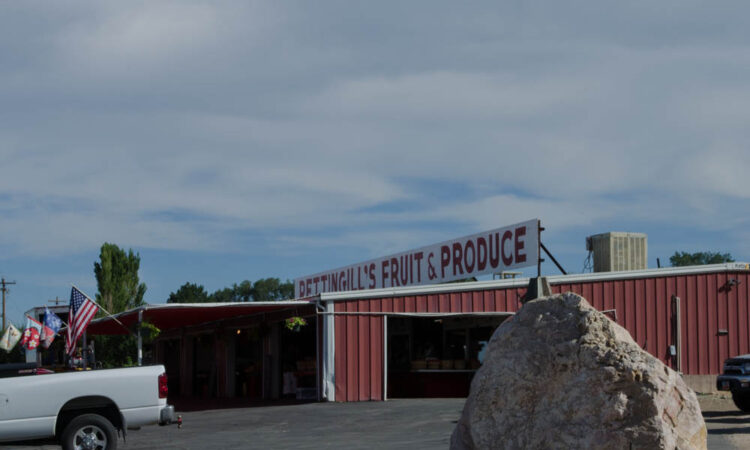
Jean Davis runs the southernmost fruit stand, Pettingill’s, with her family. Jean’s father built the farm back in 1947. Jean and her family have put together one of the finest fruit stands along the entire “Fruit Highway,” which is Highway 89 from the I-15 exit 351 north to Brigham City at the Eagle Mountain Golf Course in northern Utah.
There’s nothing better than local produce fresh from the farm: it’s excellent quality at good prices, and you’ll get to meet some great people at the fruit stand, too. They’re friendly and always happy to share uses & ideas for the produce that’s in-season… they may even tell you what’s coming around the corner!
I asked Jean what some of the best fruit and vegetables are best for a beginning canner. Apricots, she said. Apricots and Peaches. It’s a quick bottling process and easy to do.
And you don’t have to can all that produce to keep it for the winter. Sweet corn is excellent frozen. Peaches, nectarines, pears, tomatoes, apples, corn, and apricots are all wonderful dehydrated (more on dehydrating in a moment!)
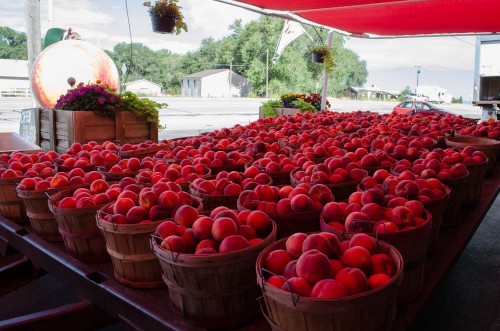
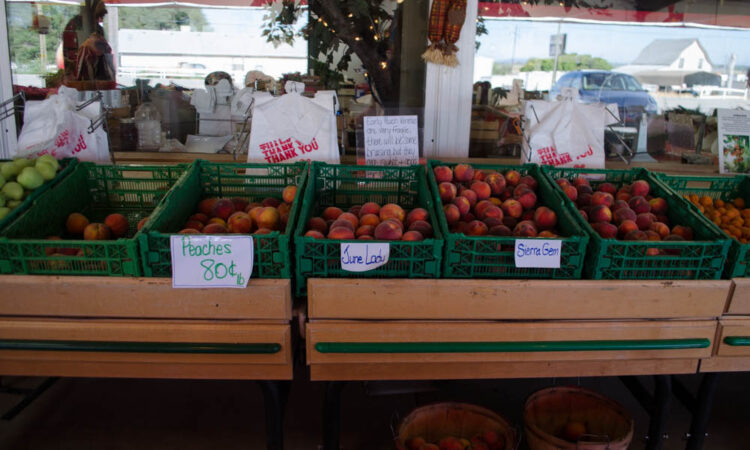
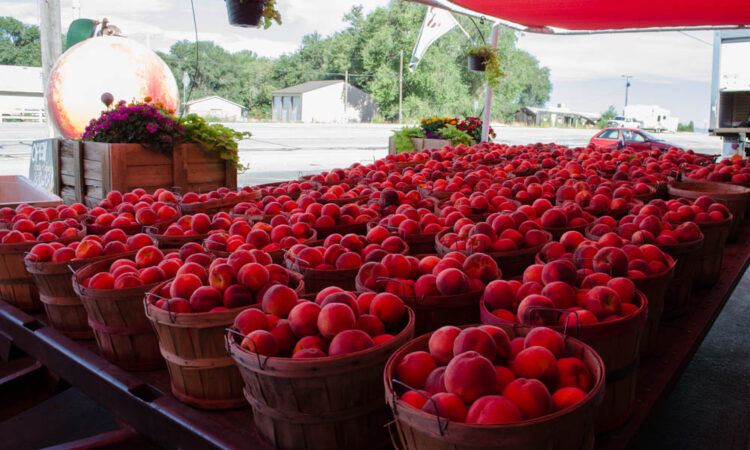
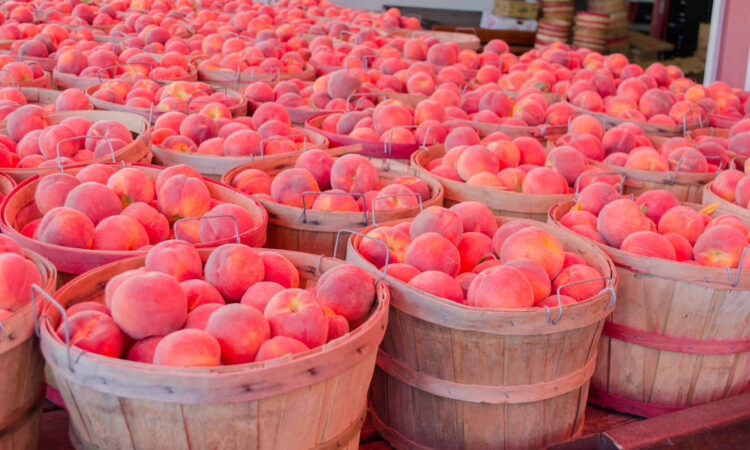
Bushels of tasty peaches at Pettingill’s
So what’s in the fruit stands right now? (As of July 31, 2014. Available produce will vary from month to month, year to year.)
What to Can in August
It’s pretty tough to say which tasty fruits and veggies will be in the fruit stands week-to-week… your best bet is just to drop in and see what’s there! Please note that all dates are as of August 1st. Generally speaking, here’s what you can expect for the month of August in the Fruit Stands this year:
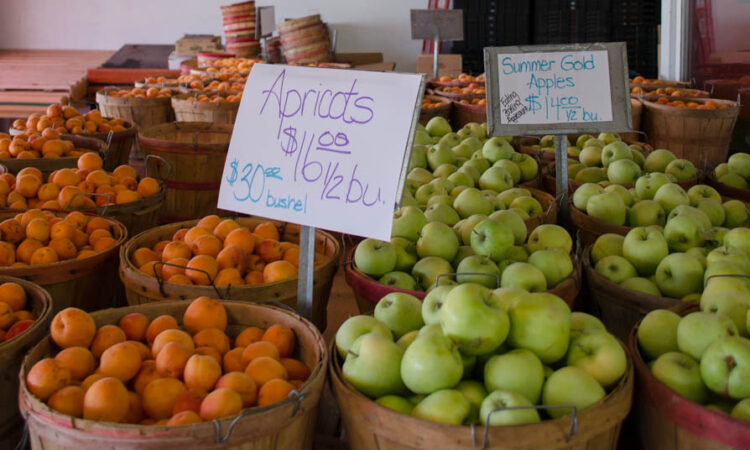
Just finishing, get ’em now: Cherries and Apricots. Summer apples have about 3 weeks left!
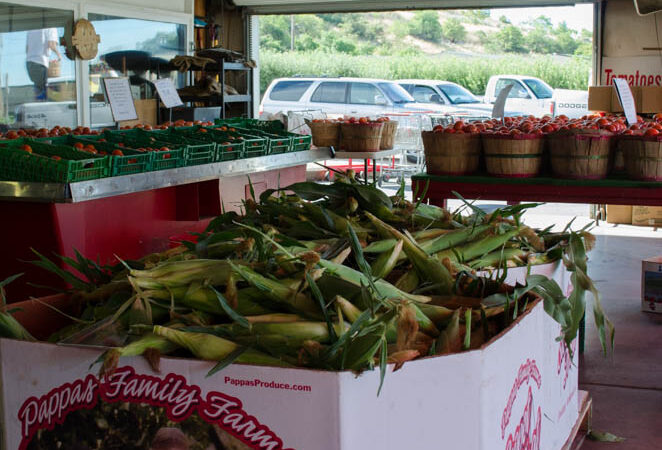
Just in: Tomatoes and Sweet corn just came in – this is a great time to get your salsa, bottled tomatoes, and sauces going! Freeze your sweet corn today (you can also dry it!)
Pears will be coming in to Pettingill’s in about 10 days.
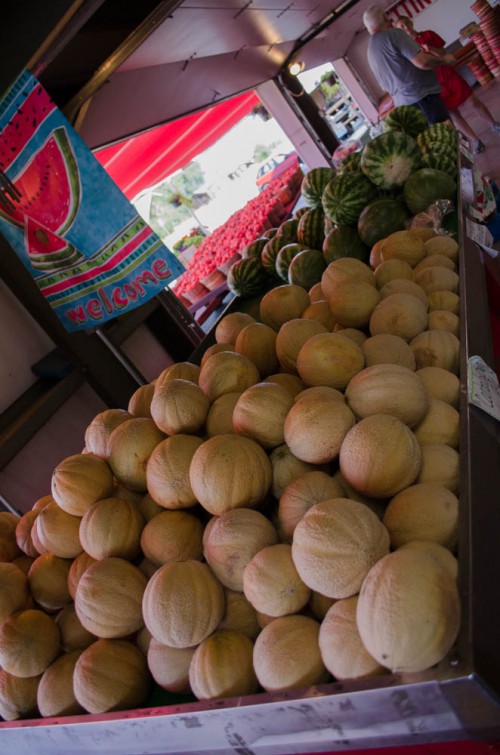
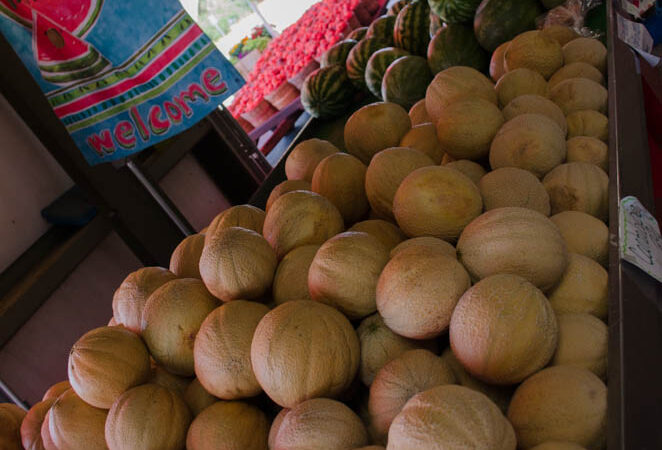
Cantaloupe and watermelon
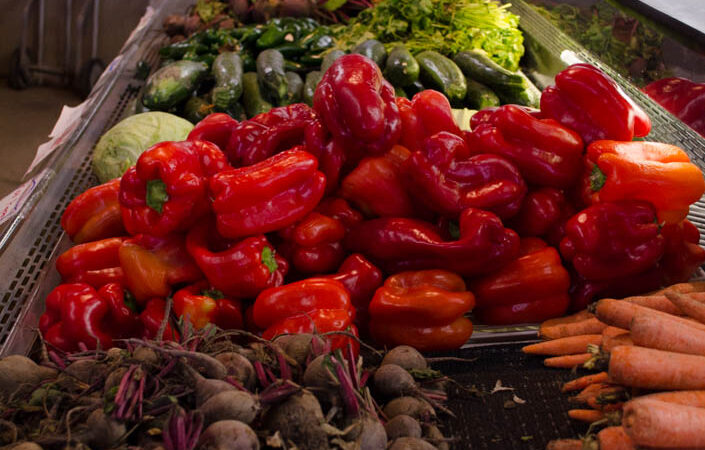
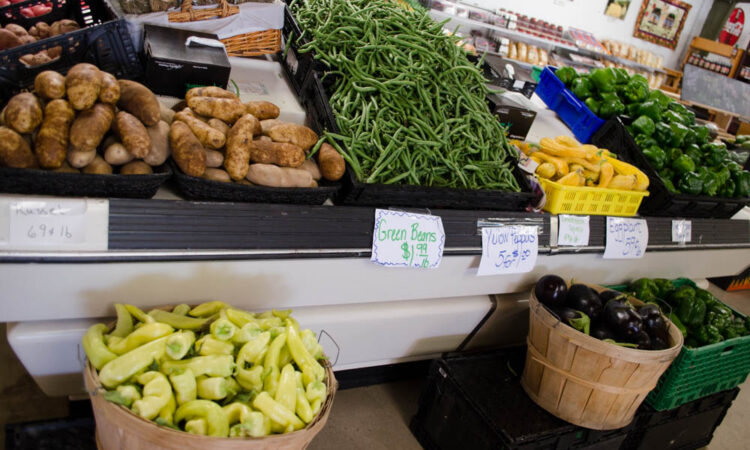
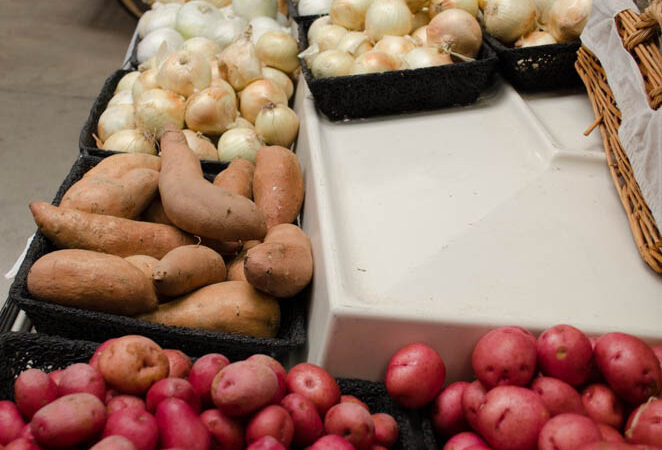
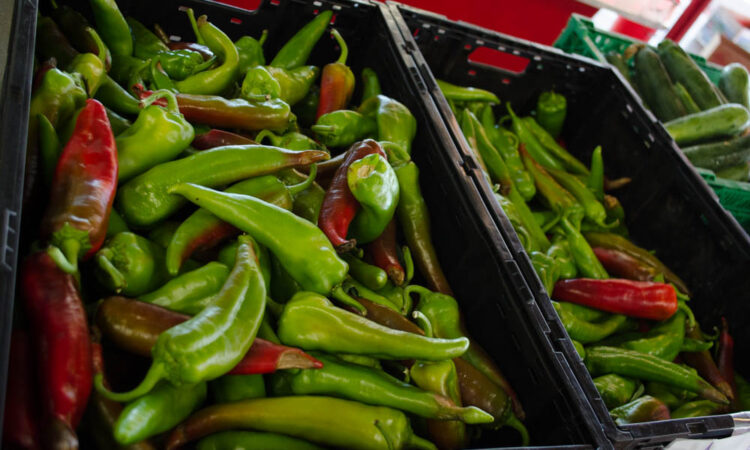
Also in now: Watermelons, Anaheim peppers, Jalapenos, Yellow peppers, Cantaloupe, Raspberries, Zucchini, Beans, Beets, Peaches
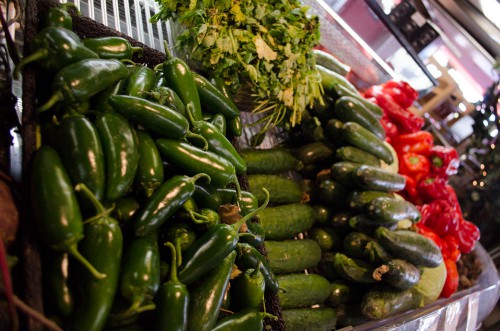
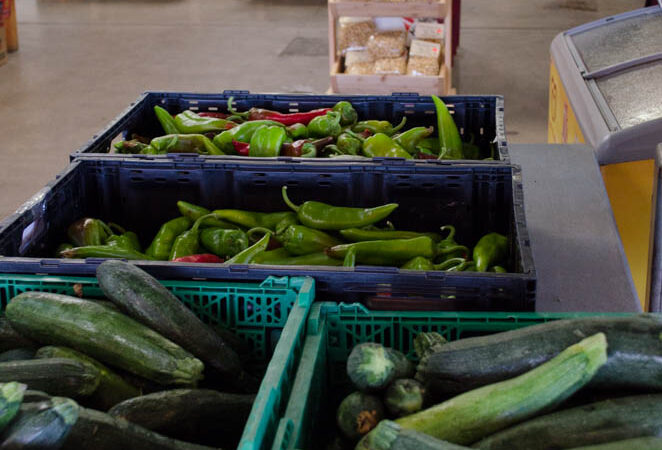
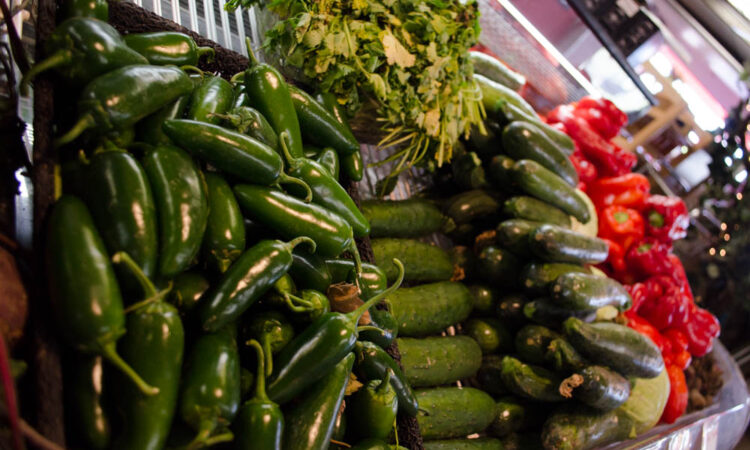
Peppers, cucumber, and zucchini
Coming soon: Fall apples will start at the end of August and continue to the first week of October. Plums will come in September.
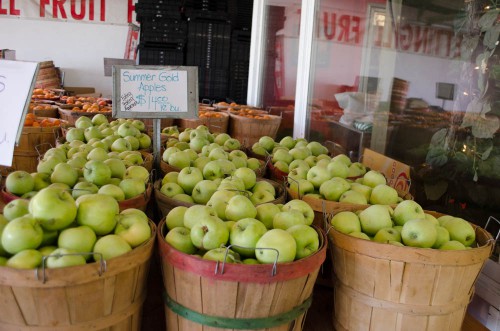
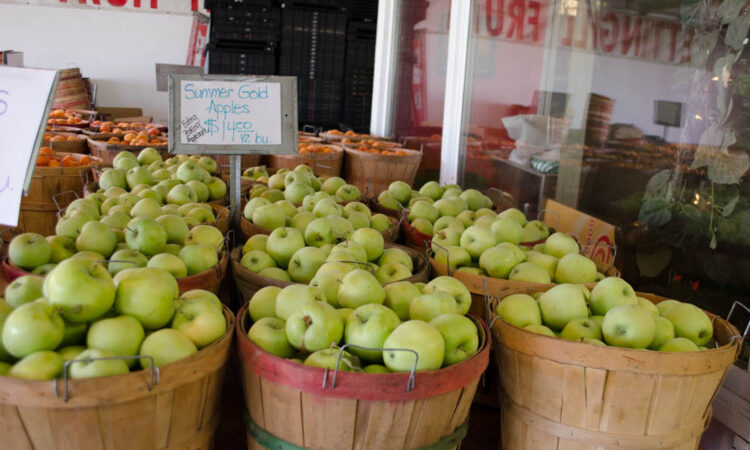
Summer Gold Apples at Pettingill’s – great for eating, baking, and making applesauce
Update August 9: Pickling cucumbers are in at Pettingills, and so are yummy Bartlett pears! Today was the first day for both!
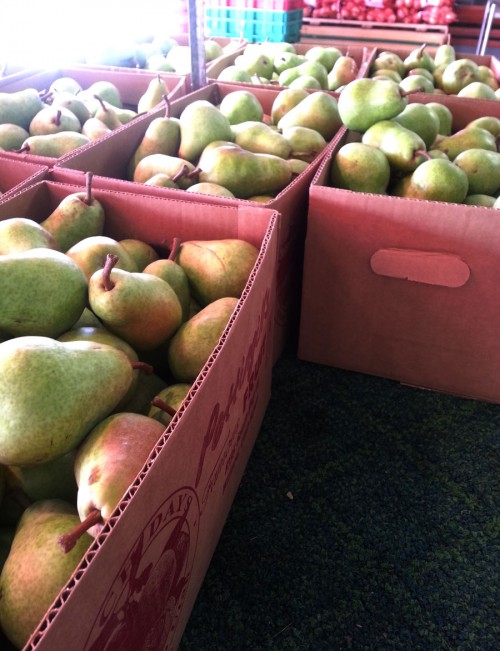 All those yummy fruits and vegetables are in season now and ready for you to freeze, can, or dehydrate. You can get day-by-day updates on the Pettingill Facebook page!
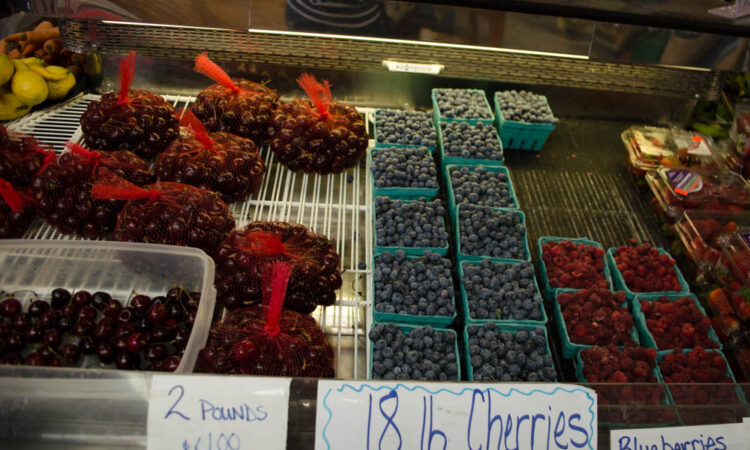
We were so lucky this year to have an amazing cherry season in 2014. They’ve about wrapped up now… hope you got to make some delicious cherry cobbler, canned cherries, or crumbles with them!
Best Peaches for Canning
One question both Jean and Smith & Edwards get is “What peaches are best for canning?” It’s a tough question because Jean’s farm has 50 different varieties of peaches alone!
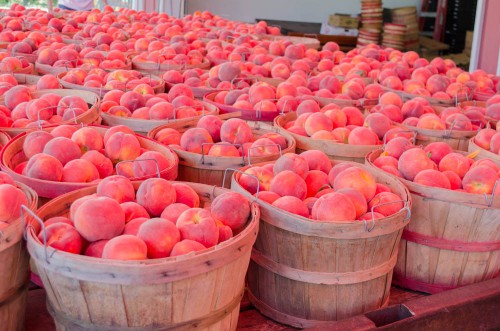
They all come on one after the other, and who could pick a favorite out of 50? So what Jean’s customers have said is the best canning peaches come on in August and September. The top 6 varieties of peaches for canning according to Pettingill’s customers are: Canadian Harmony, Rosa, Early Elberta, Angeles, Sun Princes, and Hales.
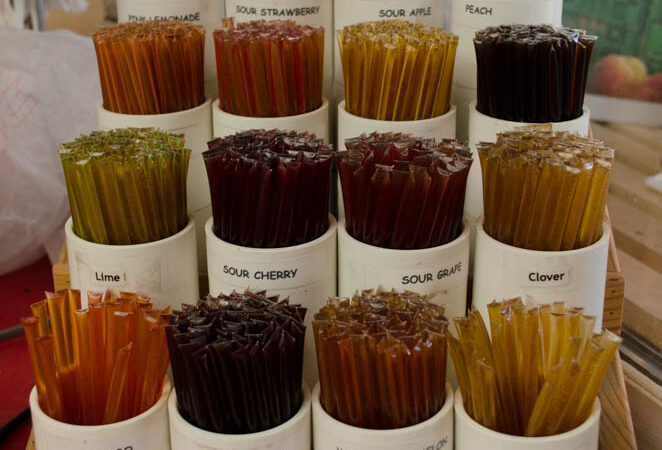
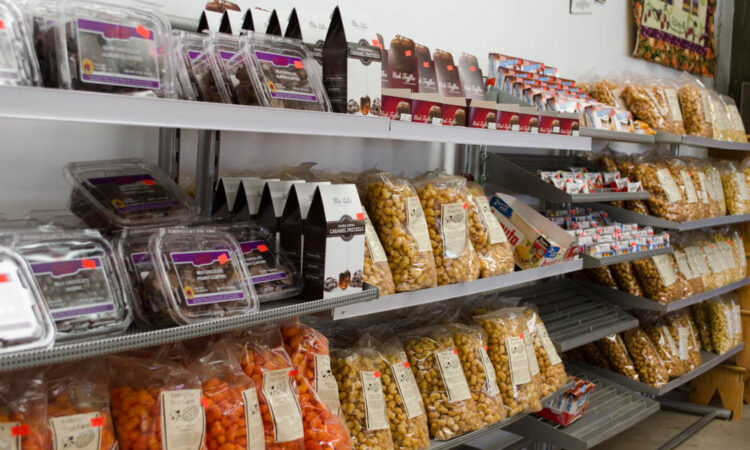
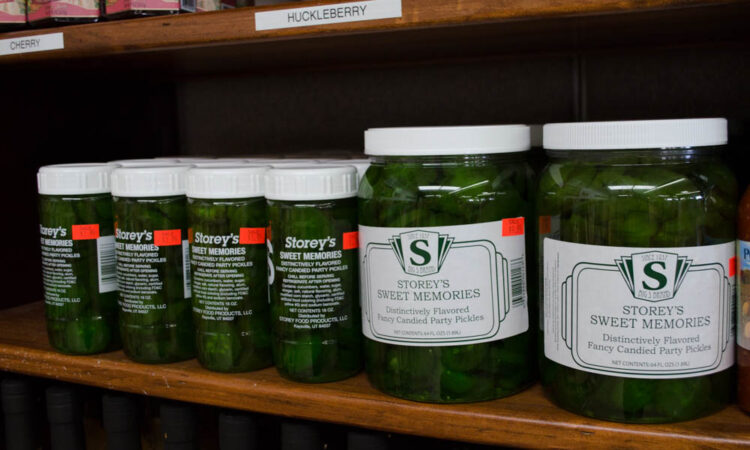
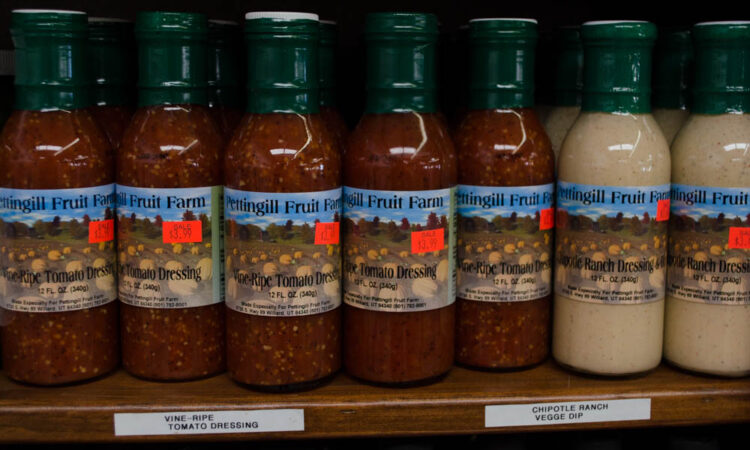
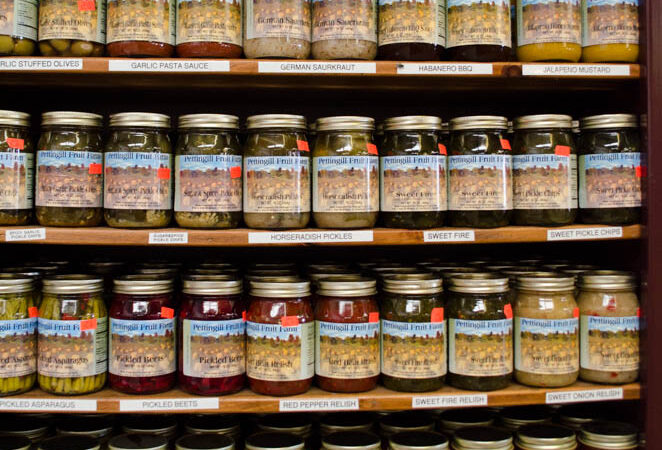
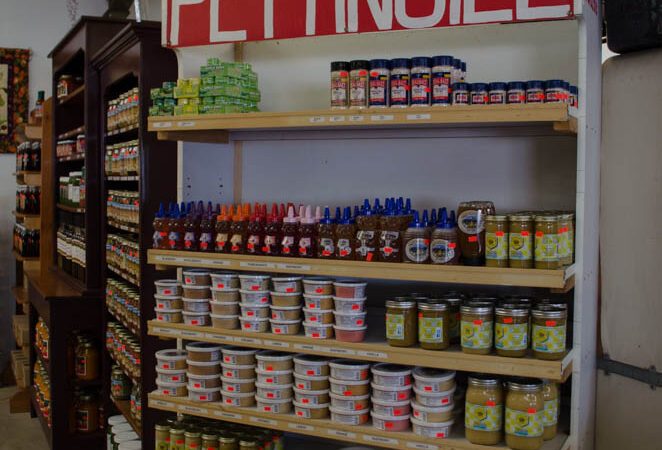
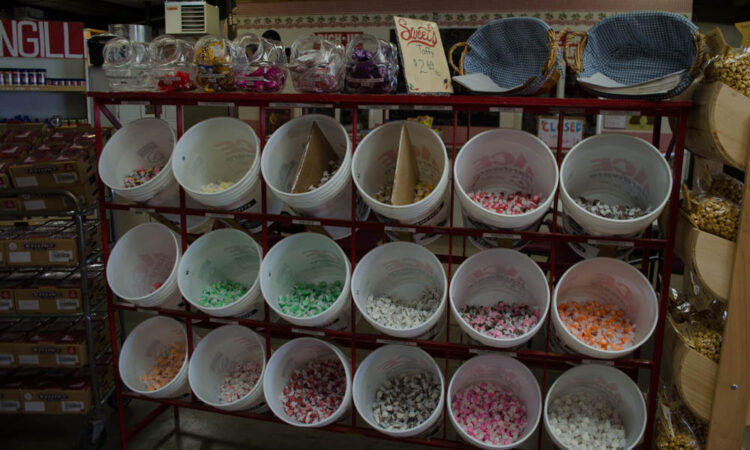
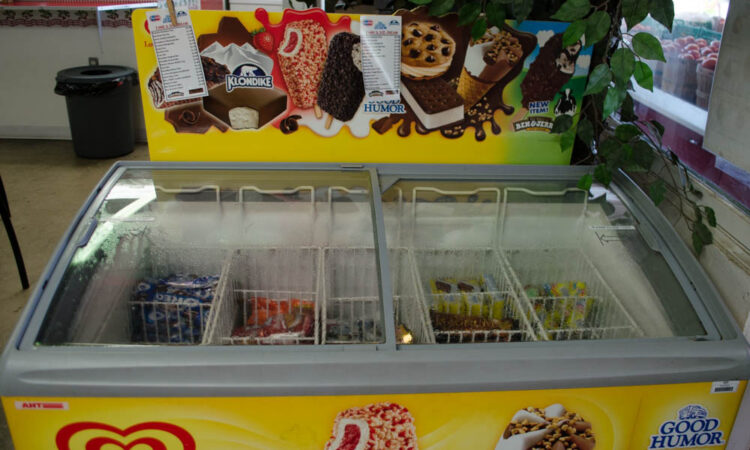
Besides fresh local fruit, Pettingill’s carries Utah and German chocolate, truffles, spicy cheese nuggets, syrups from every berry imaginable, vinaigrettes, local honey (in honey sticks, honey bears, and tubs), Farr West ice cream, and all sorts of sauces made from Pettingill’s produce. Plus they serve up shakes & hot dogs from 11-5:30pm. Just a mile north of Smith & Edwards, Pettingill’s fruit stand is a great local stop to visit all summer long!
Canning Tips from USU
Canning can be a lot of fun – well, at least it can be very rewarding! There’s nothing like digging in to your family’s favorite apple pie filling on a cold January Saturday morning. You can get better flavor through home processing, better nutritional content, and you can make food that fits your family’s special diet needs. Plus, once you’ve got a season under your belt – or friends, family, or church connections who can show you the ropes – you’ll have the canning process down pat.
Teresa Hunsaker from the USU Extension Office came to Smith & Edwards in July to teach a Food Preparedness seminar, part of our monthly preparedness series (see all events here). Afterward, she stayed at the store to test pressure canners, so you could be sure your pressure canner gauge is working properly!

Teresa Hunsaker educating people about canning and testing pressure canners at Smith and Edwards
Teresa had some great tips for us… here are a few:
- Use citric acid to preserve tomatoes. Really! You only need 1/2 teaspoon citric acid for quarts, which means you get more of the sunny tomato flavor. Using vinegar, you’d need a whopping 4 tablespoons, or 2 tablespoons of lemon juice. Try it this year and see!
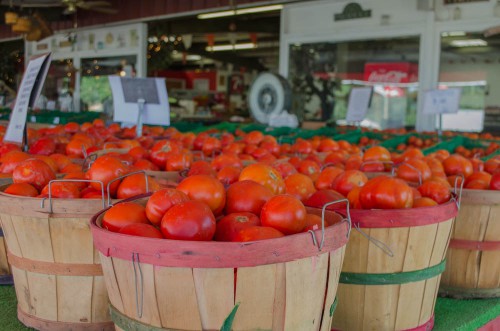
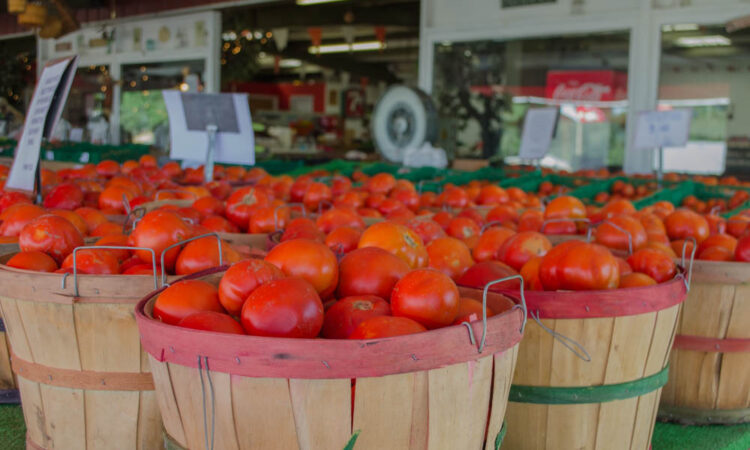
Bushels of ripe tomatoes at Pettingill’s – for salsa, canning, & BLTs!
- Canning adjustments for our area: Weber County isn’t at the same elevation as most cooking & canning books are written for. For Ogden, Brigham City, Farr West, and other places in our area, we’re right around 4300 feet. At sea level water boils at 212°F, but at our altitude in Weber County, water boils at about 202°F. So it will take longer to get the necessary heat to the center of the jar to destroy molds and yeasts.
But it’s easy. If you’re using a Water Bath Canner, just add 5 minutes for a process time less than 15 minutes; or, add 10 minutes for a process time 20 minutes or more. If you’re Pressure Canning, have your dial gauge at 13 pounds between 4,001-6,000ft altitude, or 15 pounds on a weighted gauge for 4,001-6,000ft altitude.
- Think all bottles have to be sterilized before using? Not anymore! If you’re pressure canning or water bath processing for at least 10 minutes, you don’t need to sterilize the jars. The jars should be filled with food. You do want to wash the jars before using, though!
Need to know how much headspace to leave? Here you go:
- 1/4-inch headspace on Jams & Jellies
- 1/2-inch headspace on Fruits and Tomatoes
- 1 to 1-1/4 inches headspace on low acid foods
Canning Basics: Water Bath and Pressure Canning
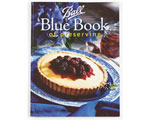
The Ball Blue Book of Canning is the definitive resource on canning.
Canning may take a day out of your weekend, but those yummy pickled beets, salsa, and applesauce are so worth it in the wintertime.
Jean from Pettingill’s highly recommends the Ball Blue Book of Canning. It’s got everything you need to know about canning in it.
If you’re just starting out, Jean says, remember that you don’t have to go it alone! Ask your family, friends, neighbors, or friends from church or work if they want to come can with you. More people makes it more fun, you’ll learn from the wide experience they’ve had, and someone might bring a special ingredient or recipe that you’ll all wind up loving!
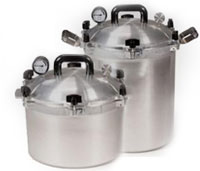
All-American pressure canners (click to see more)
There are 2 good methods for canning and bottling: Pressure canning and Water Bath canning. Use a pressure canner for vegetables, to avoid botulism. The modern pressure canners aren’t your grandmother’s canner, where the lid blows off! Today’s pressure canners are safe and have gauges and weights that will depressurize if needed. Plus, we always have Teresa from USU Extension come test pressure canner gauges at least once a year, so you can be sure you’re canning safely.
Fruits, jams, jellies, and tomatoes can be done in a water bath canner. Steam canners are available to use, but USDA and USU don’t recommend them due to lack of testing – most canning recipes don’t have adjustments for steam canners.
There are a couple good brands of pressure canners out there, Presto and All-American among them. Both are good, come in different sizes, and they will both last you a lifetime. Presto has one tray. The All-American 21.5 Quart canner comes 2 trays for your convenience, so you can double-stack the pints! All-American canners have the advantage of having an all-metal seal, so you don’t have to replace the rubber gasket. They’re made in the USA and precision manufactured and inspected, so there’s a reason behind the investment.
Canning this year?
Whether it’s your first time or you’ve got seasons of canning under your belt, we’d love to see how your bottling turned out this year! Email your canning pictures to info@smithandedwards.com.
Vickie’s Canning Tip
Vickie Maughan, the Kitchen & Canning buyer for Smith & Edwards, has an amazing tip for canning.
In the summer, it’s already hot, and then you’re cranking up the heat in the kitchen and making your air conditioner work doubletime. Plus there’s the heat and the mess to deal with in the kitchen, and maybe you have a glass stove top which means you have to be careful about which canners to use on it.
Vickie’s solution? Use your Camp Chef and do all the canning outside. It’s easier on the AC, it’s less mess and cleanup, and you can use just about any canning equipment on it. Come in to the store and check out Camp Chef stoves, it’s a real nice way to get your canning done!
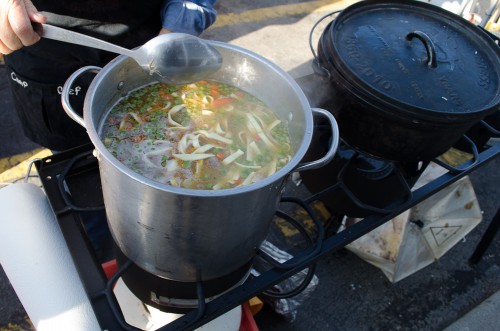
Sure you can make chicken noodle soup on a Camp Chef – and you can can fruit on one, too!
Dehydrating Recommendations
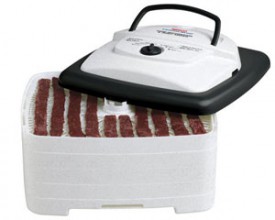
Square food dehydrators are great for jerky!
When it comes to dehydrators, the higher the wattage, the faster it will dehydrate your food. You can get ones that heat from the top or the bottom. We’ve found the dehydrators that heat from the bottom work best for us – look for metal-bottom dehydrators for best results. Square dehydrators are best for jerky, because you can fit more on.
What can you dehydrate? Fruit of course, jerky, and herbs all are great to dehydrate. If you’re just starting, head over to a fruit stand and start simple with cherries and apricots. You can even try dehydrating zucchini – it’s fabulous with cheese sauce! You can even dehydrate beautiful flowers from your garden, like sunflowers, to keep as decorations.

Try dehydrating your own jerky, either with a jerky gun which uses ground meat, or slice thin strips of meat yourself.
Here’s another tip: an apple corer makes dehydrating easy. You can peel, slice, and core all at once and then put the apple slices right on your dehydrator!
Once your food is dehydrated, keep it safe from moisture in a ziploc bag in the fridge, the freezer, or a cold, dark space.
A word about Food Storage
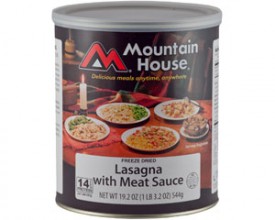
Home-canned or preserved foods can supplement freeze-dried vegetables or meals like Mountain House #10 cans… or even eliminate the need for them!
Teresa also had some great advice about Food Storage when she came, and it’s really practical advice to live by.
Having food canned and set aside in storage isn’t just about preparing for a “disaster.” While some people may seriously be preparing for the apocalypse, having food your family will eat in a stressed situation is beyond value and worth considering.
What types of stressed situations are there? Well, true, natural disaster is one. But if you’re preparing for an earthquake, glass bottling may need some extra steps to make that a good plan. A truck can spill or a train can derail, meaning that it may be 72-96 hours until grocery stores are replenished.
Or, even situations such as job loss, sudden or long-term illness, surgery, or the off-season for seasonal jobs are great times to appreciate the food preparation you’ve done ahead of time.
Canning may or may not be a part of your Food Storage plan. Maybe your family devours everything you can by the time temperatures are back in the 80s. But if your family is the type to put up loads of beans and then forget them: Let your Food Storage be your “What’s for Dinner?” backup plan!
If you really want to be prepared to use your Food Storage, keep it fresh and have a plan of what recipes to use by drawing from it regularly. This means you’ll keep it rotating, and you’ll never be stuck with the power out, thinking “How am I going to make a meal with dehydrated veggies, canned tomatoes, and wheat?”
(By the way, a Cooking with Food Storage class is coming up this September!!)
By making your Food Storage something you’re familiar with and something you’re comfortable using, you’re going to be a lot more prepared than someone who has food storage older than their youngest child and have never tried to cook with it…. I guarantee it!
Your Turn
Have canning tips to share with other Smith & Edwards customers? Have questions for Jean from Pettingill’s, Teresa from USU Extension, or Vickie & the gals in our Canning Department? Leave your questions & tips in the comments below!
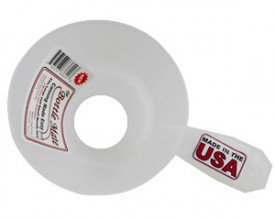
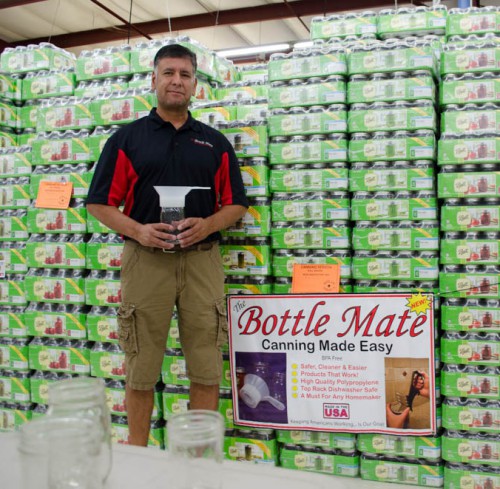
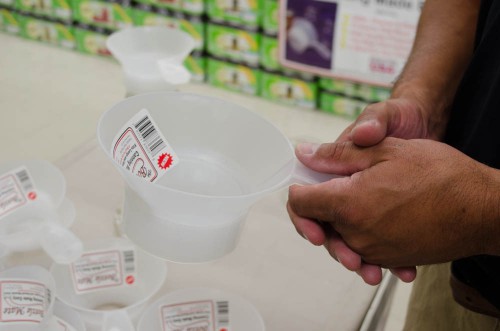 Made from BPA-free polypropelene, these funnels are lightweight and rest on the outside of the jar, giving you stability so you can pour or ladle salsa, corn, beets, or jam right into the funnel and jar without holding onto the funnel. The Bottle Mate funnel’s design has 2 rings: one for the funnel to go into the jar, and an outer ring to rest on the outside of the jar. This keeps your rims clean on wide mouth & regular jars!
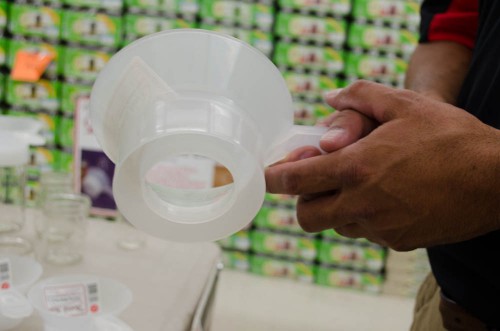
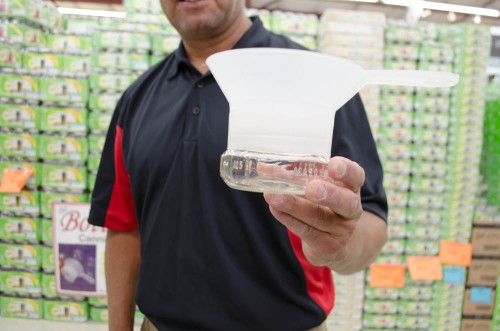 Bottle Mate funnels are the right size and rest on the outside of canning jars. So you can leave headspace on even specialty jam jars – they won’t sink all the way down into the jar like other funnels!

